
The thing about most creative projects is that you always think you know where you are headed, but you never really arrive at your intended destination. Usually it’s for the better, but not always. Never is this more evident than when you embark on creating a custom motorcycle on a limited budget with delusions of grandeur.
A year had passed since I customized my first bike and my friends were now in the market searching for their very first motorcycles. All of the different trips accompanying them to various dealers really gave me the desire to have another cruiser. I had sold the SECA so that I could buy a dual-sport and I now longed for a more road-worthy alternative for cruising with friends. The year since the first build also gave time for my post-build frustrations to wear off.

Since I have always been a frugal person, I wasn’t about to spend the same kind of cash on a bike that my friends were. I knew I could find early 80’s Yamahas for around $700 that would offer me a great base to play around with. After doing a bit of searching, I was able to find an XJ650 Maxim in the price range I was looking for that also already had some of the parts I would have wanted to swap over to. A shortened rear fender and bobber seat meant I didn’t have to worry about locating those pieces. That said, normally I would stay far away from someone’s unfinished project. But the bike started and ran strong and the other issues were merely cosmetic (or so I thought).
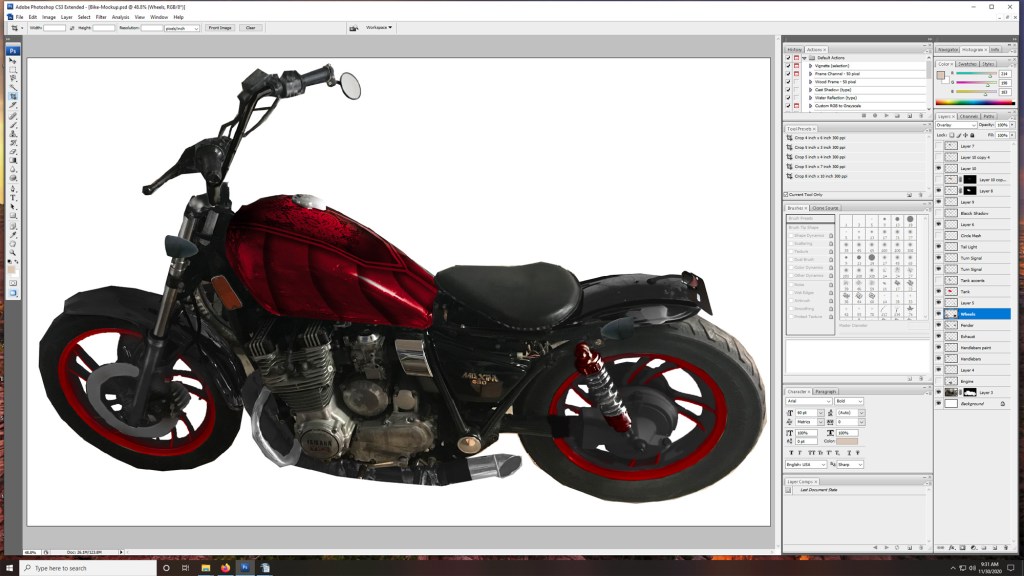
As with most projects, I started by doing some really rough mockups in Photoshop to get a rough idea of what I wanted. There were some things on the last bike that I didn’t end up liking after the project was complete. One of which was the location of the headlight. The light style itself was good, but because I wanted a lower mounting area that would mean I would need some different mounts this go-round. With the idea that this would be a bobber made for MN, I also wanted mini-ape handlebars and heated grips. After those initial ideas were in place, I knew the rest of the bike was meant to be more minimalist, as most bobbers are, but keeping a “tough” vibe.
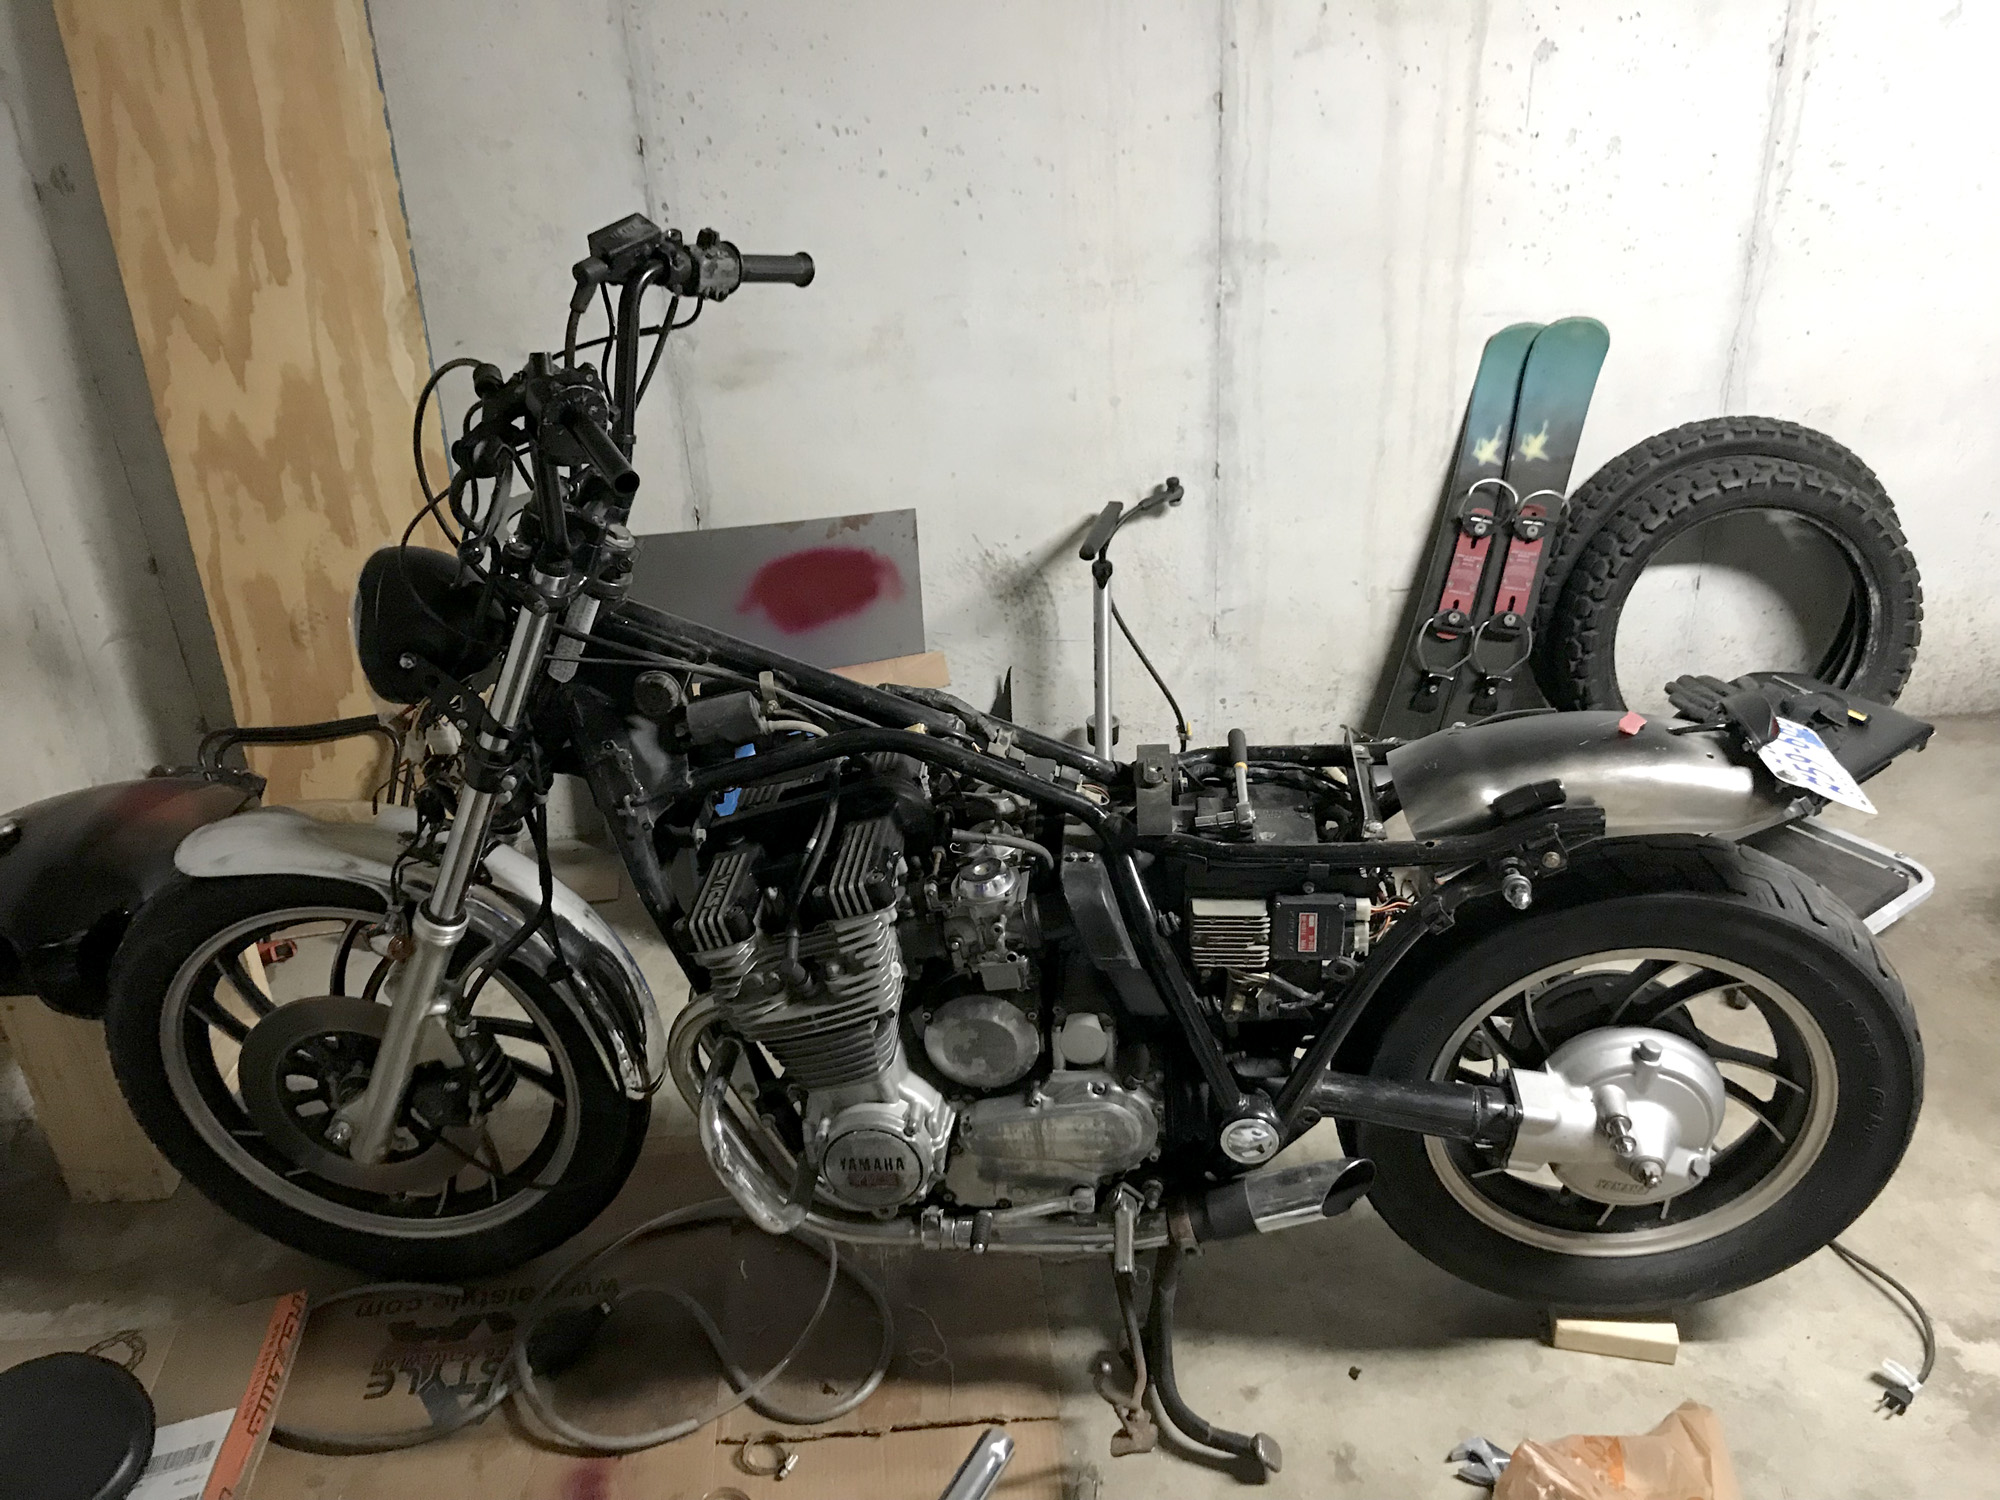
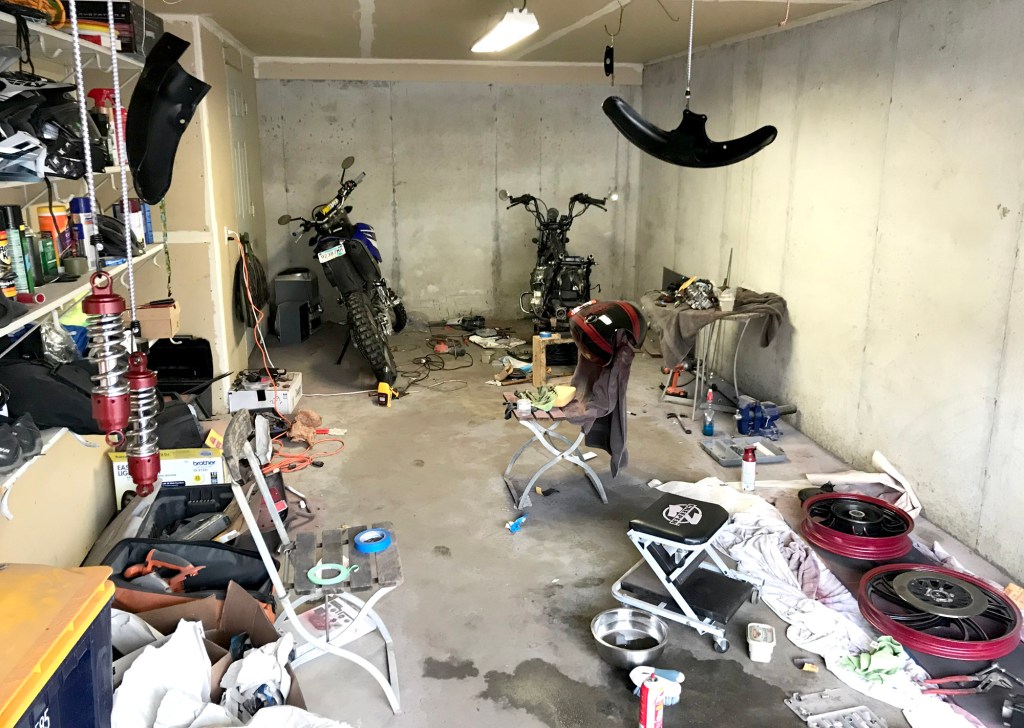
Once the concept was close to finalized it was time for a tear-down to see what I was dealing with. The tank was stripped down to bare metal since I would also need to bondo over the previous badge holder brackets (seriously who came up with this idea to weld the bracket into indents in the tanks!?). I also did some test-fitting of the parts I had ordered to make sure I wouldn’t need new cables or wiring. Once I knew all my locations would work, I chose to start on the electronics since it’s always one of the more involved pieces of a build.
This is where it became very apparent that whomever owned the bike previously had no clue what they were doing. The lights didn’t function properly and the turns didn’t work at all. It took a bit of detective work to realize he had put relays in the wrong part of the circuit that were then shorting out the rest of the chain. Always do yourself a favor and find the wiring diagram for the bike you are working on. I even color coded mine so that I could better understand where the wires were going rather than trying to remember the color naming system. Unfortunately I forgot to take any pictures during this phase because I was too busy pulling my hair out wondering if I had the mental capacity to fix the electrical issues.
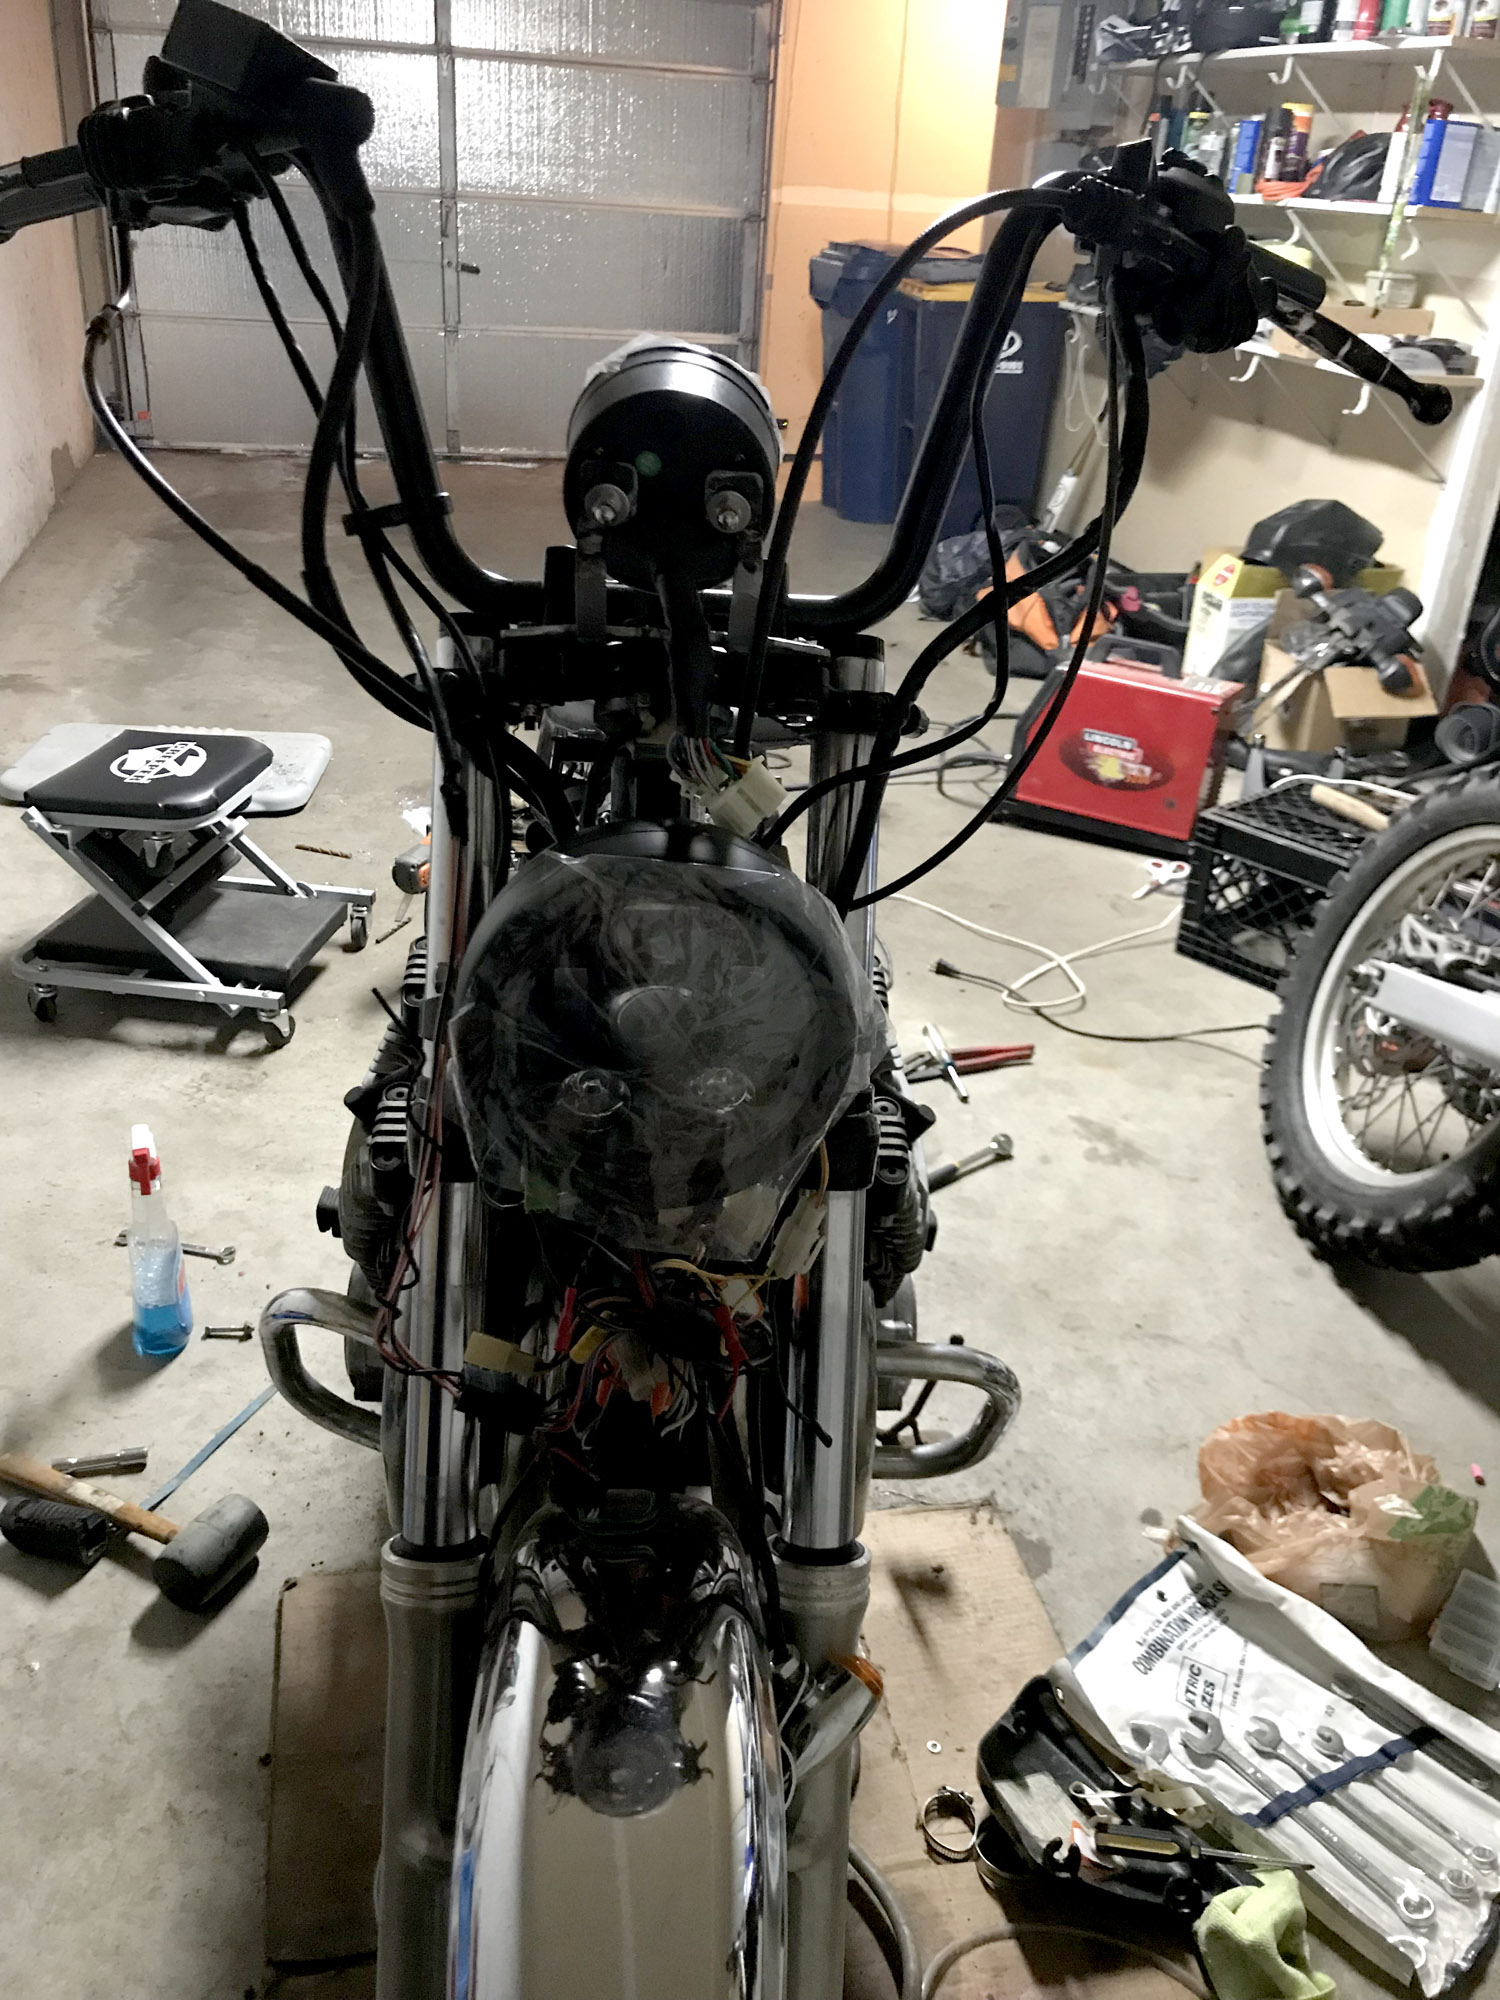

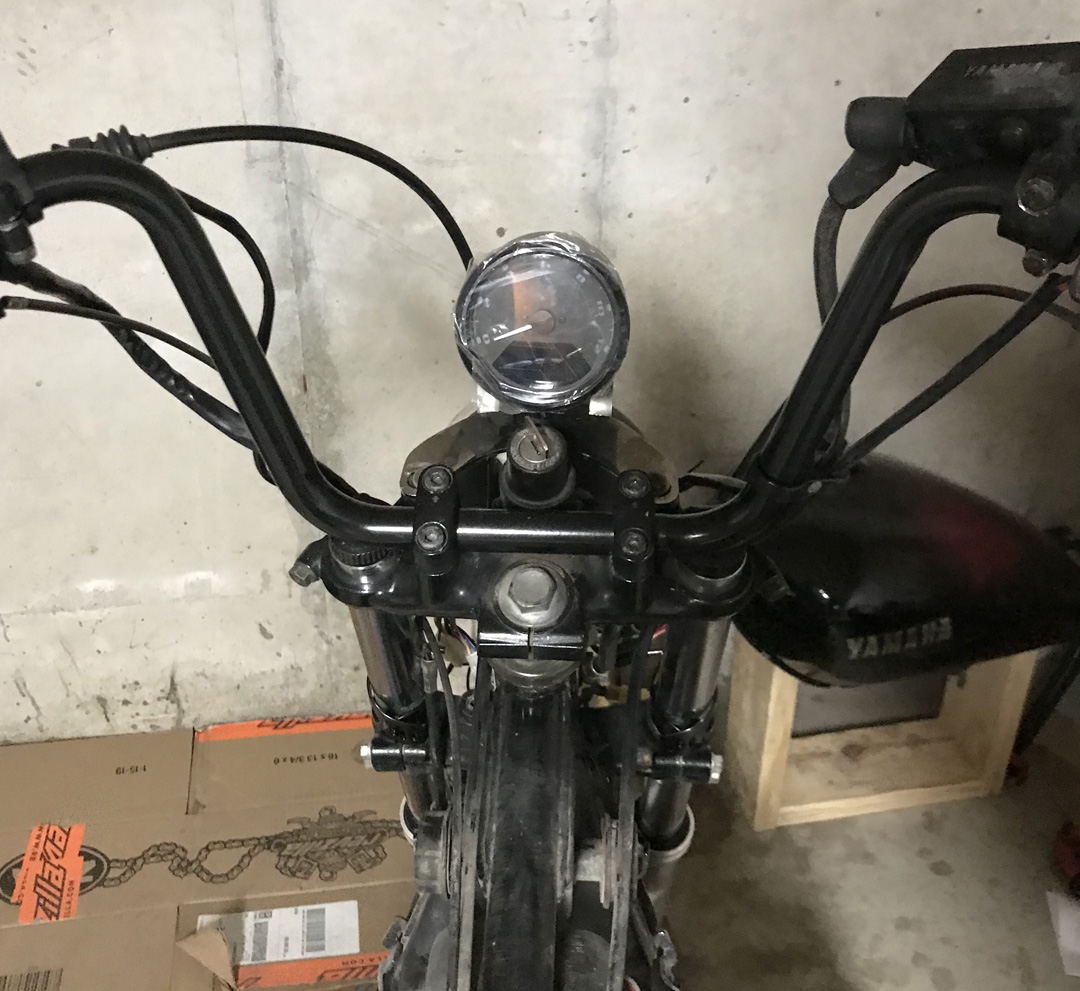
Luckily once I solved relay problem and changed over to putting the turn relay in front of the switch rather than having two after it (like the previous guy setup), my initial mental pain subsided. I started hooking up the new headlight, turns, and tail light I had bought for it. I went with a Wisamic 5-3/4 5.75 inch LED Headlight for the front and used a HOZAN Black 5.75inch mount for it. These mounting brackets were not the best, but what could you really expect for the price? They ended up working OK, but they were a little looser than I would have preferred. BESONDER 2Pcs Heavy Duty Bullet Turn Signals were chosen because I thought they went well with the style and didn’t require me to add in a LED module. And lastly I went with this cheap small tail light that would fit well with the lines of the bike.
Wiring for those was fairly easy as it was just a matter of clipping the excess wires that I was no longer using and running new longer wires to each new light. Unfortunately the same could not be said for the new gauge I was putting in. I found the Welugnal LCD Digital Speedometer as the cheapest, cleanest looking option I could find. The trouble was that the wiring diagram it came with was a complete mess and very hard to understand. This lead to a ton of trial and error trying to figure out what wires went where. The speedometer magnets and mounting also ended up posing a tricky problem for both installation as well as calibration. Lets just say I spent more time on this part than I had hoped. I also had to create a custom mounting bracket, but luckily that was fairly easy with some scrap steel I had laying around.
Building a bike can be taxing. You spend a lot of time in the creative phase designing how you want it to look and figuring out what parts you want to use or need to fabricate. That’s the fun part. But once you actually have to dive in and tackle the beast, sometimes you run into issues you really wish you didn’t have to handle (but we will get to that later). It ends up becoming a project of endurance to some degree. In the end, it is always worth it, but it sometimes takes a while to notice.
In the next installment, I will dive more into to cosmetic phase of this project. Stay tuned!
UPDATE: Continue to Part 2!

I just bought an 82 Yamaha Maxim, My plans are to convert it into a Bobber this winter. I’ve never done my own build before but I have always wanted to build a Bobber. Any suggestions, ideas or recommendations on where to start or anything else for the process would be awesome! Thank you.
LikeLiked by 1 person
As a first time build, I would recommend keeping it simple. Swap out the rear fender with one online that requires minimal cutting / welding. The wiring is going to be the biggest pain in the ass unless you decide to keep the stock gauges and lights. Xjbikes.com is a great forum to look around for help on all things xj and helped out immensely when I built mine.
LikeLike
Thank you, I was going to try to keep it pretty simple, I was thinking rear fender, lights and gages and possibly changing the seat and adding some kind of sissy bar, see how that turns out and go from there, I would like to change all chrome to black but not sure how in depth that would get, thank you for your help and I will look into that forum you recommended
LikeLiked by 1 person
You bet! Just be aware that these older Yamahas have a very annoying electrical system to bypass when changing out gauges and such. Even with a diagram, it’s always a bit of trial and error. There is a readily available minimum required wiring setup available through google search, but that will require you to completely strip the current setup / wires and rerun your own. Good luck with the bike! Hope to see pics when you are done.
LikeLike
Thanks again will definitely send some pics when I’m done!
LikeLiked by 1 person