
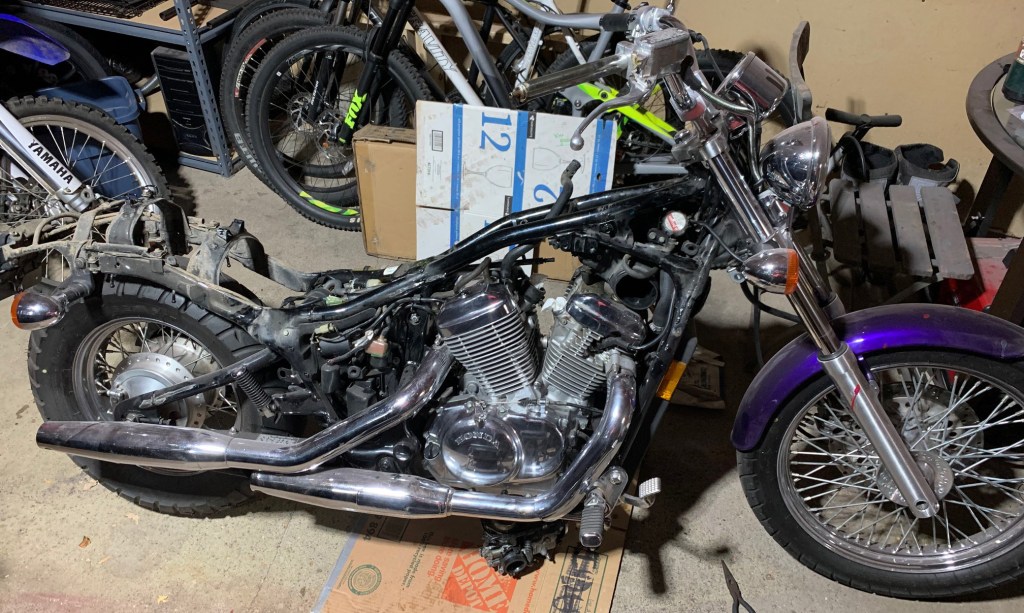
The Honda Shadow is often called the poor man’s sportster for it’s low cost, low power, and sub-par fit-and-finish. That doesn’t mean that it can’t become a badass cruiser! I have never been one to buy into brand cults. If a bike looks cool, runs good, and gets me where I want to go, then I am all for it. After looking through a bunch of images of bobbers, custom shadows really stood out to me for having a unique stance and character. The fact that you can also pick one up for fairly cheap meant I had another project bike I could play with and not risk much in the way of Benjamins.
I searched Facebook going into winter knowing that the chances of picking up a decent bike at a low cost was pretty high. There were a lot of options for shadows that were either too nice to want to chop or too far gone to deal with. I was finally able to find a 1996 Honda Shadow VLX600 Deluxe that looked like the mechanical parts were in great shape and it was only $1500. After a little negotiating, I was able to pick it up for $1200. Score!
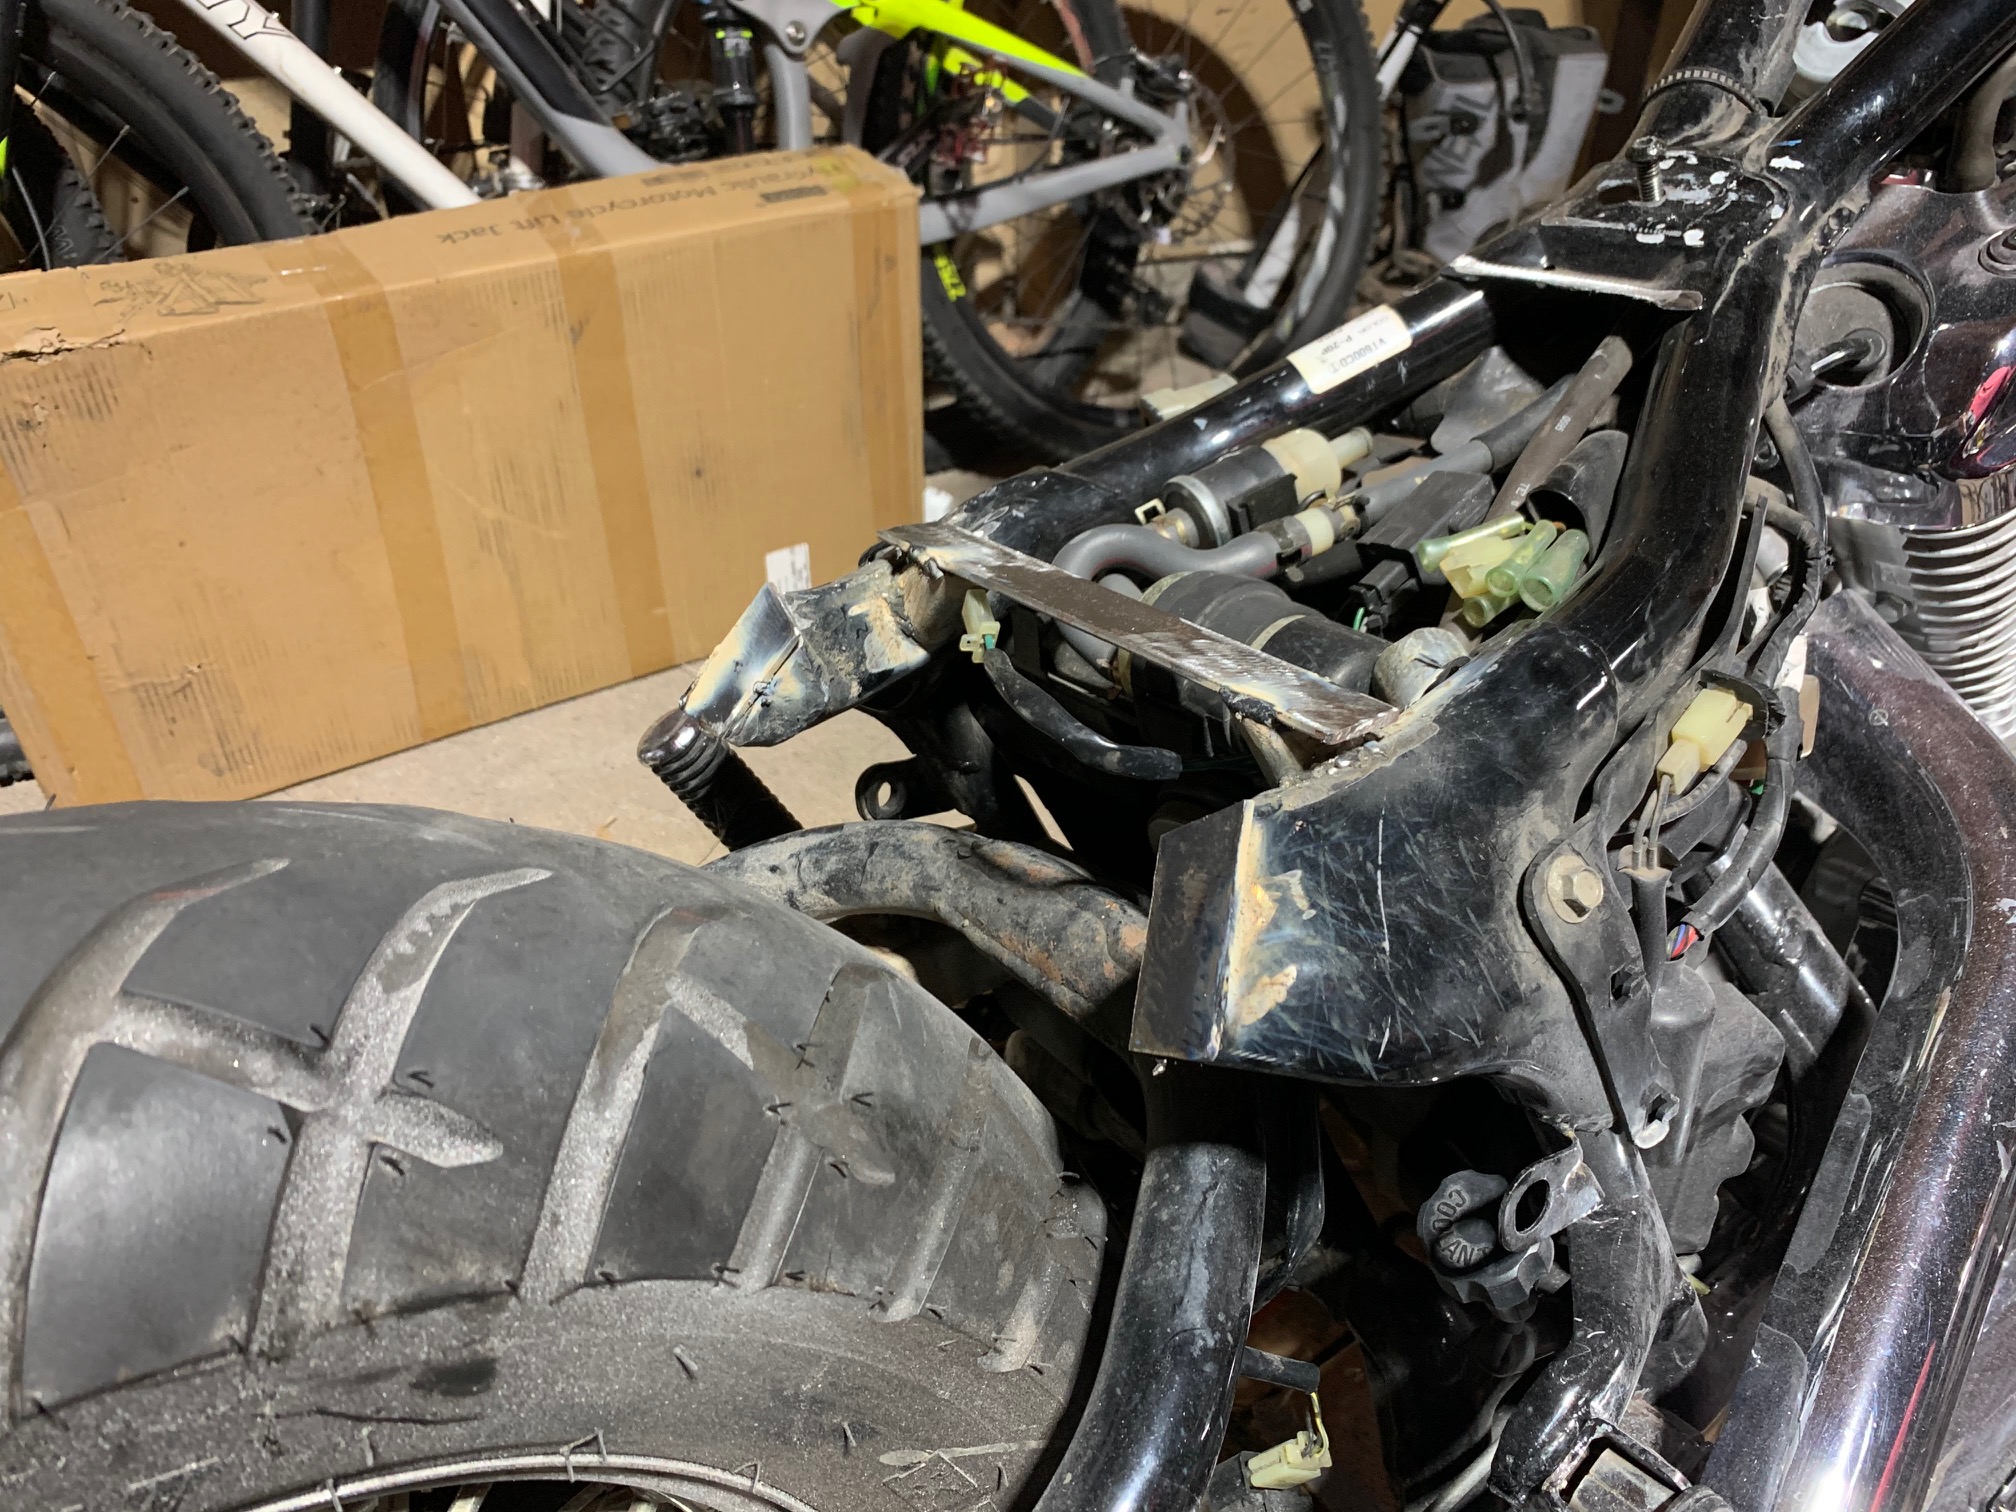
The first thing I had to do was decide what direction I was going to go in and also figure out how this Honda differed from the other bikes I have worked on. I knew I wanted to chop the rear fender, add a bobber seat, and possibly a new peanut tank. So with that in mind, I decided to start at the back and work my way forward. First, every manufacturer has their own weird quarks about how they assemble their bikes. Honda chose to hide its seat screws in a really awkward area. Also, once the seat was removed and it was time to remove the rear fender, I discovered that much of these bikes are plastic…I guess that explains the cost. Instead of a metal fender attached to struts, this VLX600 had a metal cage that supported a full plastic fender cover…WTF. I decided it was better to just remove all of the plastic (fender, side covers, fairings etc.) and also chop off the rear metal cage entirely.
After deciding on where to chop, I began cutting using an angle grinder and a metal cutting disc. I didn’t get the two sides as aligned as I would have liked and I ended up doing a couple of more cuts using a sawzall instead. Luckily, all the wiring was easy to detach and it all came off as one big piece. I now had two big holes to cap in the frame that was easily fixed by welding on some 1” flat bar to the ends and shaping to match.


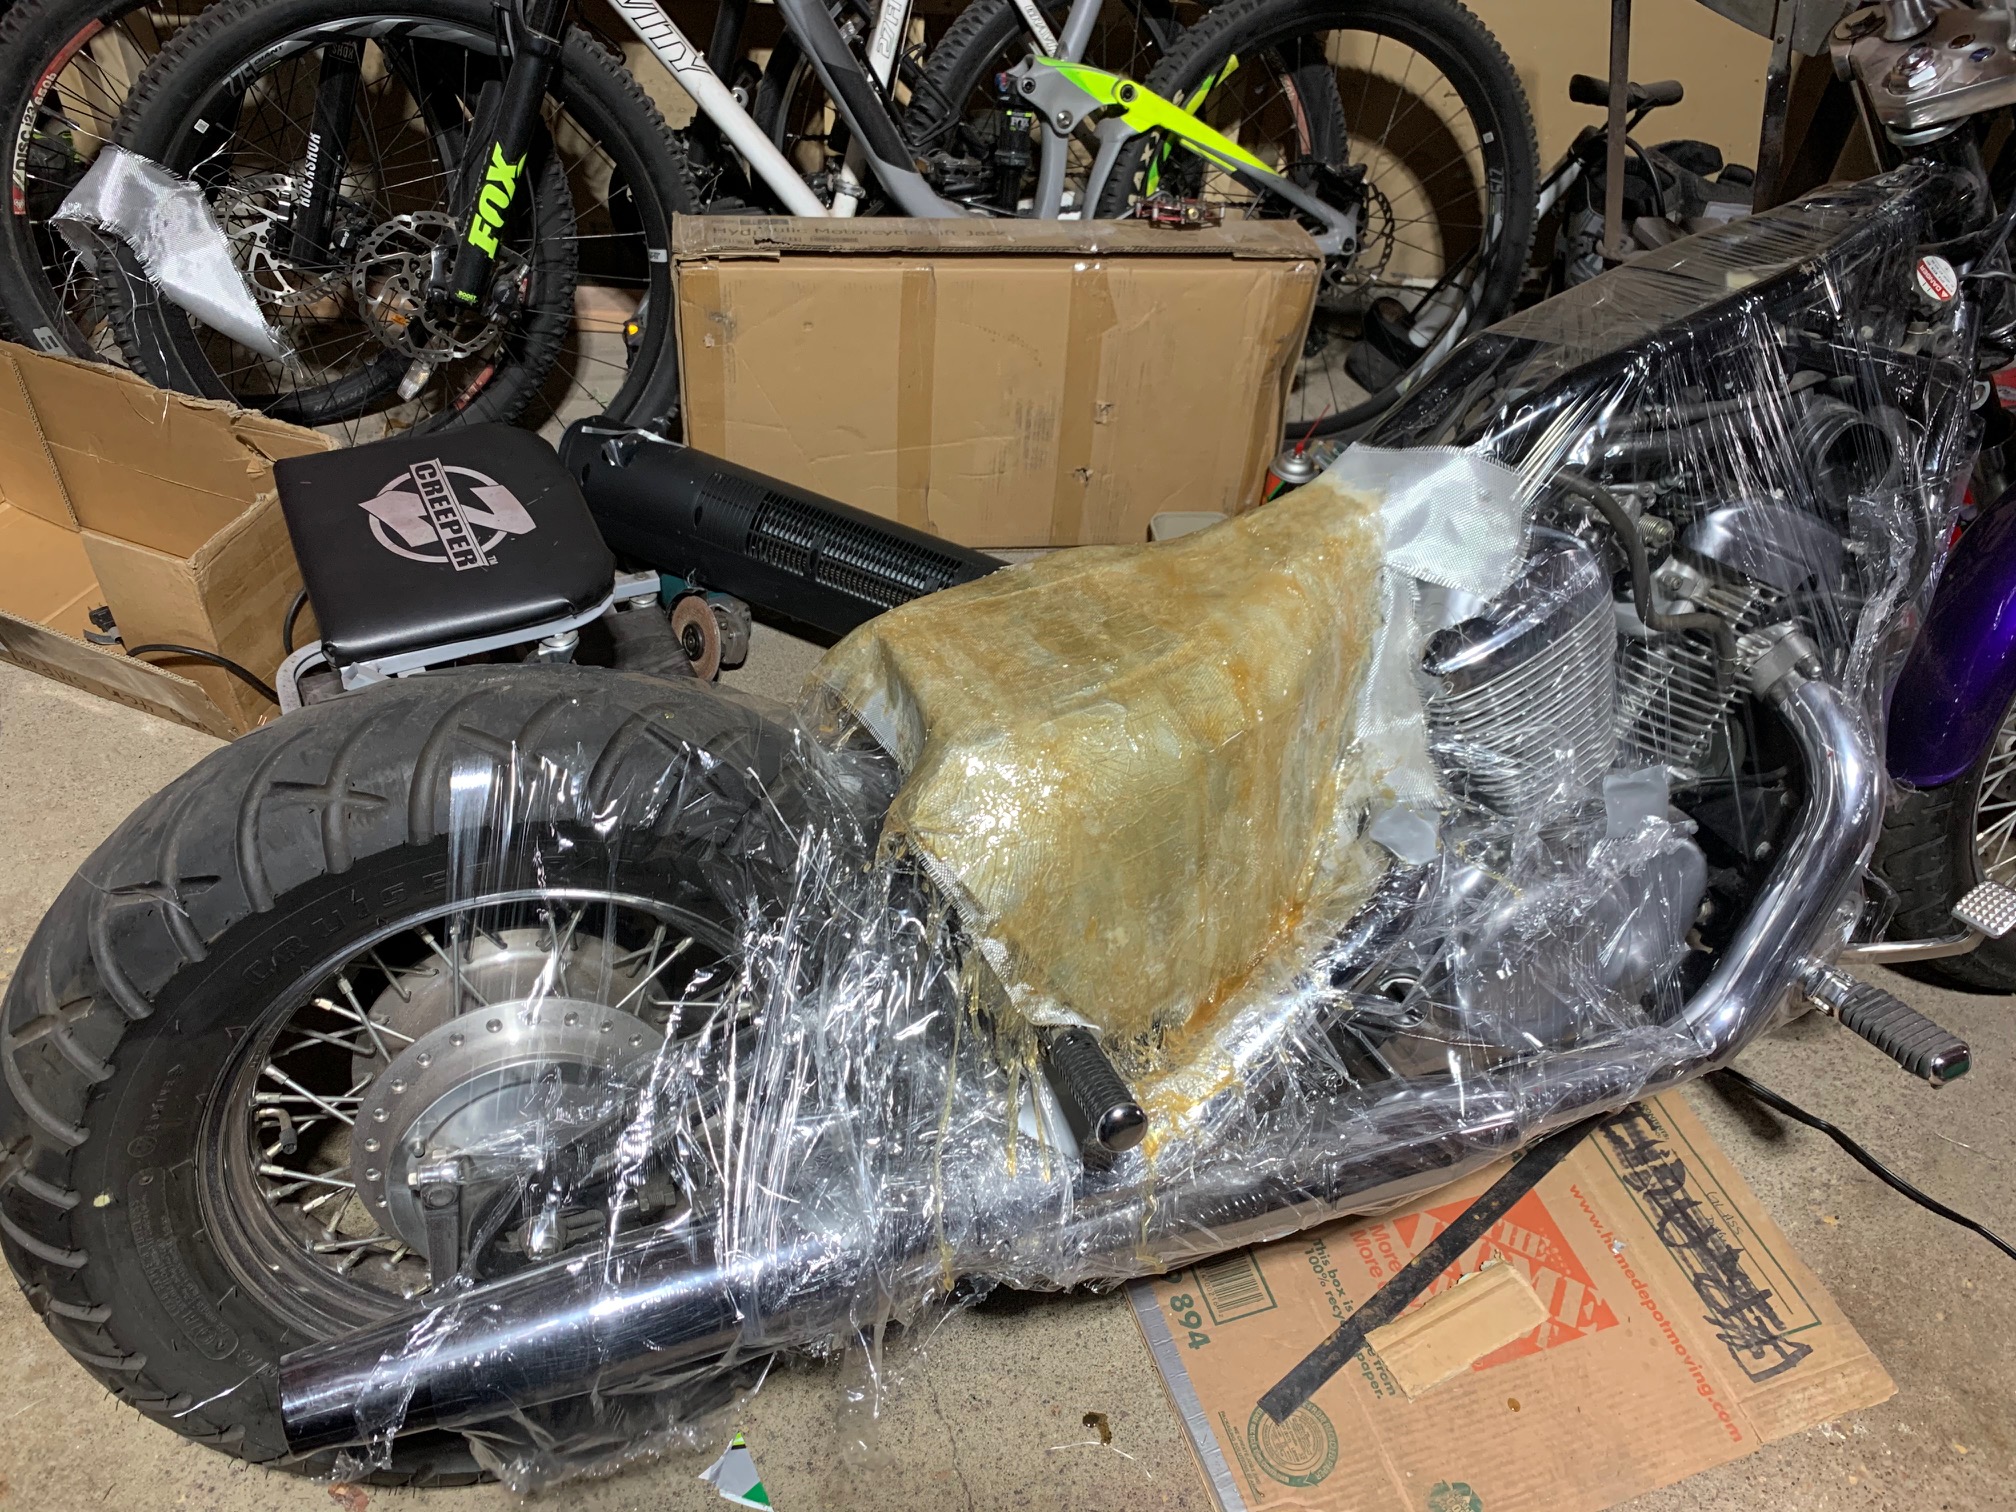
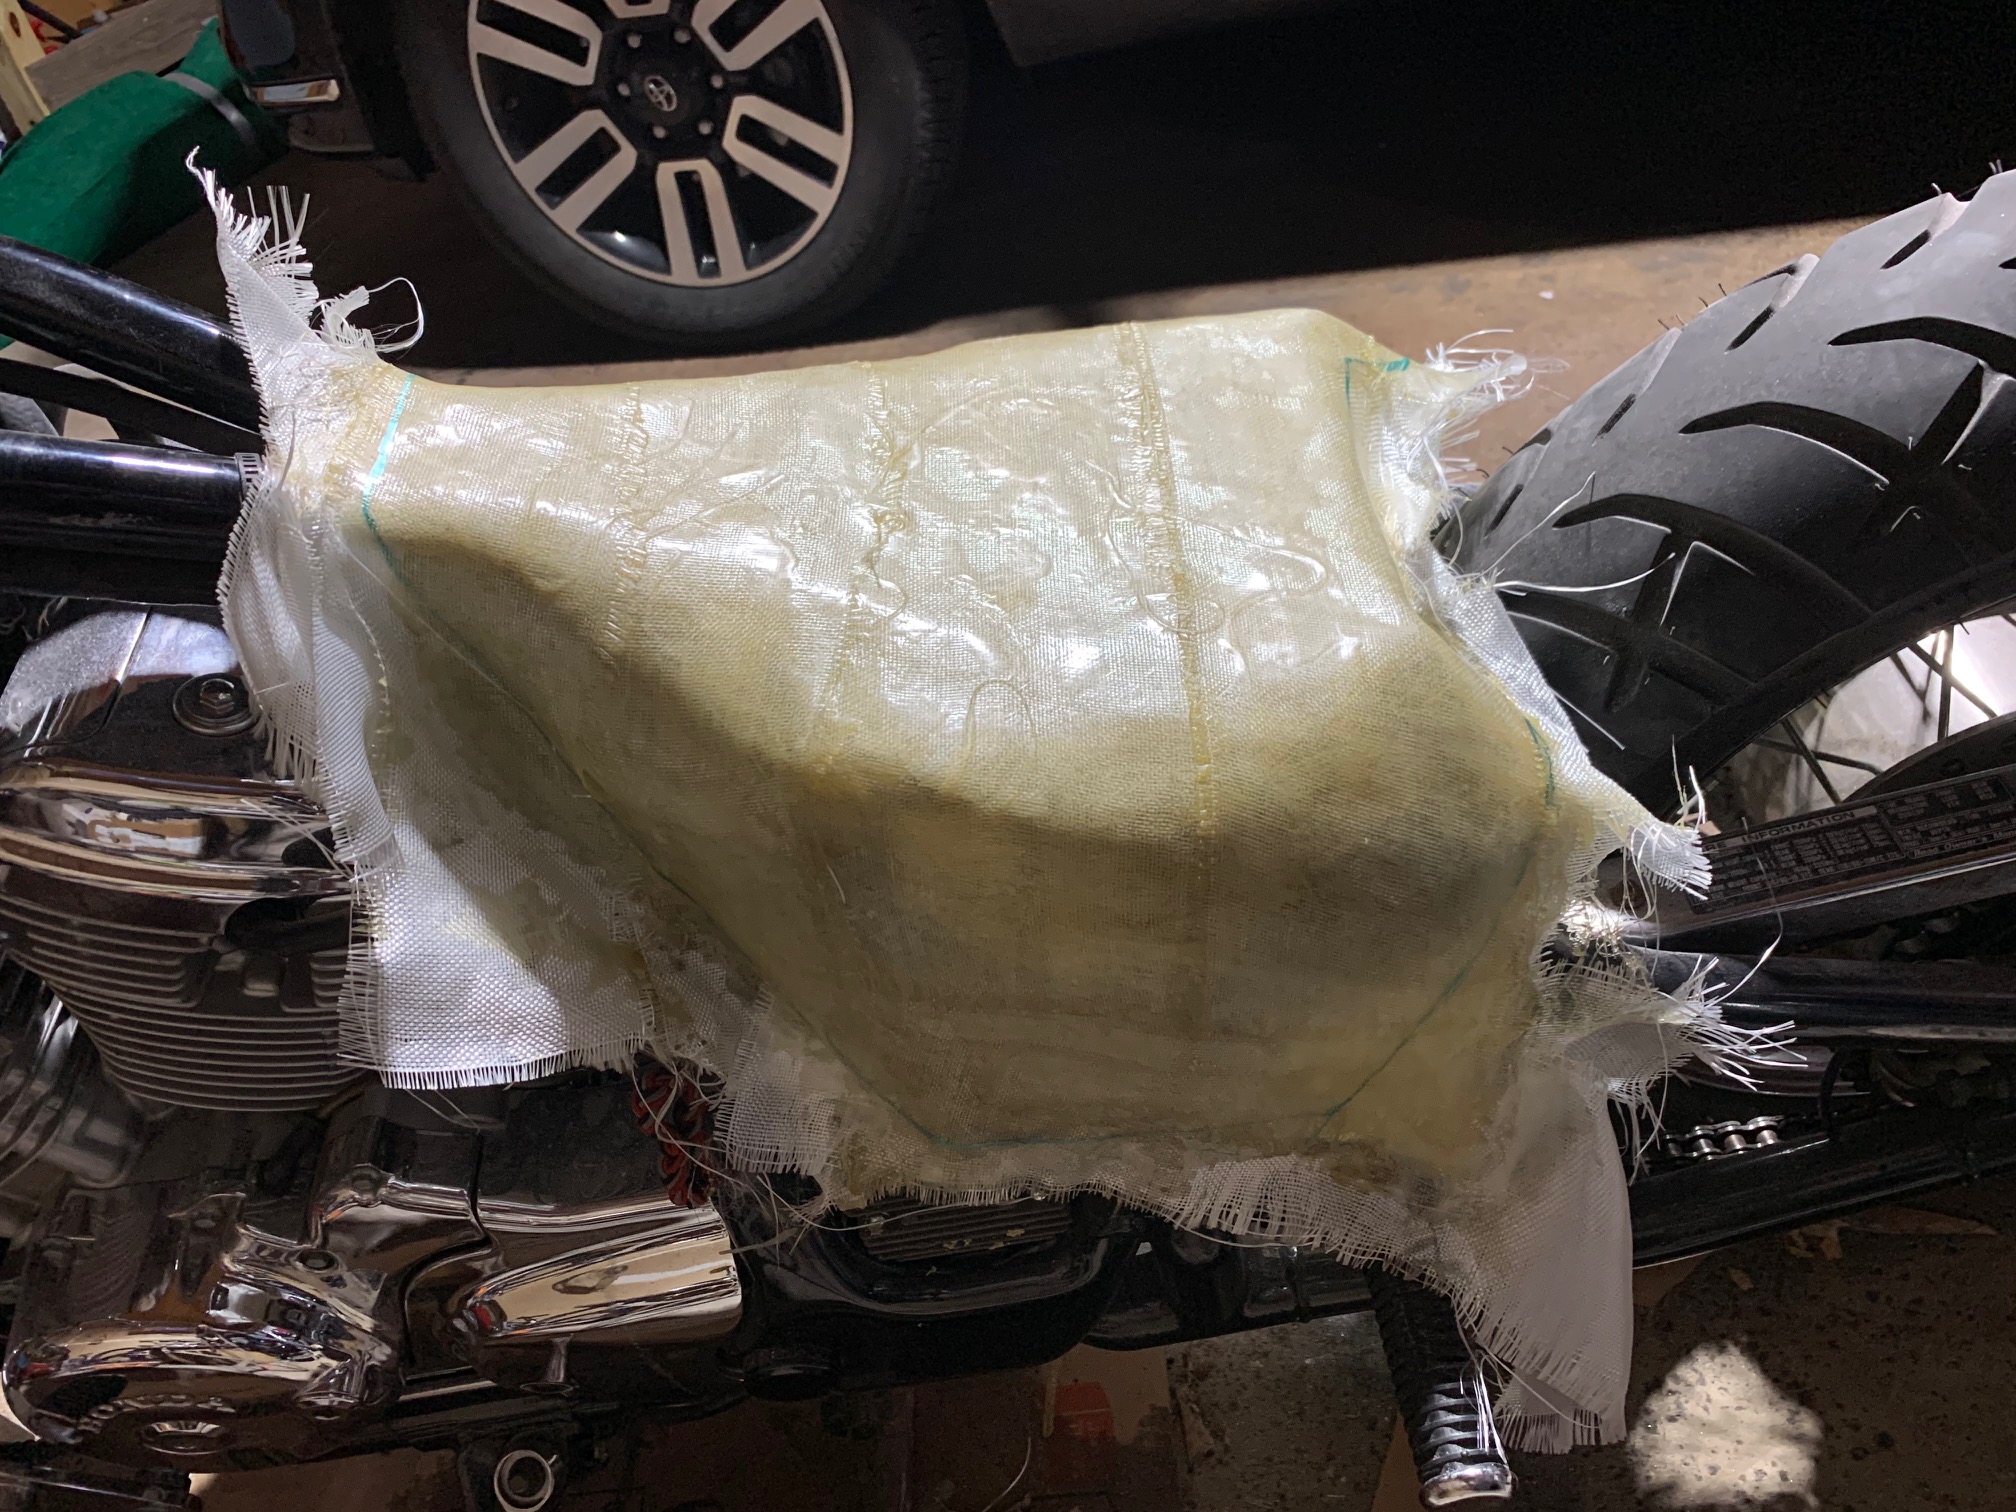
I have seen a lot of bikes use metal side panels and top plates, but I wanted to try something different to start the seat area. Instead of cutting and welding a bunch of sheet metal that I would have most likely done a hack-job on anyway, I decided to give fiberglass a try. To start, cardboard was used to create the rough shapes I wanted. From there, it was covered with duck-tape to seal in the form as well as give a relatively smooth surface for the glass. I also wrapped the bike in plastic wrap to avoid any stray fiberglass or resin from getting on other parts of the bike. Once everything was ready to go, Bondo Fiberglass Cloth was used with Bondo All Purpose Fiberglass Resin. I cut the fiberglass cloth into strips that were a bit more manageable and then followed the directions on the can for application.


This stuff is quite messy and a bit weird to work with, but it actually seemed to go on fairly well. I did have some issues with bubbles and making sure the shape was right. This lead to me over-grinding in a spot and causing me to have to go back and add a couple more layers of glass (which I should have done anyway for strength). It ended up taking two packets of cloth and a full can of resin, but it came out decent enough. It was finished by rough sanding so that body filler and paint could be applied later.

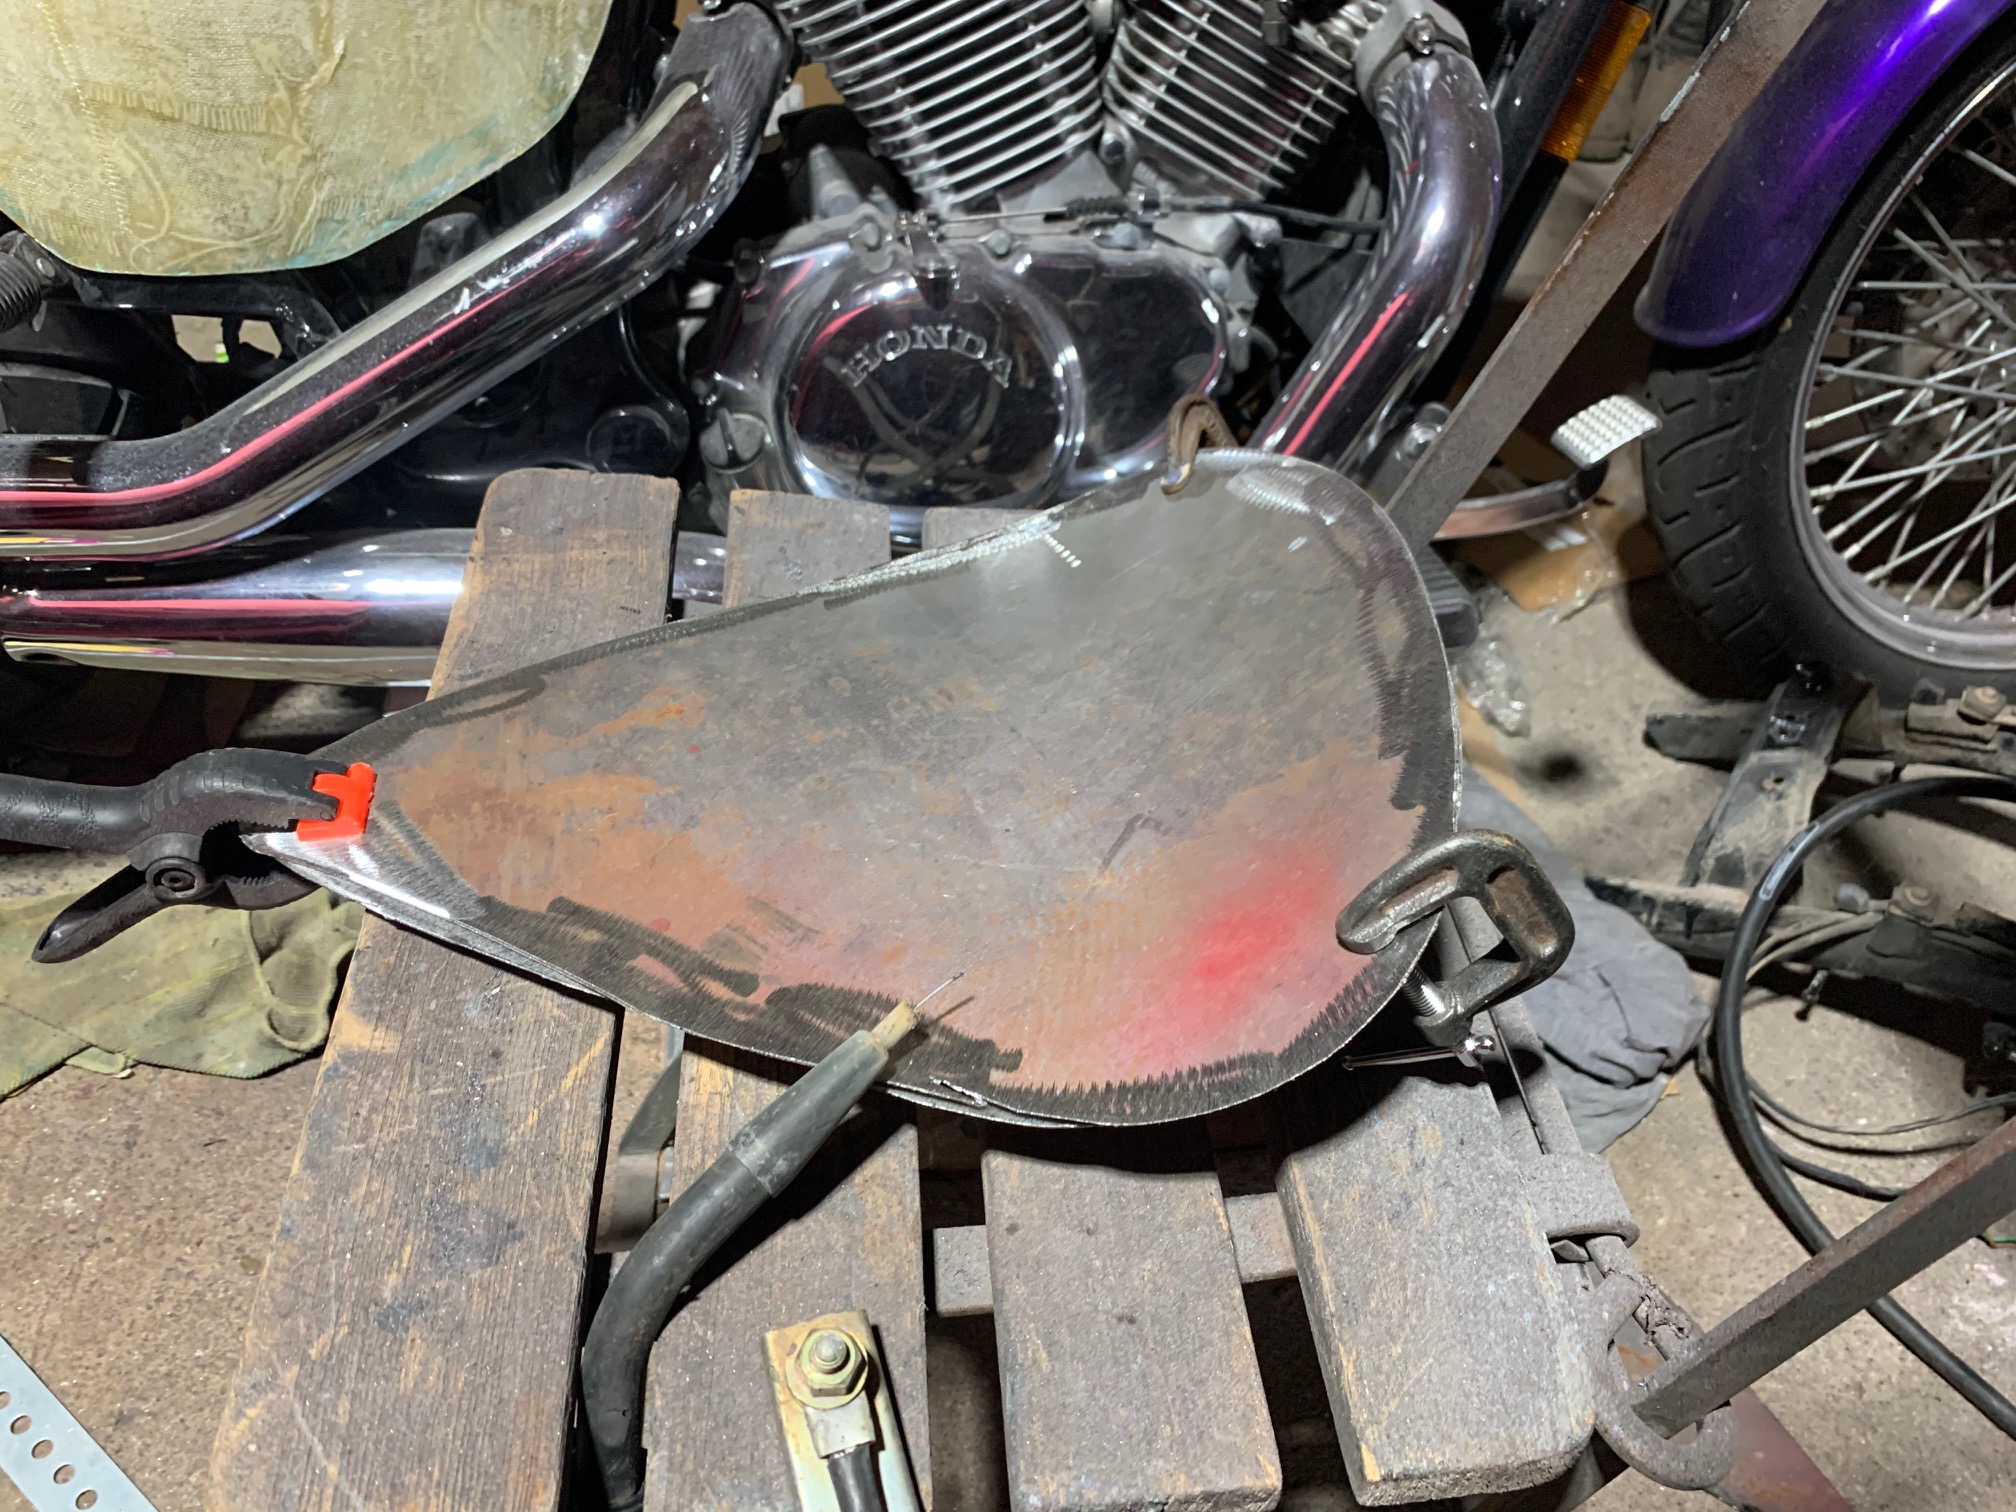
Now that the body panels were somewhat done, I could focus on the seat. Initially I wanted a traditional bobber springer seat, but after getting a cheap one, it felt wobbly and small. I decided to try making my own seat pan out of some scrap metal I had laying around. It was a little daunting at first since I had no clue if I would be able to shape it or if it would be sturdy enough. The sheet metal was only 16 gauge that you can get at Home Depot. It did offer one benefit, though, which is that the thinner metal made it easier to shape. I was able to put in a curve by bending the seat pan around a round piece of pipe I had. Since strength was a concern, the two pans were made to match and then welded together.


Now came the part of trying to figure out how to best attach the seat. My parents had just retired and moved out of their house a couple of months prior and I ended up grabbing some old garden and scrap pieces of metal that would have otherwise been tossed in the dumpster in preparation that I might use them for something. Turns out that something would be the seat mount. My dad had large piece of metal pipe that he was using as a sliding clamp. It seemed to be a good radius for a seat post. Also as fortune would have it, a steel yard aerator my mom had was the perfect radius to fit inside of the other pipe. Rather than use a typical mount and bolt setup, these piece slide into each other requiring only a bolt for the front to attach.


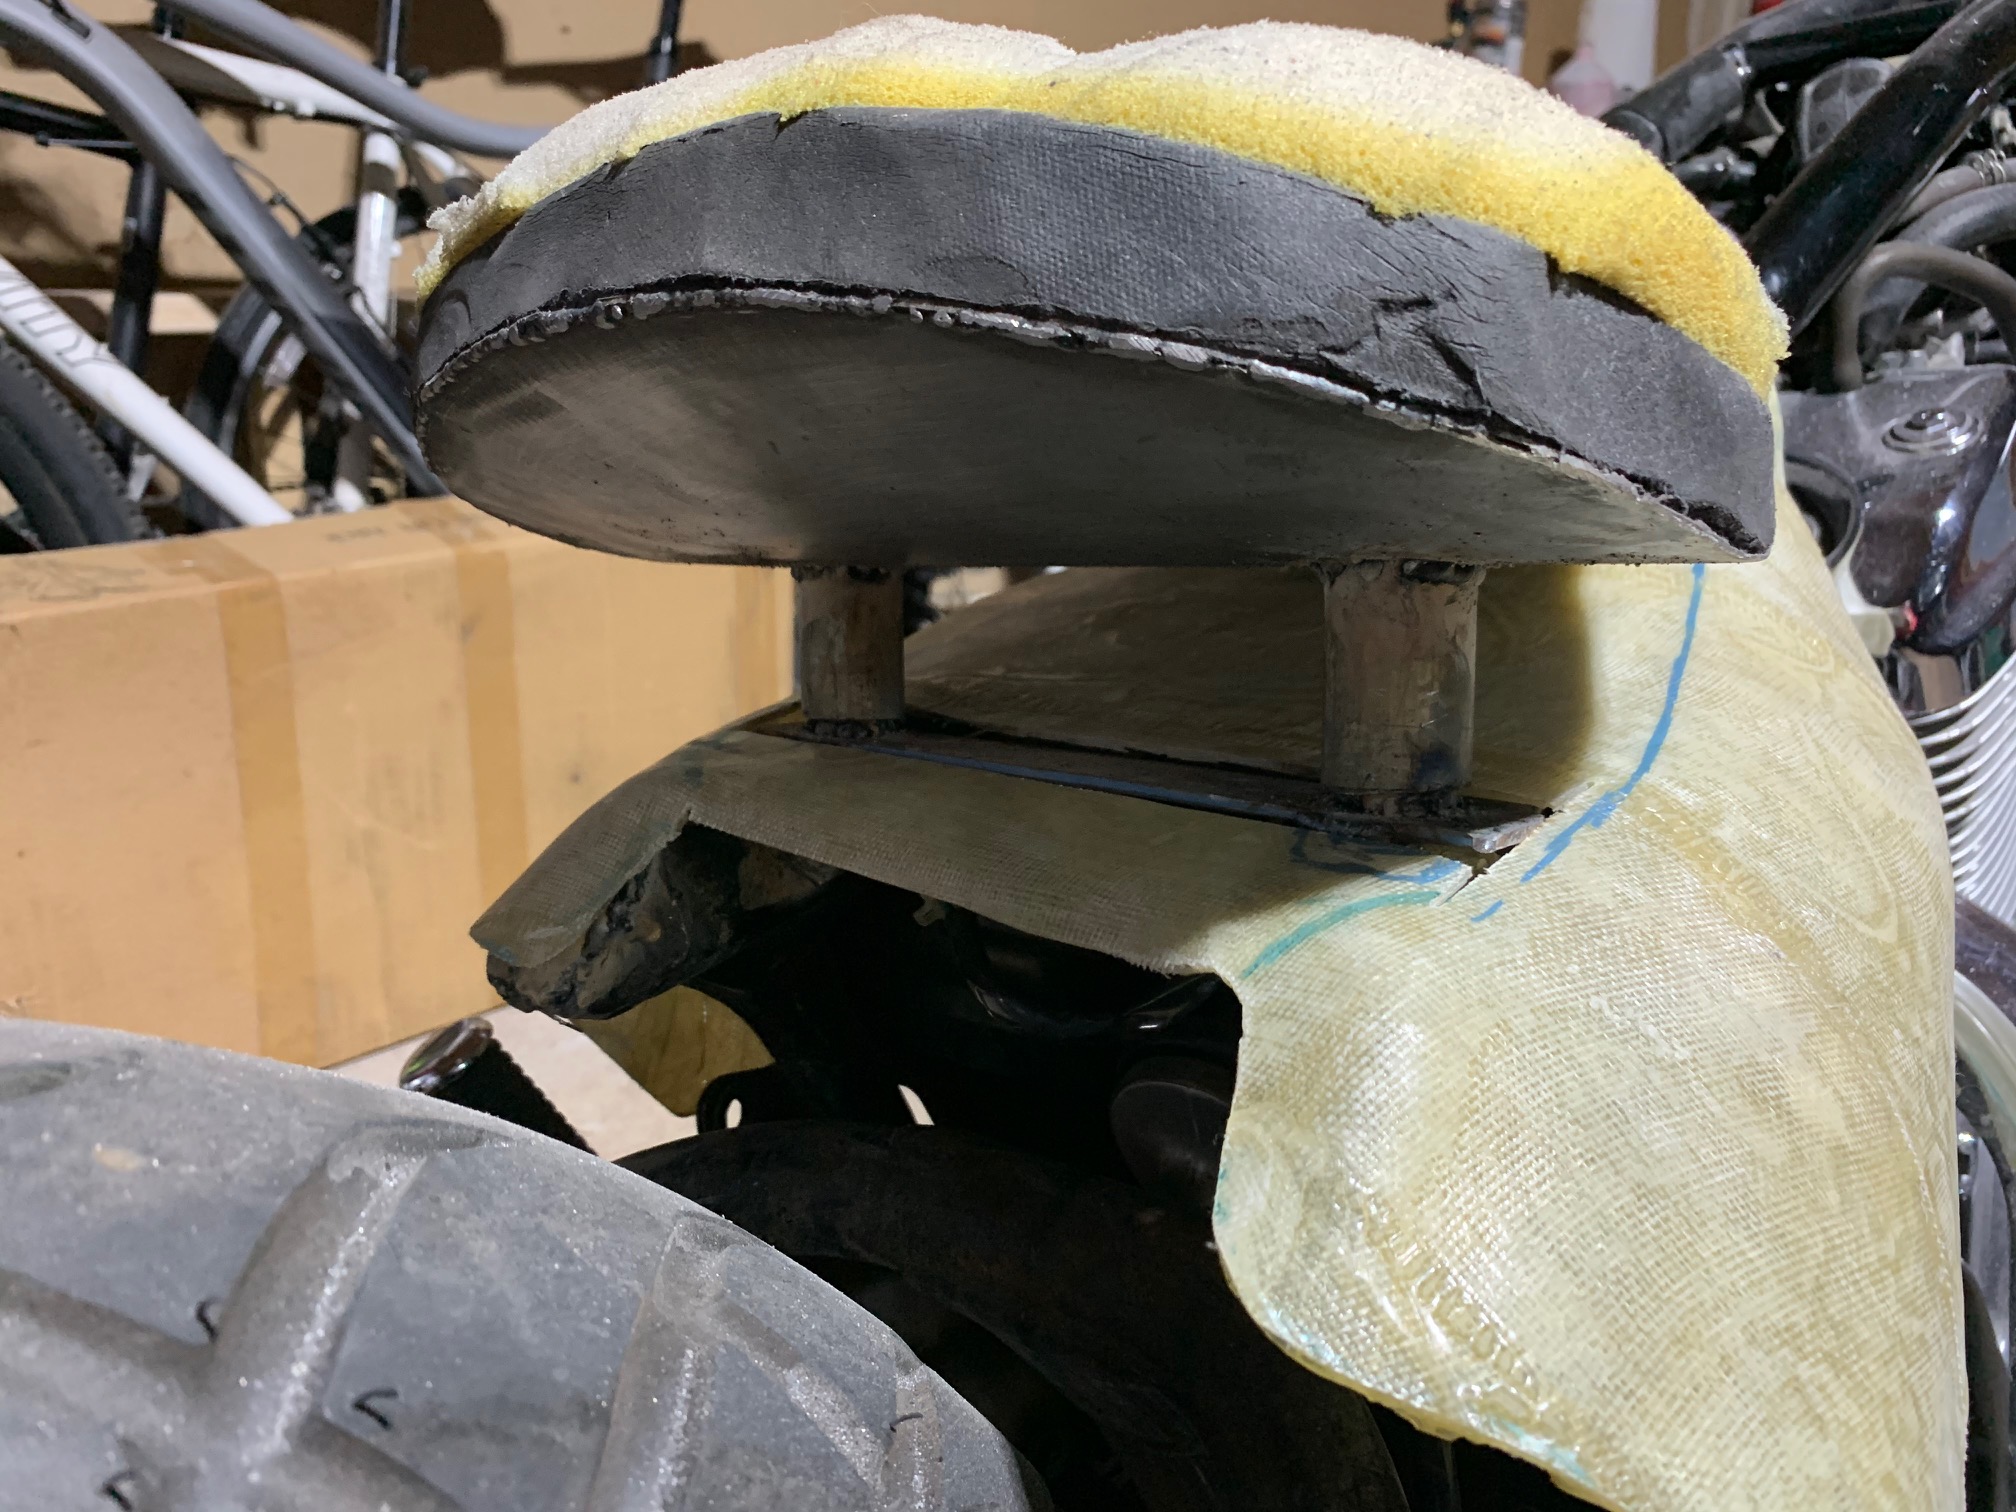
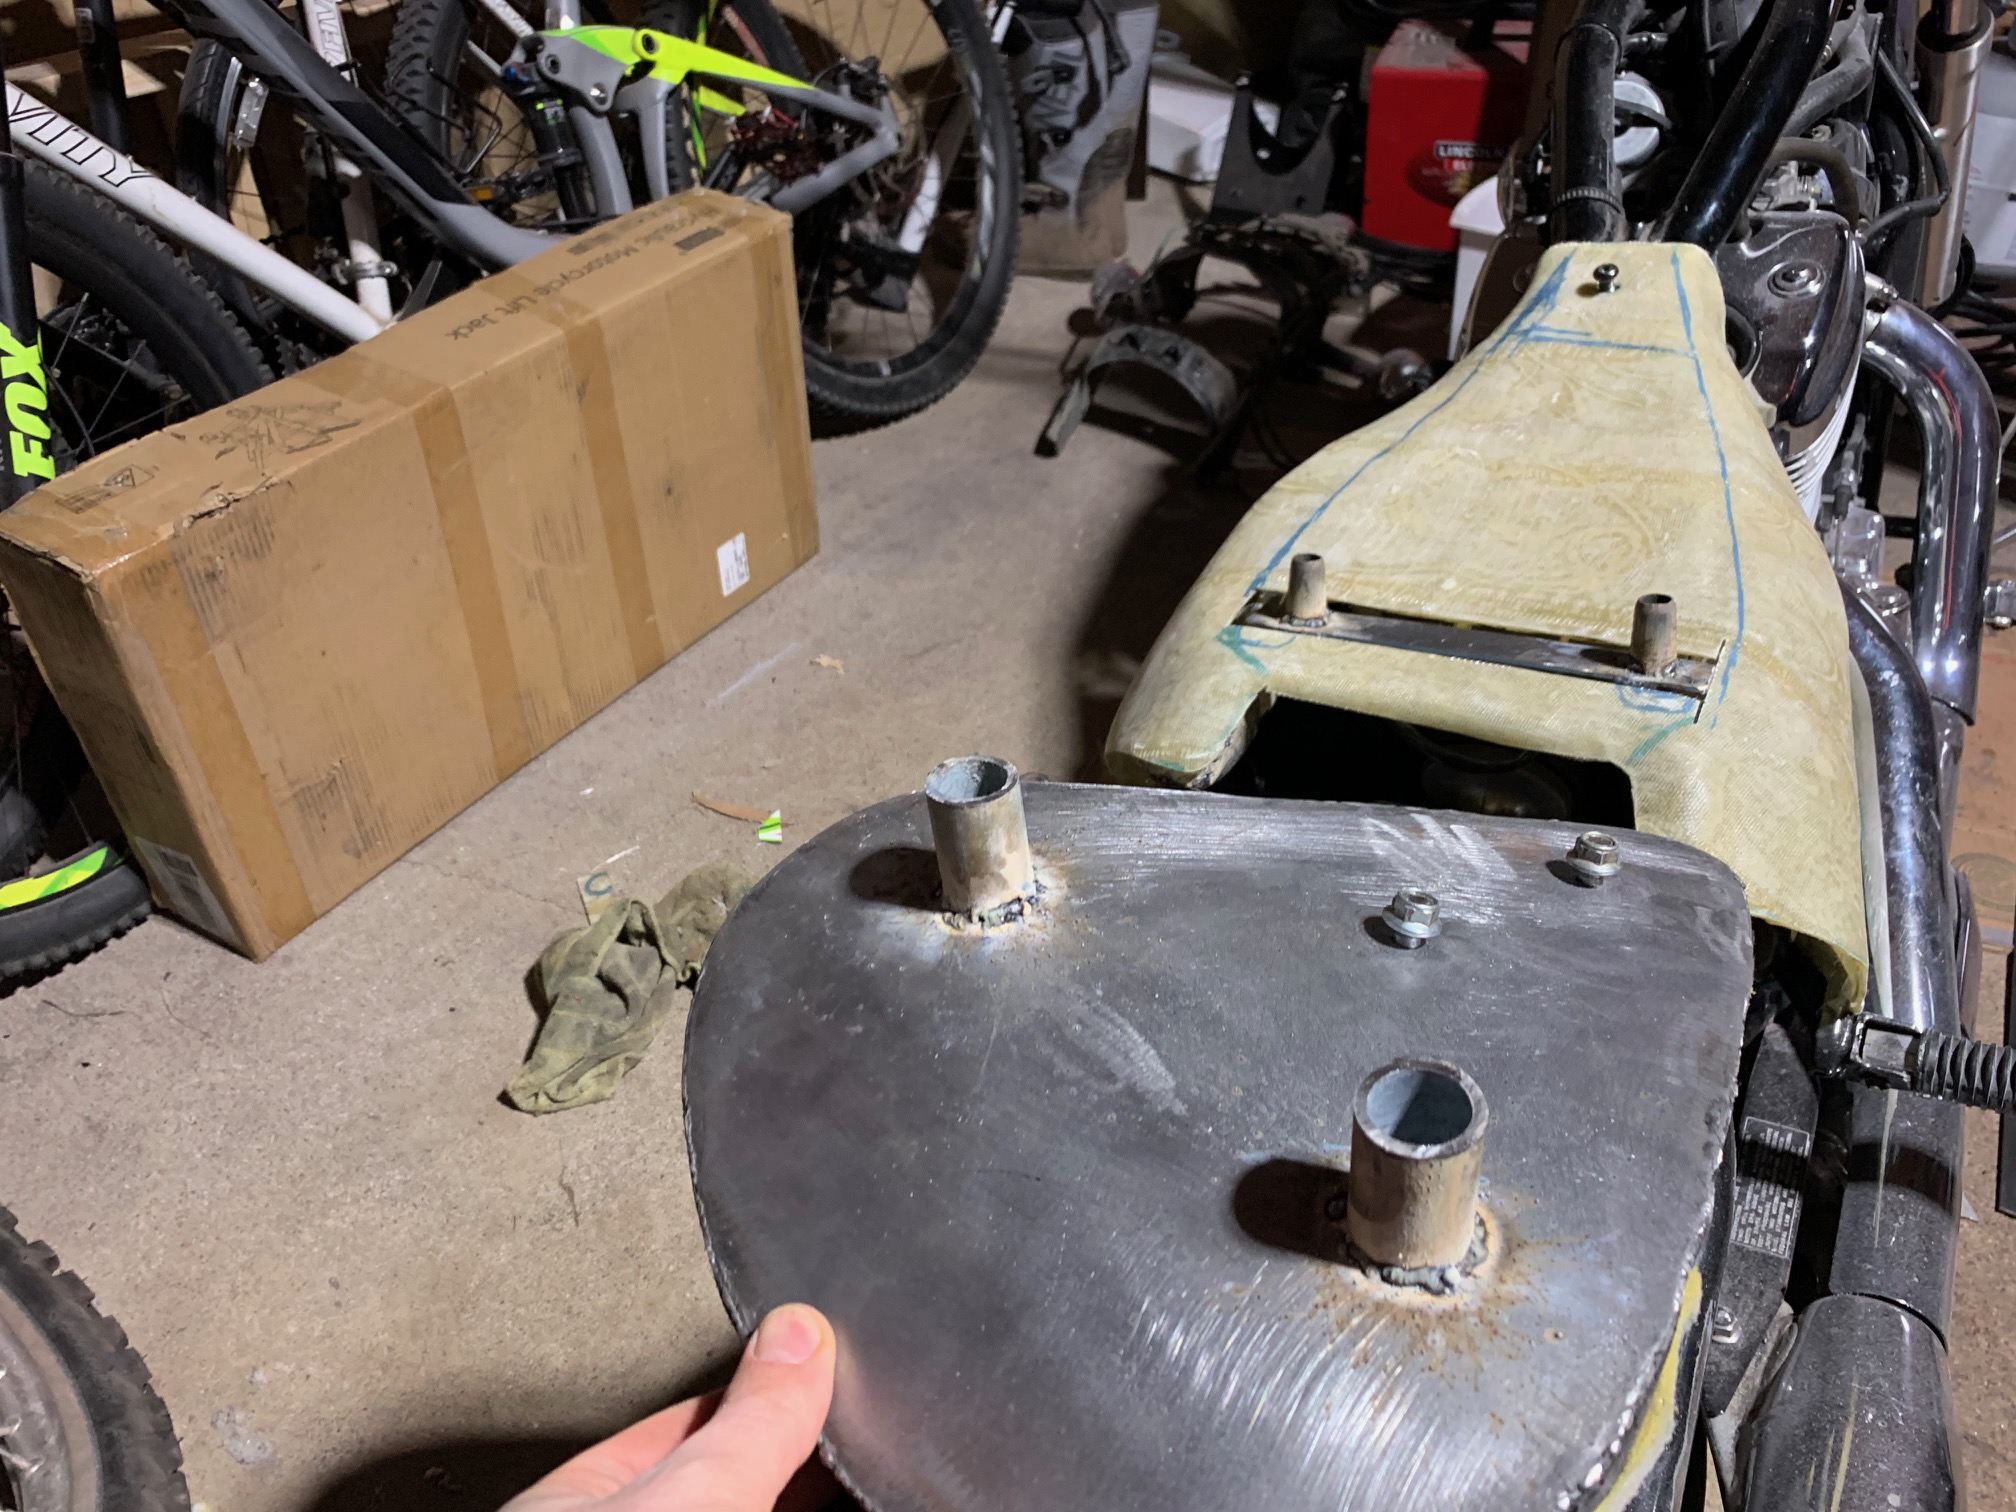
Since I didn’t end up going with a standard seat that are available many places online, a custom mount needed to be made. This was a big source of indecision for me. Was I going to do a hinge mount? Would I just weld a piece of steel to the bottom of the seat pan and call it good? I ended up going with a bit of a combo between the two. Bolts were added to the seat pan to attach the bracket, but no hinge would be added. Flat 1” steel was cut to length and then reinforced with 1’2” steel sides. The tongue was bent using a bench vise to match the angle of the frame.


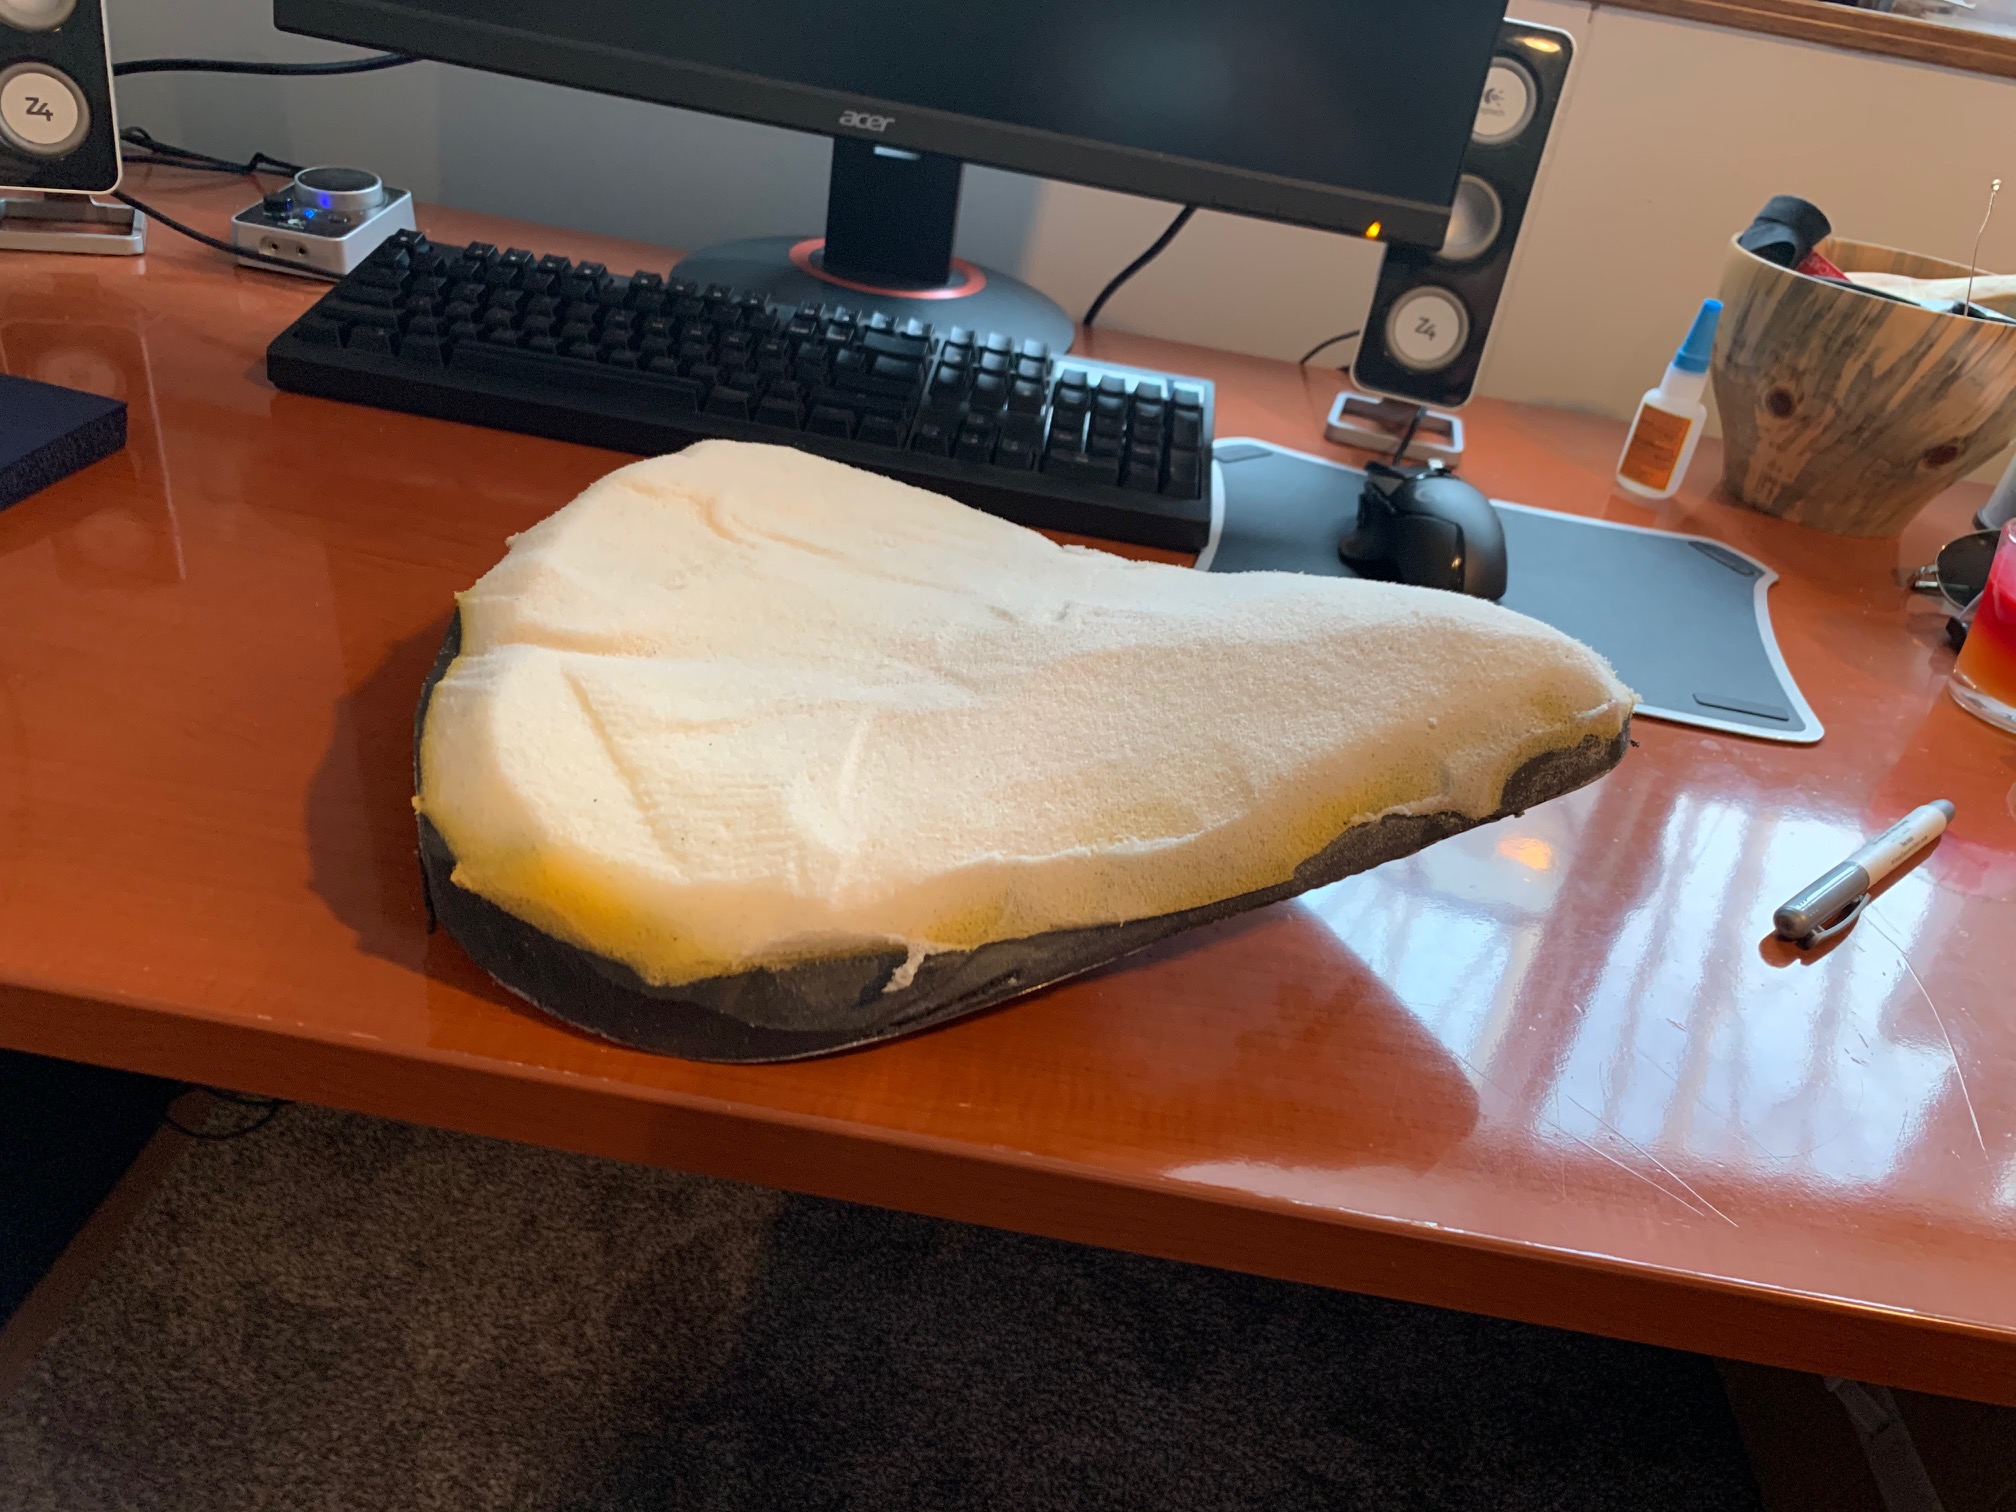
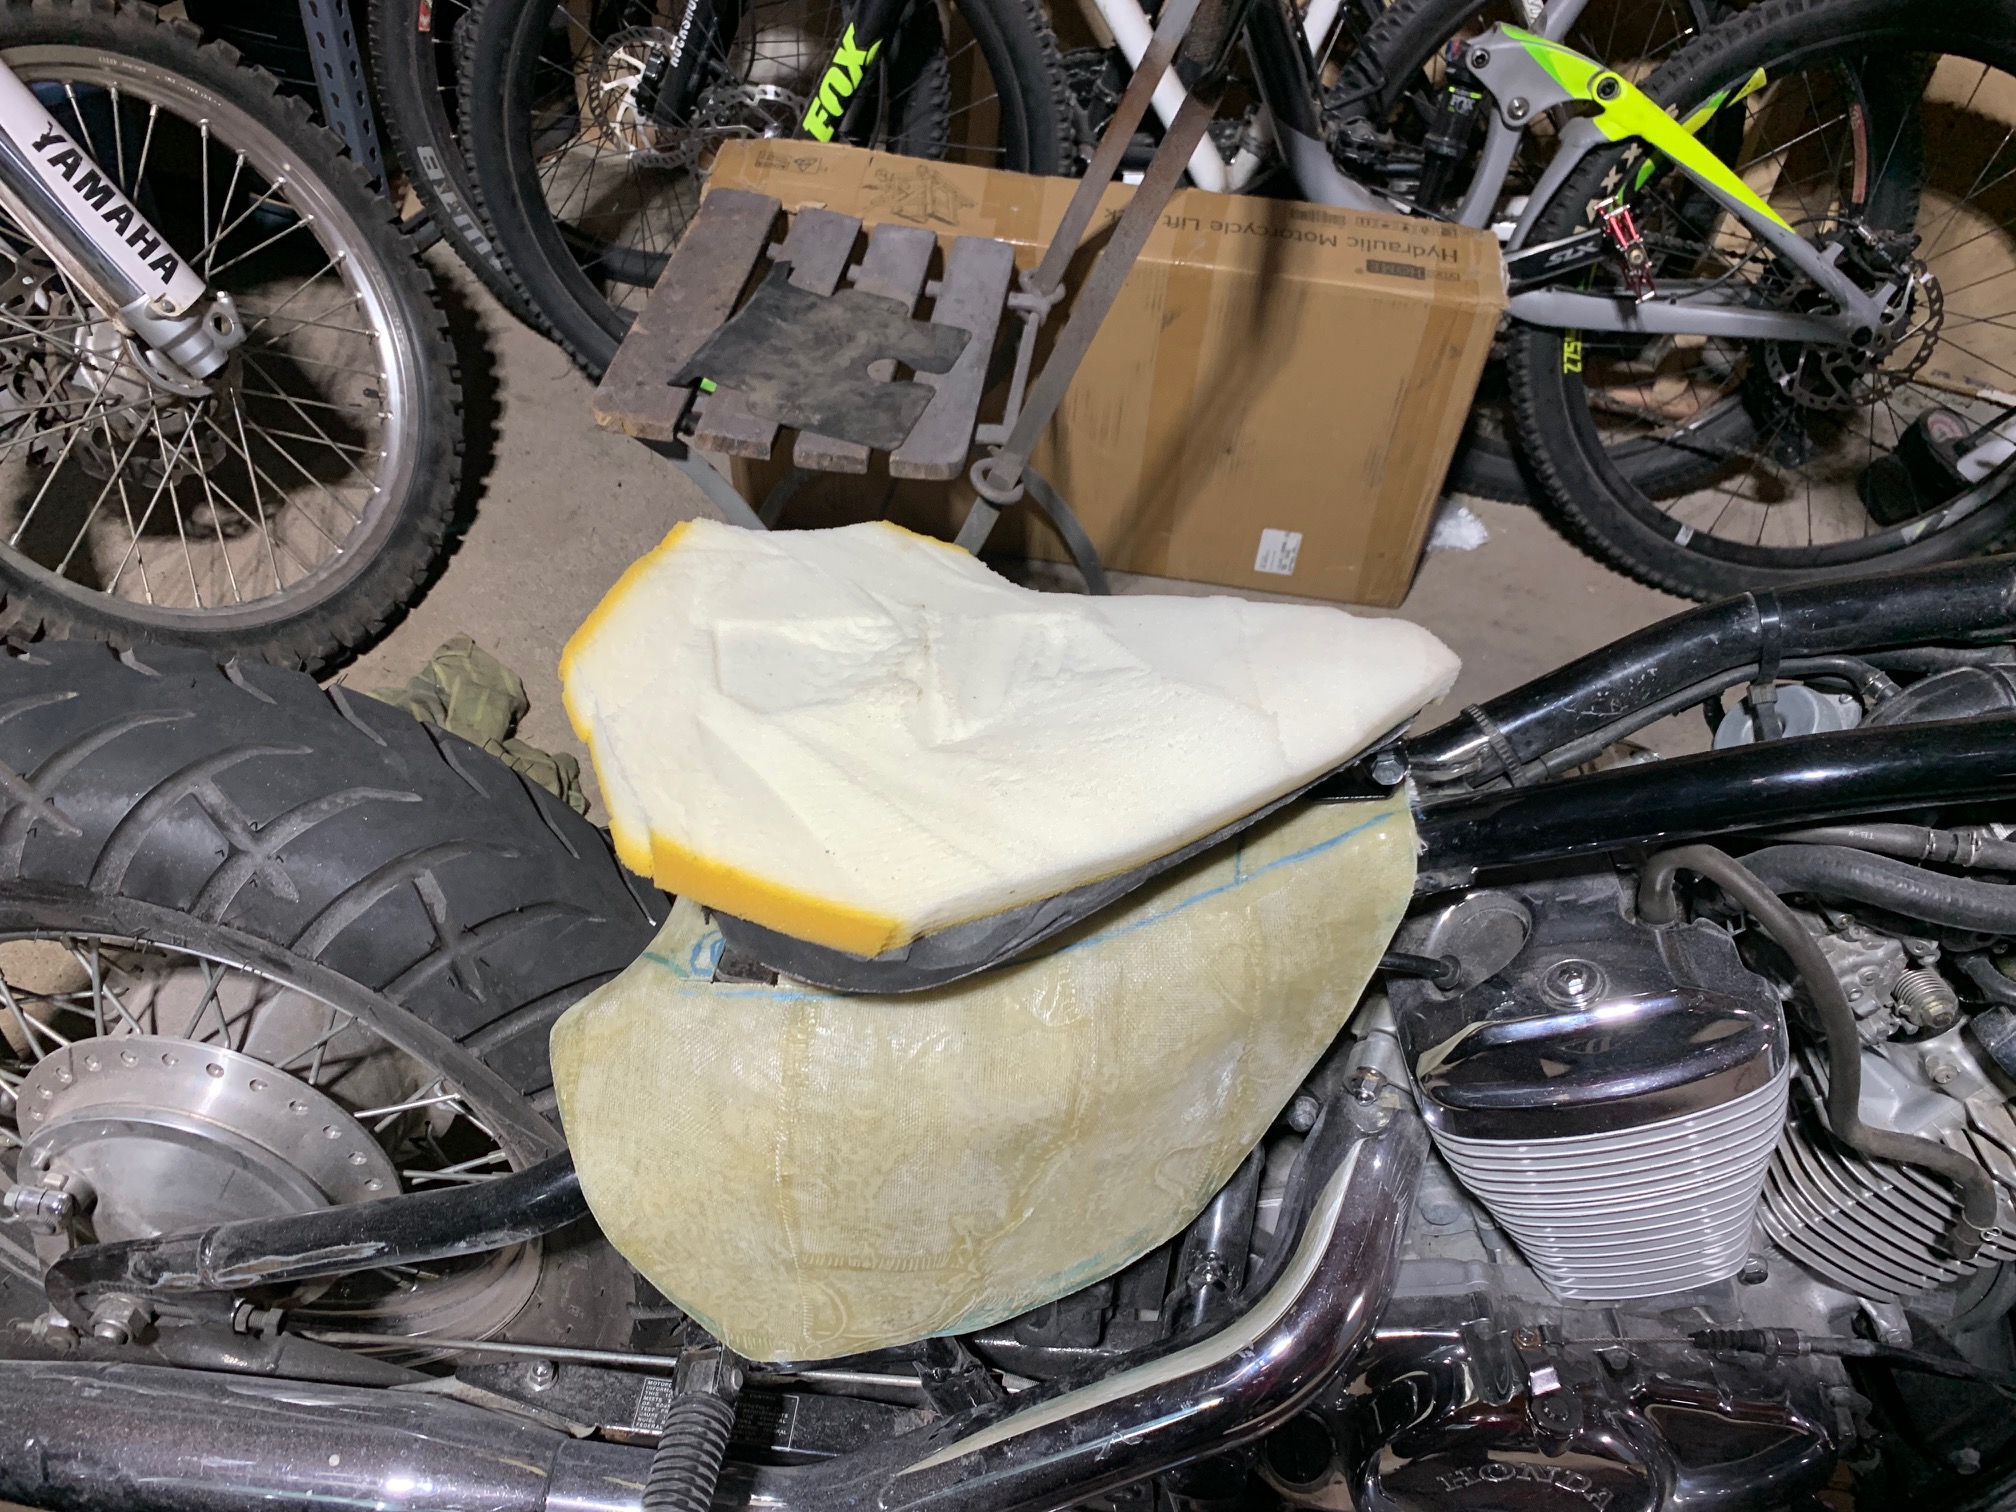
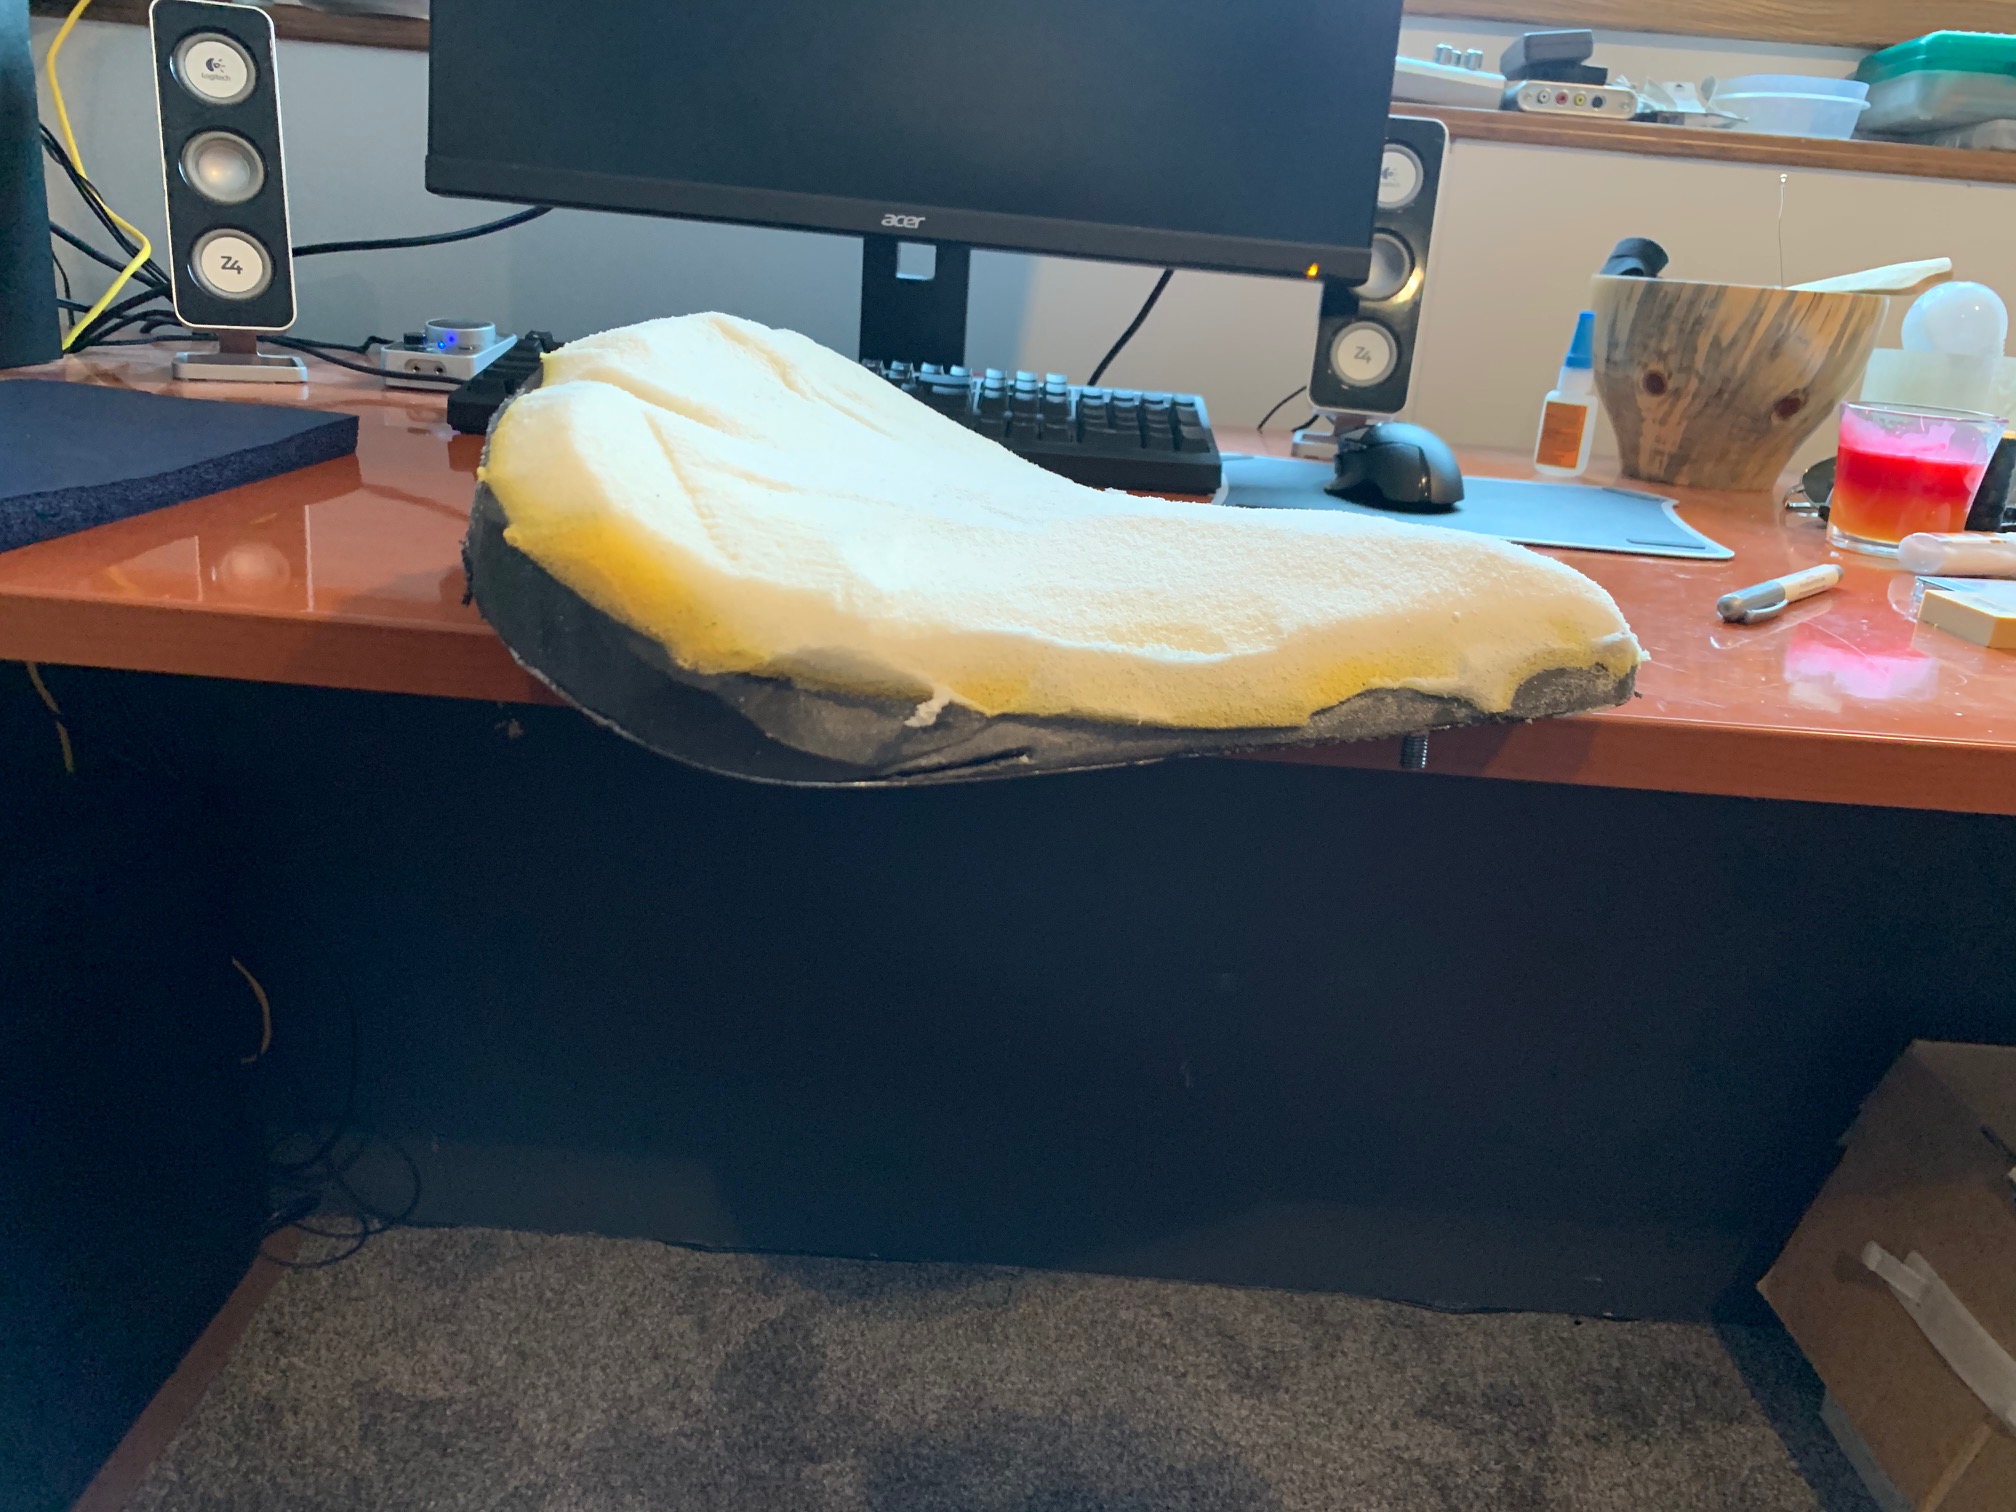
Now that the seat had its mounting figured out, the process of finishing the seat could start. I had some leftover foam from a previous seat attempt for a different bike, so I started with that. I honestly can’t recall the specific foam used for each layer. The base was about a 1/2” of high density foam and the top was another 1/2” of softer foam. Those layers were glued together using 3M Super 77 Multipurpose Spray Adhesive. Once the foam was glued, it was then cut and shaped using an angle grinder. When the time came to covering the seat, many attempts were made, and only one partially succeeded. Initially I used some left over vinyl that I used on the Maximus project, but that turned out to not match my vision for the bike and it was also not shaping to the seat like I wanted. I ended up picking up some marine grade black vinyl that worked really well.
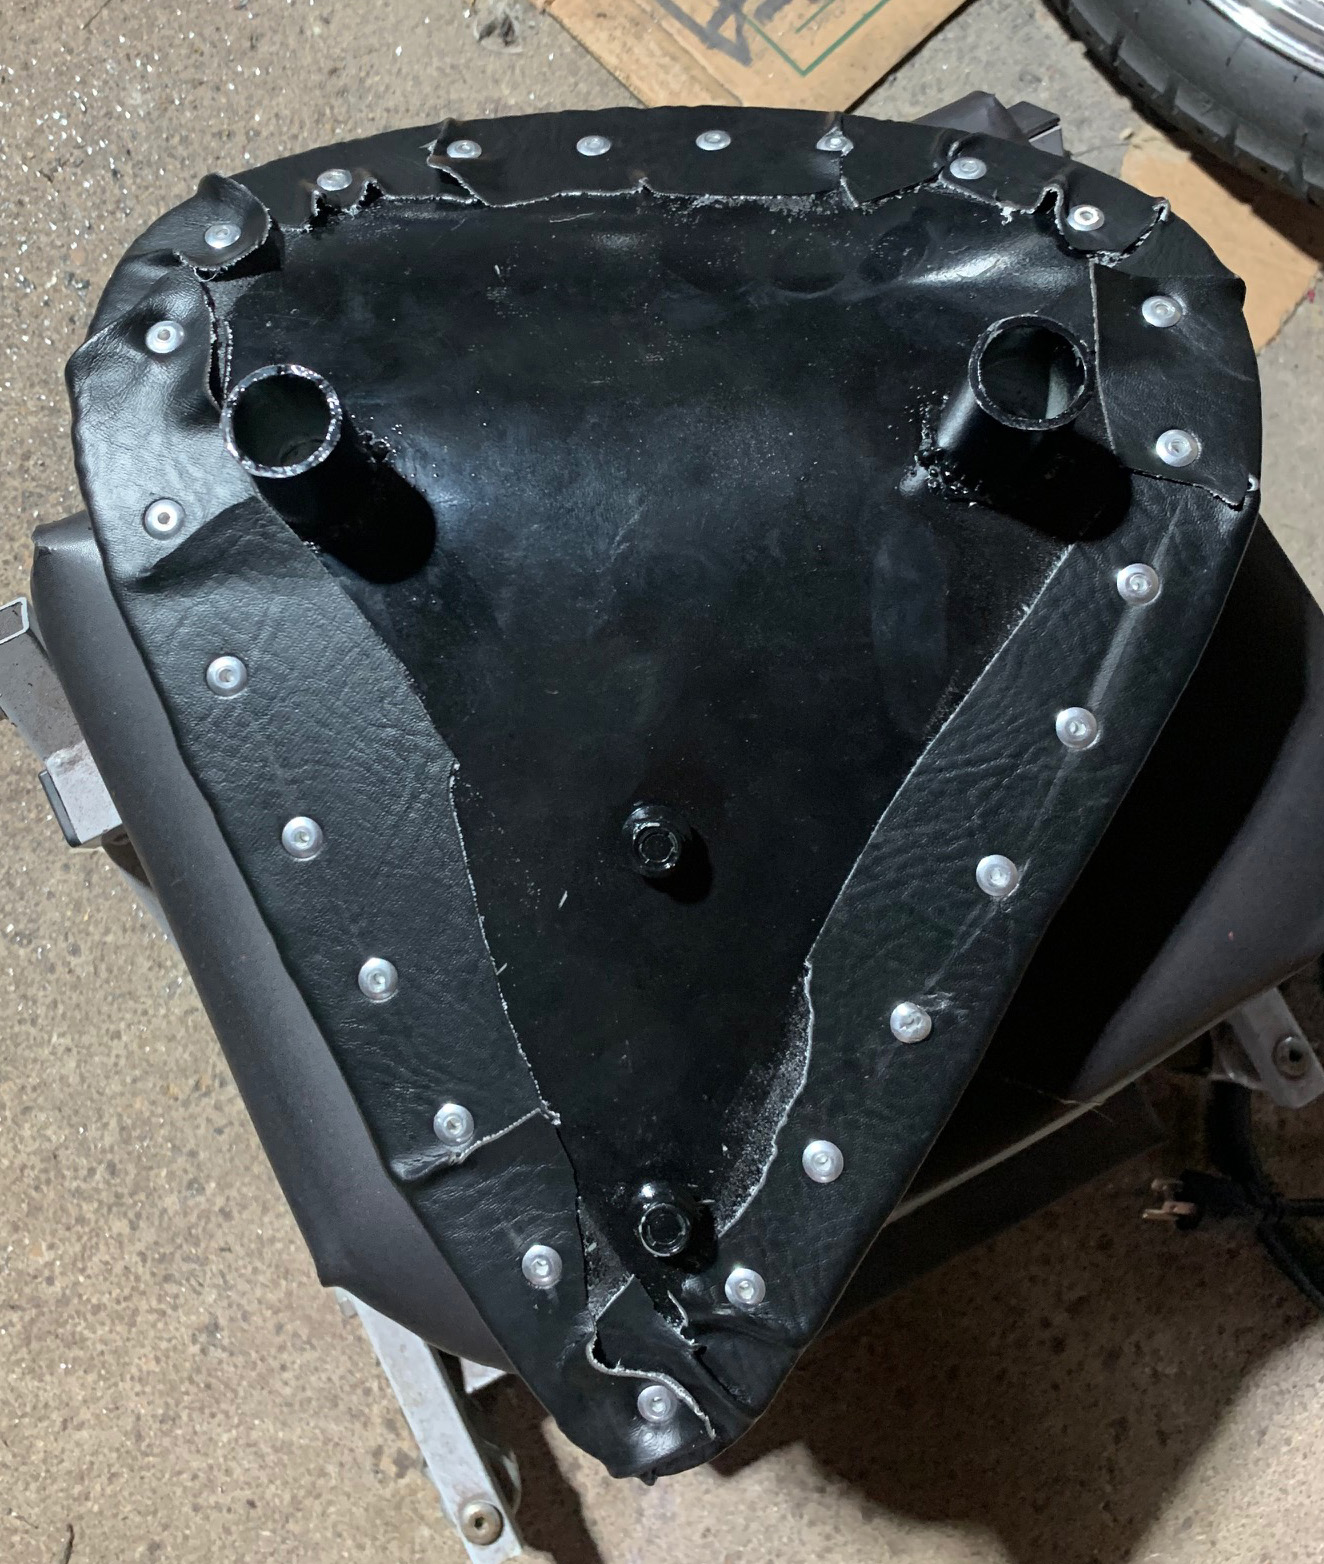
I started by cutting out the shape of the seat with about 3 inches of overlap for the vinyl to adhere under the seat. After applying some more 3M Super 77 Multipurpose Spray Adhesive to the back of the vinyl and top of the foam, the vinyl was stretched around the edge and initially secured with a bit more adhesive. I had pre-drilled holes in the seat pan to match the rivets I would use next. The corners of the seat needed to be worked in a bit and pieces cut out from the back to keep the contour with minimum wrinkles. Once I was satisfied with how it looked, I then riveted the material in place. It was finished by cutting off any excess material.

This is where the project stands as of now. Coming up will be turn signal install as well as some tweaks to be made to the side covers. I will also be ordering a new fender and probably start some mockups of a completed idea. Stay tuned!
UPDATE: Continue to Part 2!

One thought on “Jackpot – 1996 Honda Shadow VLX 600 Bobber Build: Part 1”