It has been a while since I have done a guitar build. My interest in music had really fallen off over the last few years and I just couldn’t get myself motivated to get back into it. This bass guitar kit had sat in our mud room closet for the better part of 4 years after initially getting the motivation to draw out the design. But, Minnesota winters have a way of creating enough boredom to spark the flame needed to step back into a creative project such as this. Video games can only keep me occupied for so long these days.
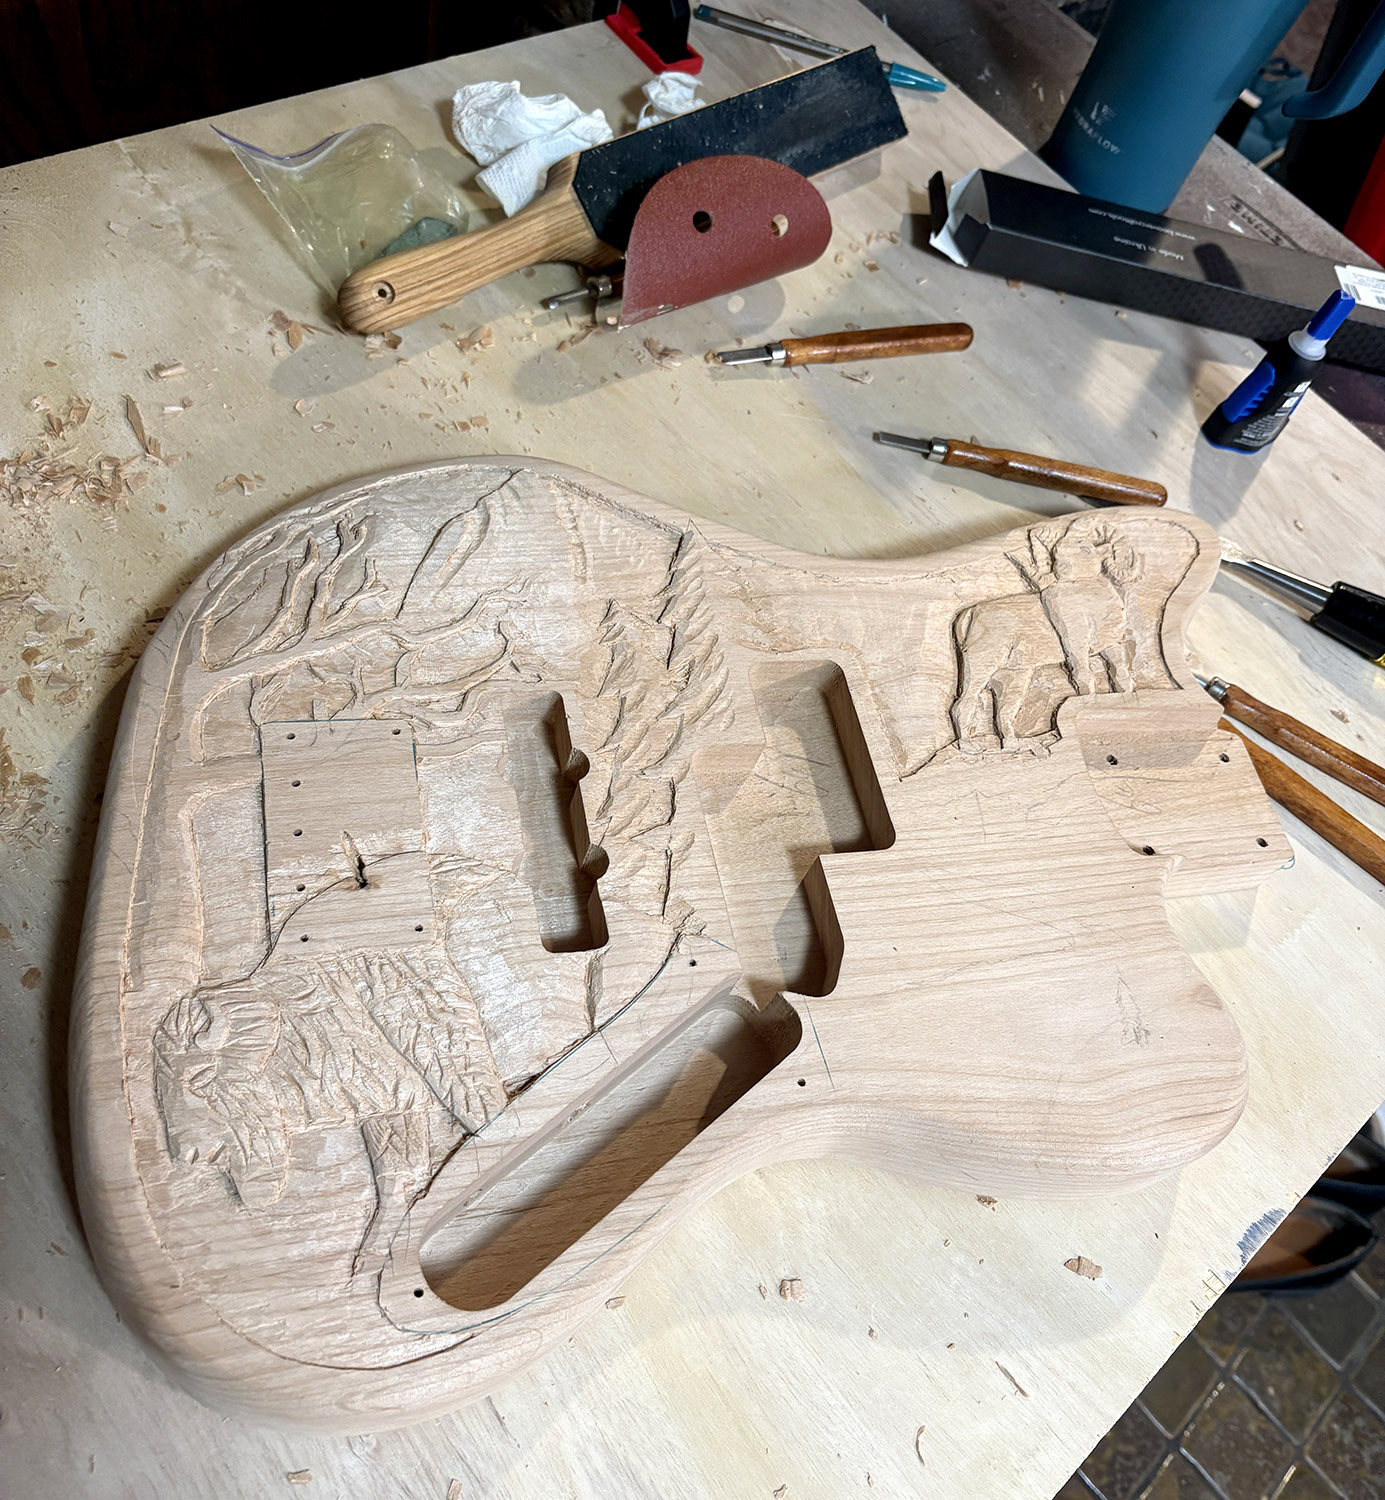
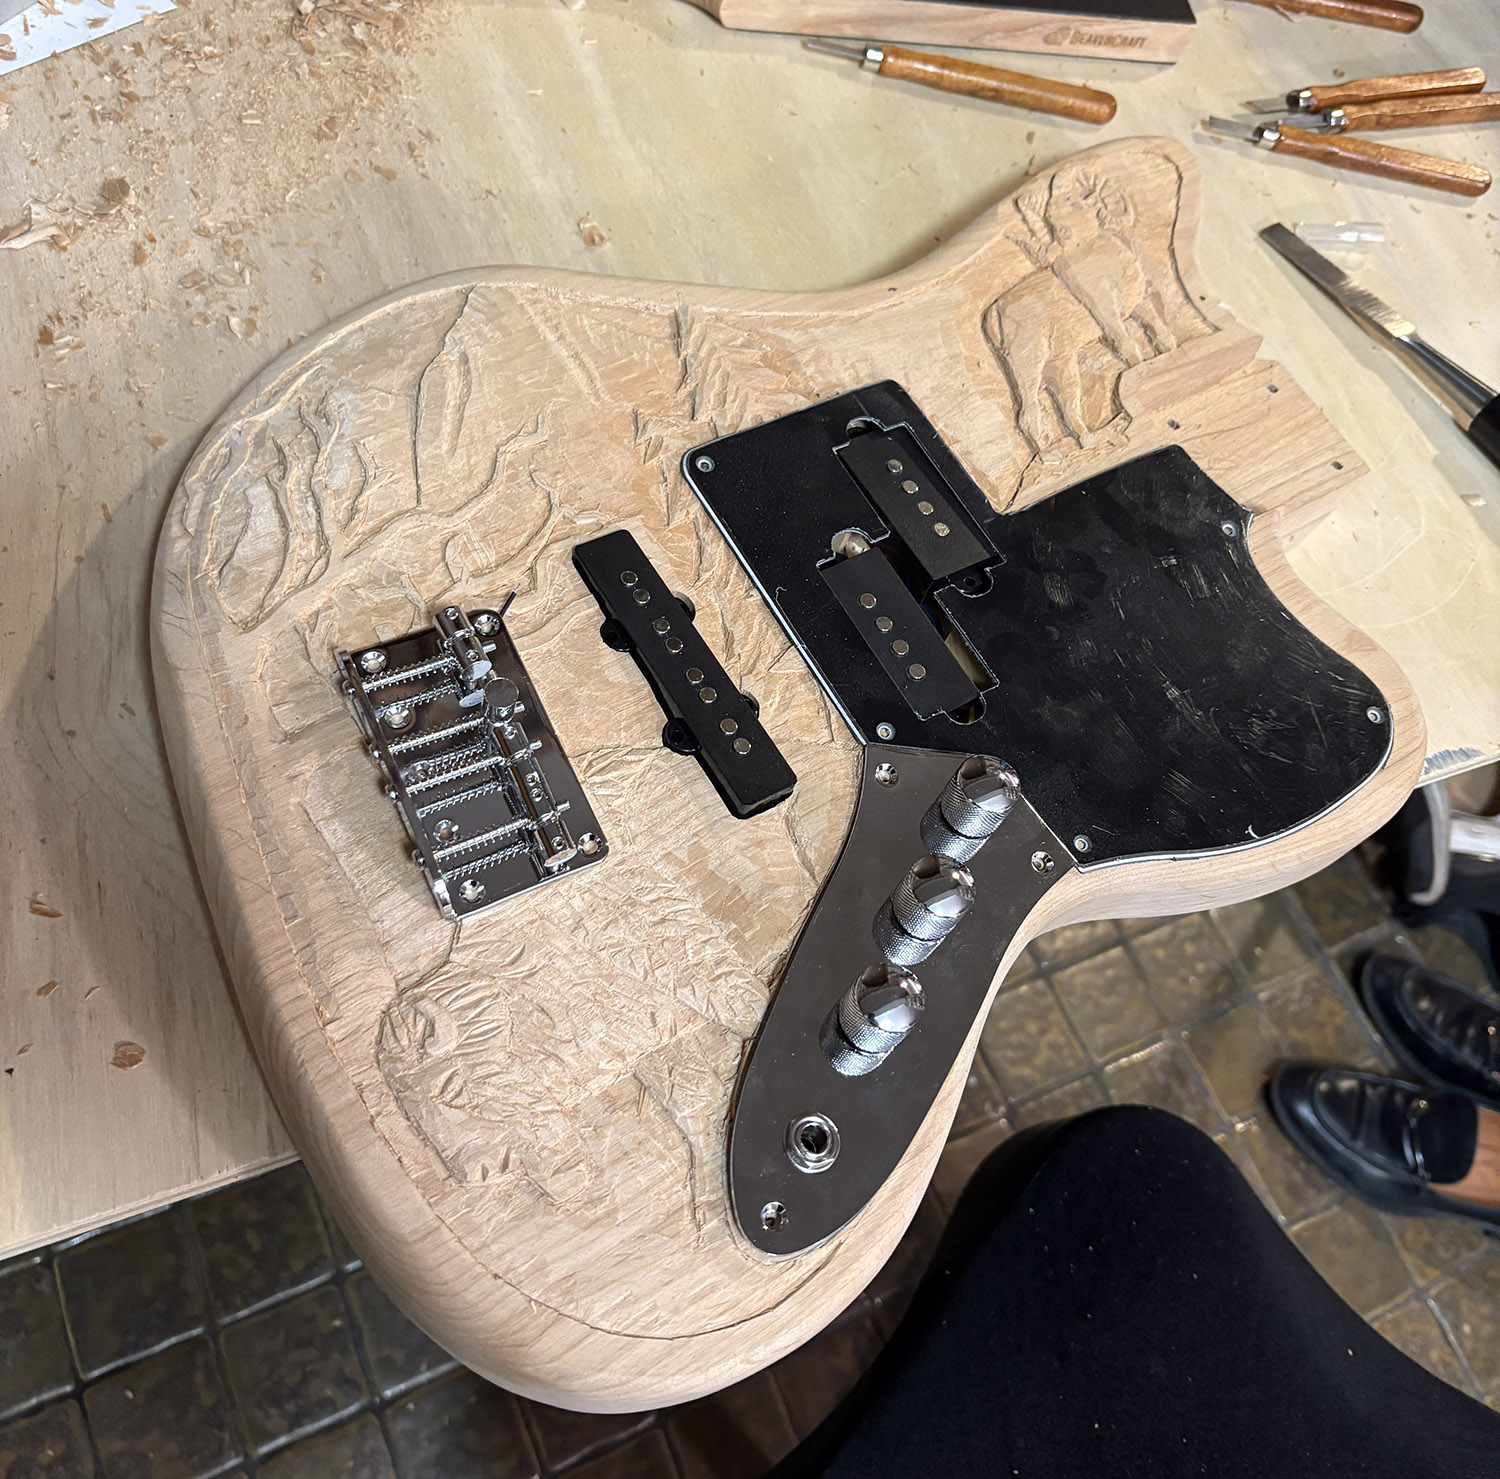
In fact, it was a lackluster video game experience that brought me back to this bass guitar. I had been running around WoW (World of Warcraft) with a buddy and got sick of being killed over and over by other players along with the monotony that had become my gaming experience. I desperately needed a break to relax and figured carving on a bass guitar body might help chill me out. I dusted off the box, set up a table in my basement as my “carving station” and jumped into the blocking phase.
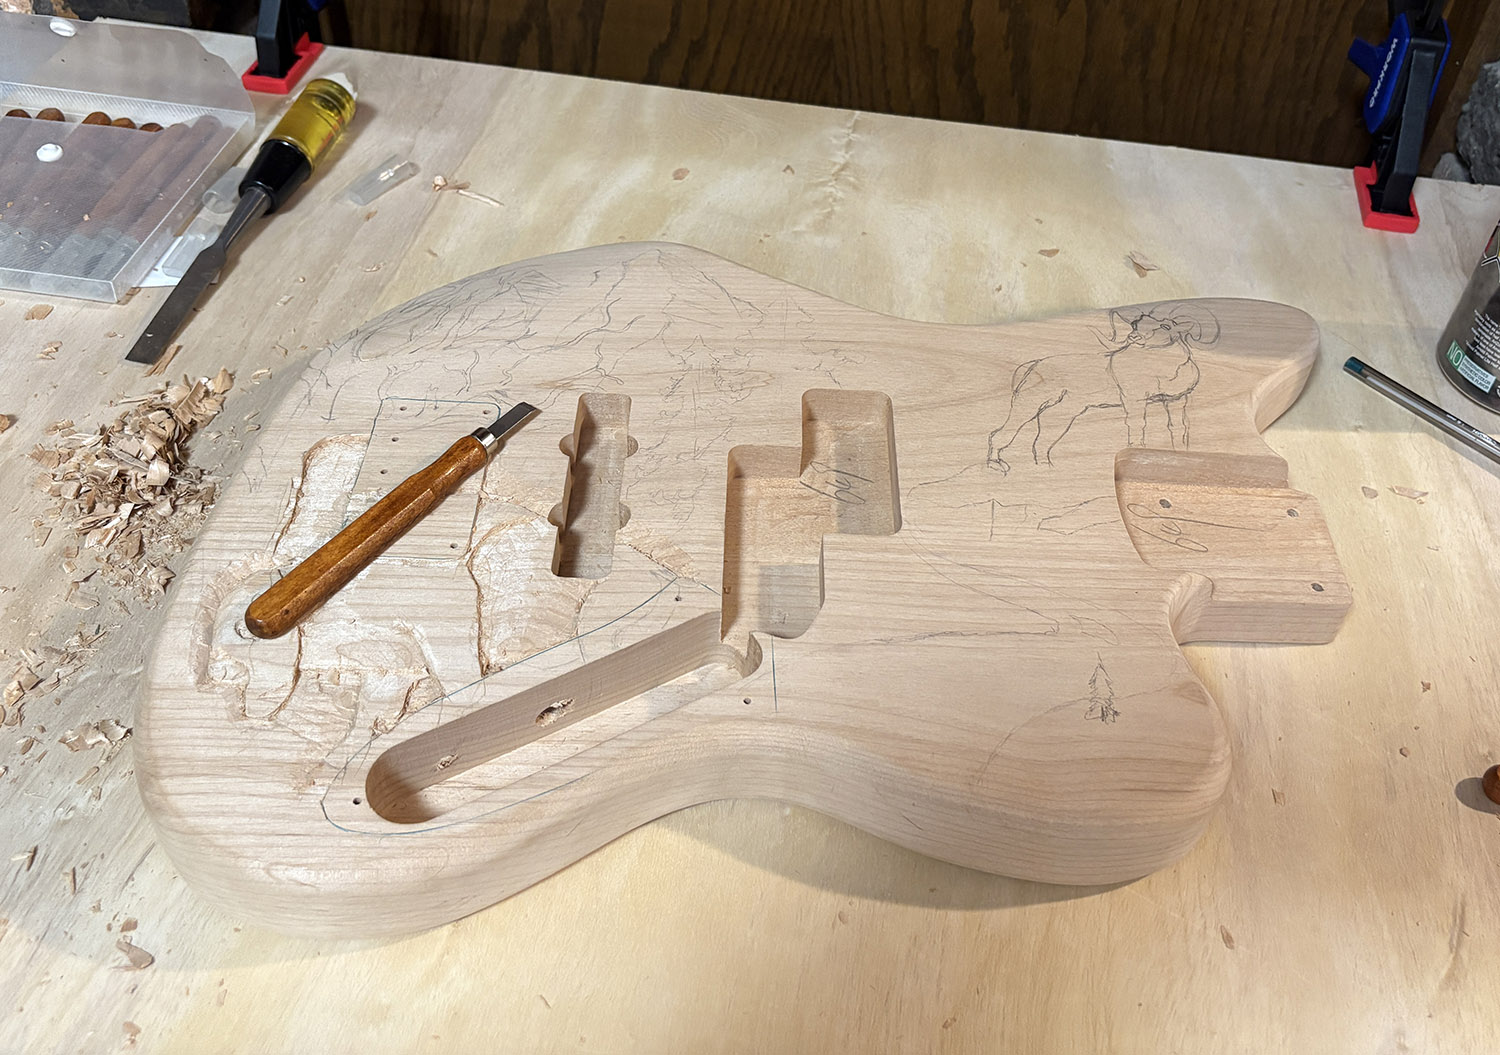
It was definitely slow going at first. I feel like my creativity has really been waning in recent years which made it difficult for my brain to guide my hand. I traced the lines with a sharp chisel, but removing material didn’t feel the same as the last guitar I did. Before, it would feel like I was removing layers and revealing the sculpture below. This time around, it felt more like I was just going through the motions and hoping everything would come out ok. It made the whole process frustrating because I was a lot more worried that the carving wasn’t going to work out or reveal itself to me.
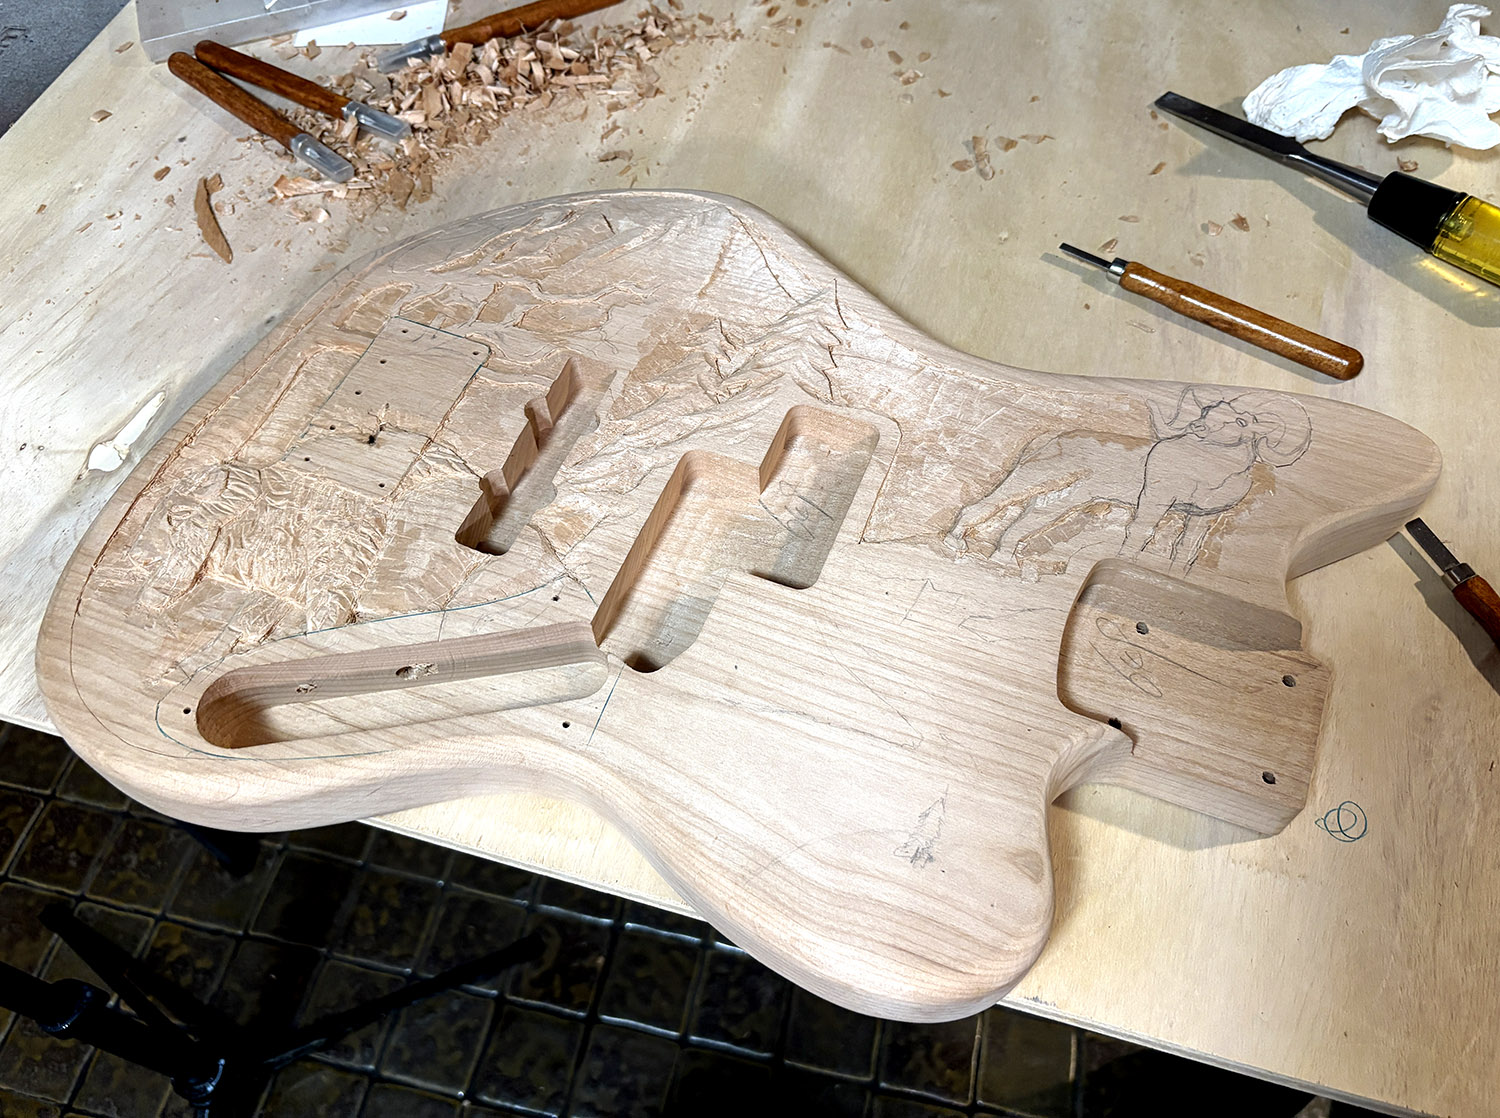
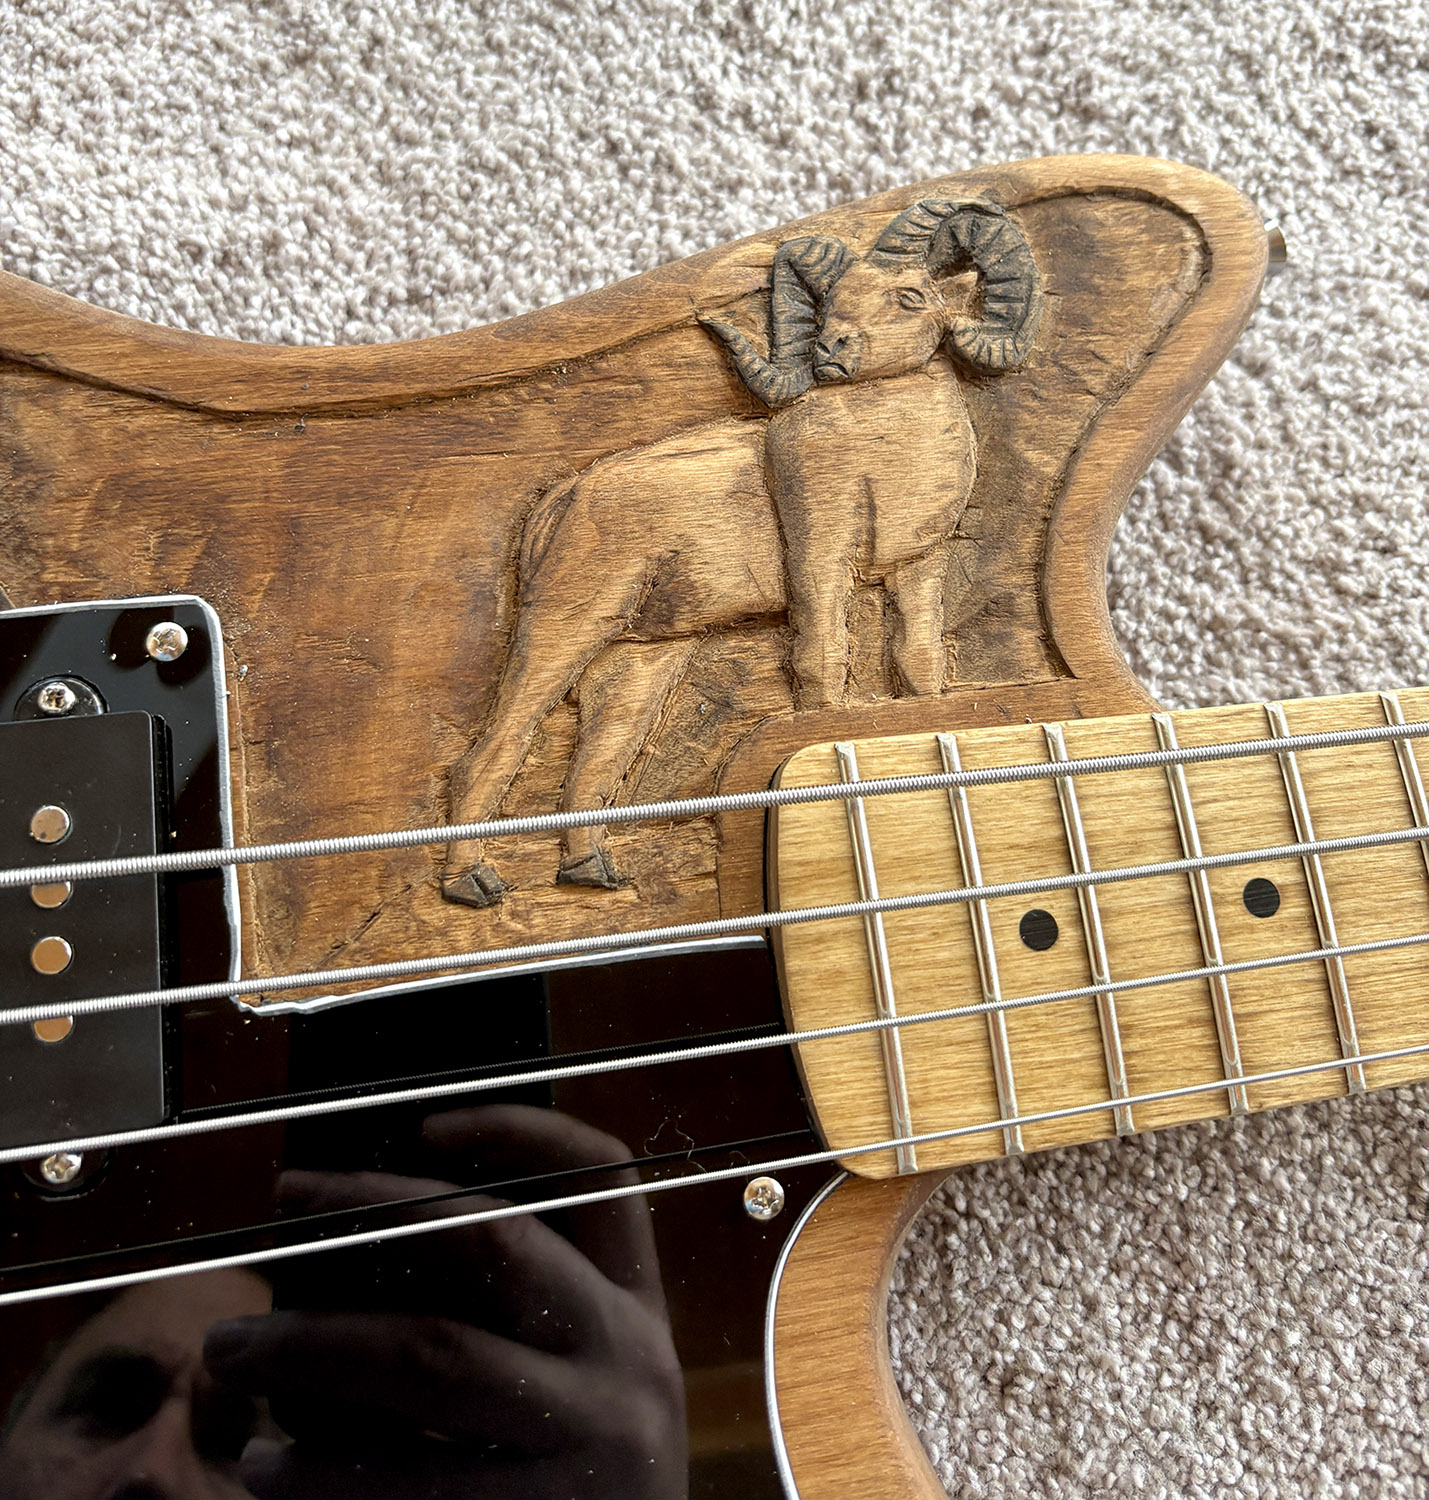
Because of this, I would only work on the carving for an hour or two at a time, hoping that the next time I came back to carve, my creativity would have woken up. I would remove layers and try to set the general depth for the piece, but each time was not inspiring. It was an odd experience for me because generally once I start a project, my ADHD kicks into high gear and it’s all I can focus on. This time it took work. Eventually, I did start to find my groove once I began work on the bighorn sheep. I could see where I wanted it to go and then I started organically moving around the rest of the bass body.
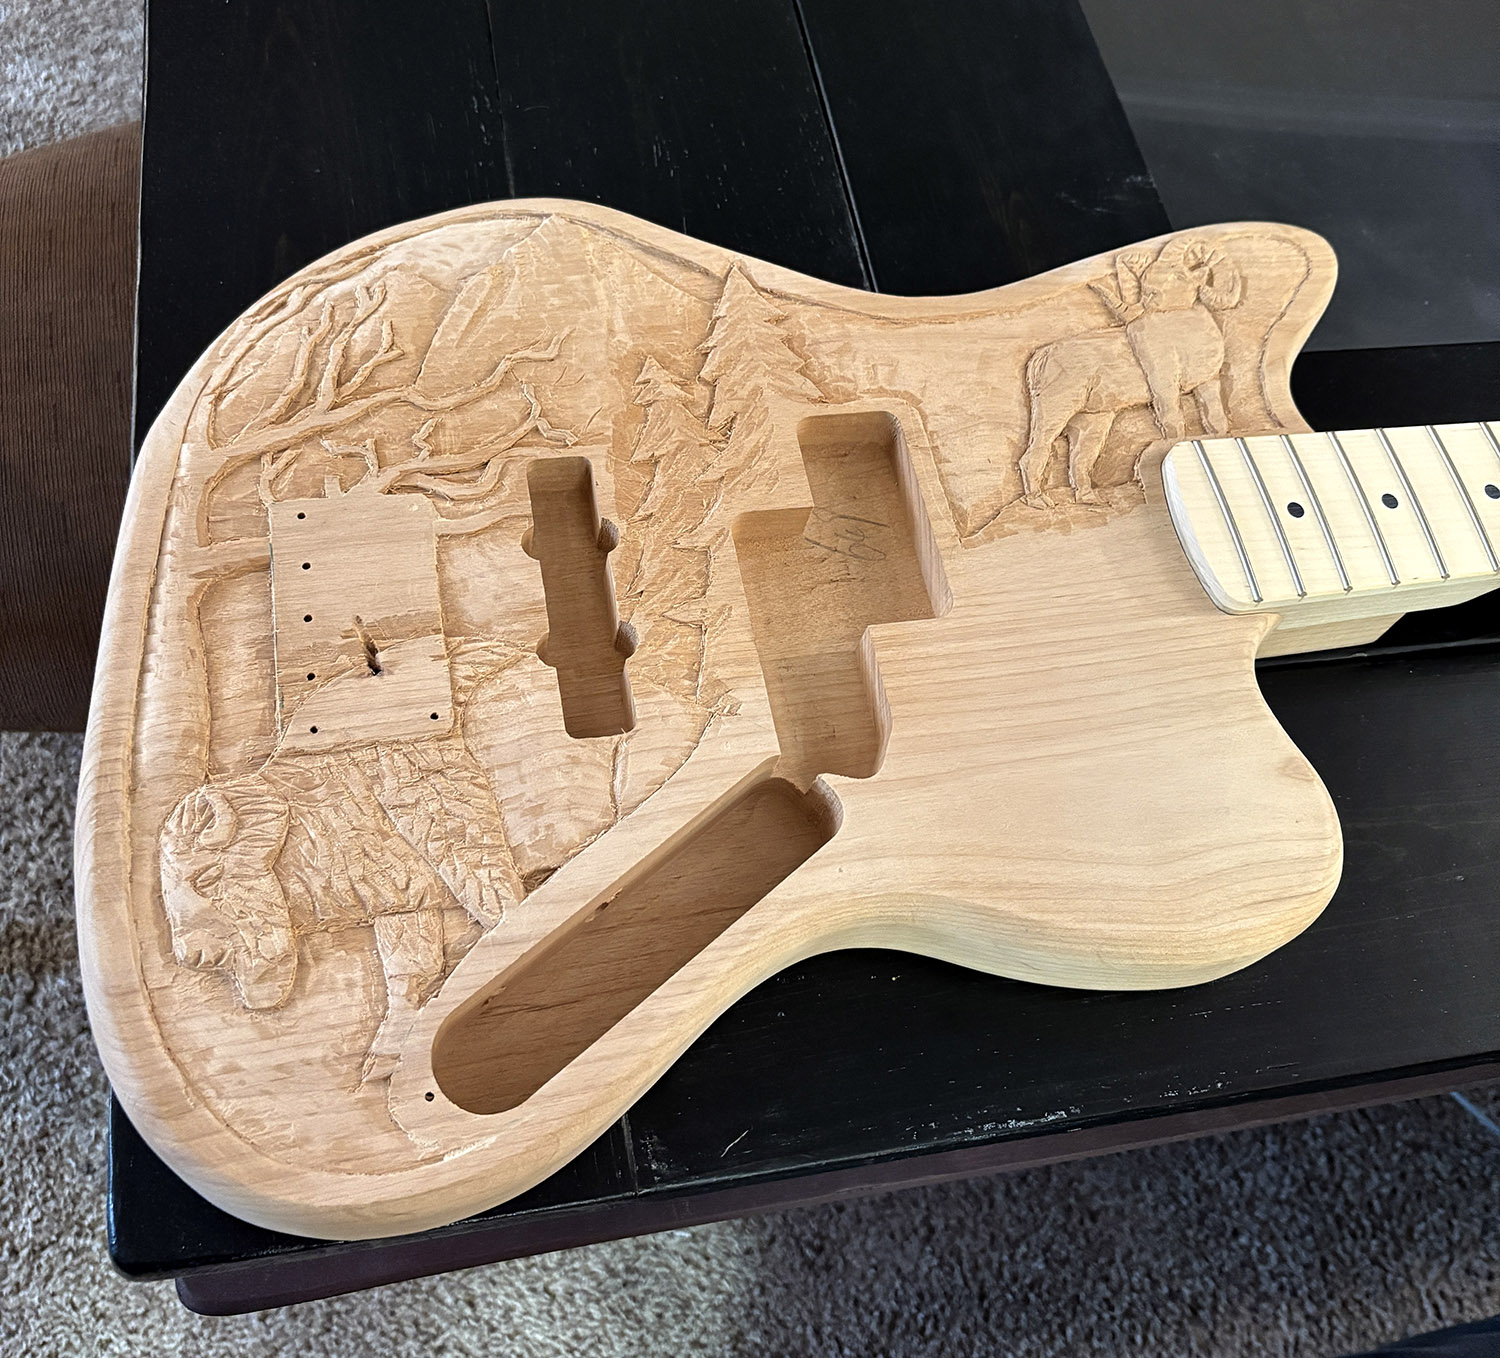
I ran into a couple of more creative blocks along the way, the main one being the texture for the bison’s mane (if that’s what it’s called). I wanted to show the thick tufts of fur but still keep the simplistic style of the piece. The end result was not really what I had in mind as I think I may have gone a bit too deep with the cuts, or maybe too blocky for the design. Staining and then re-sanding later in the process helped give the effect I was looking for, but this was one of those “it’s good enough I guess” moments.
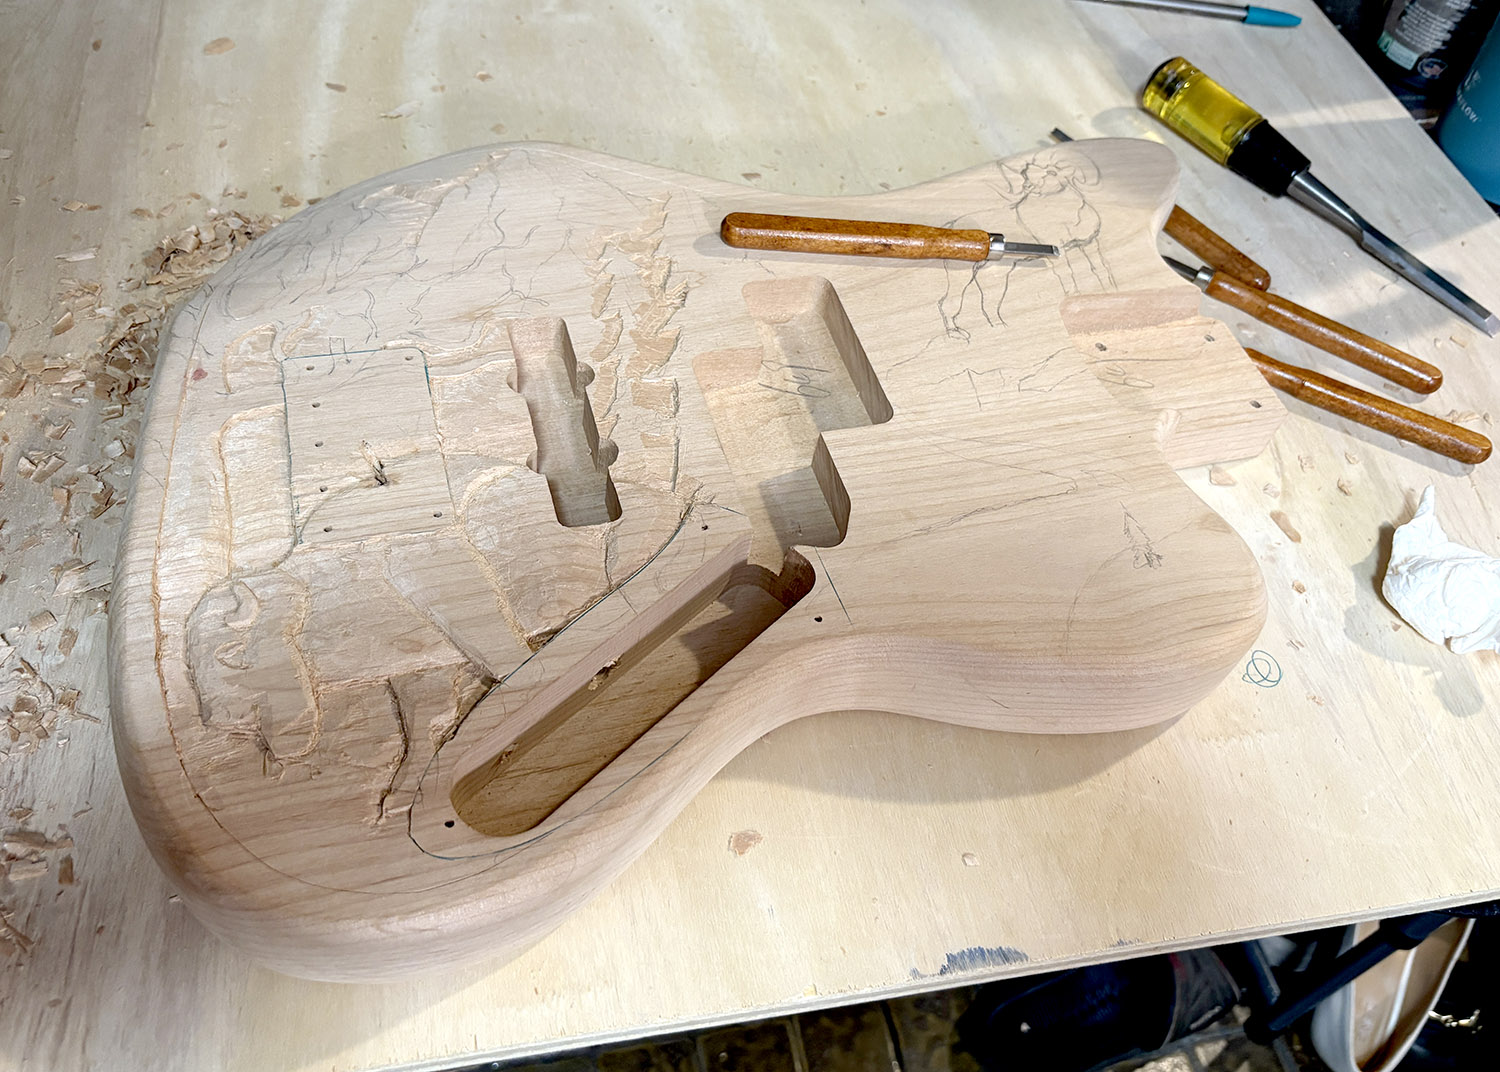
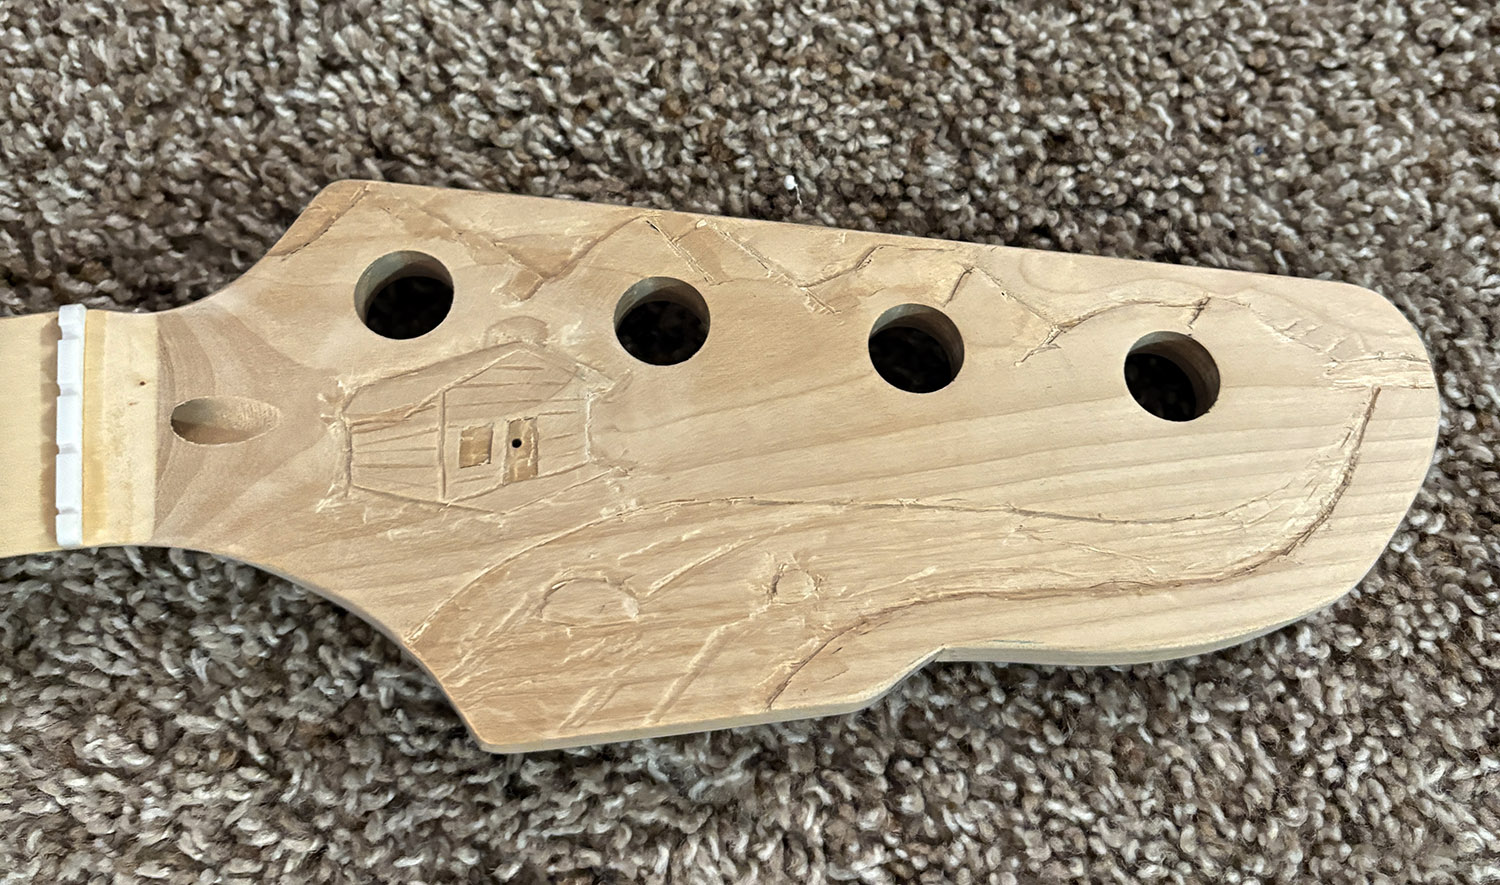
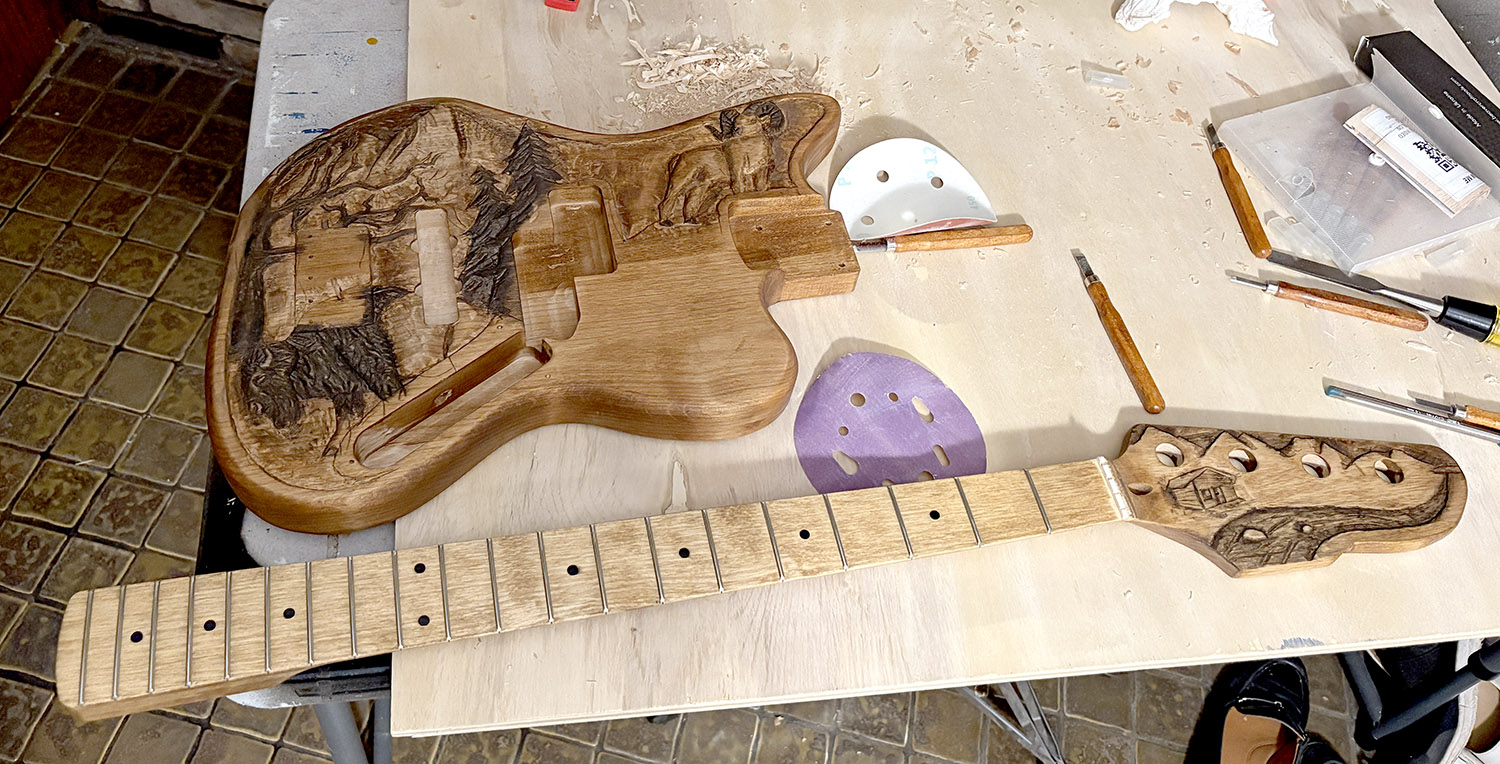
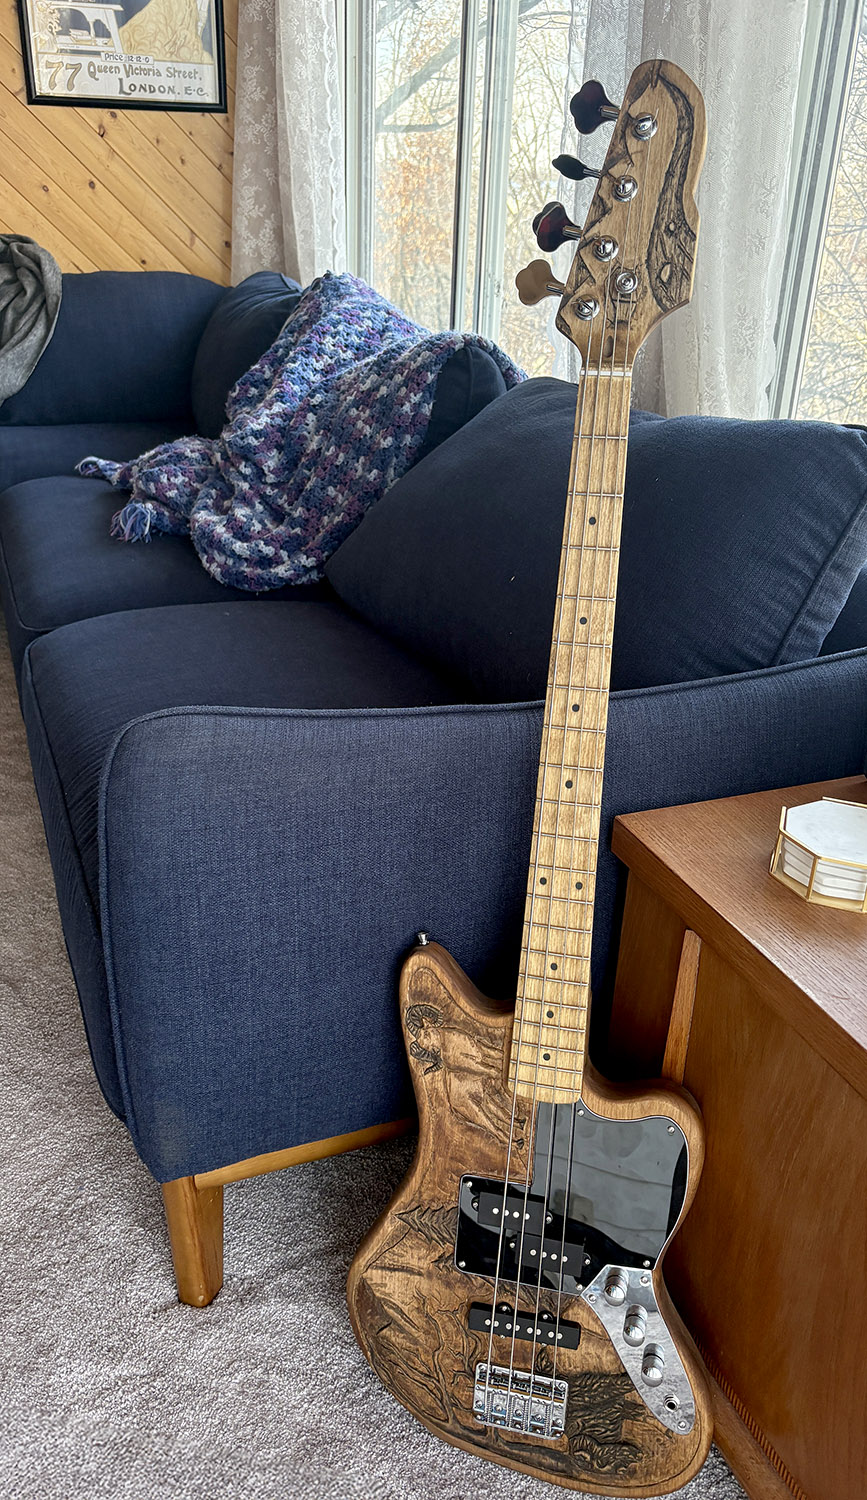
With the two animal focal points being mostly completed, I moved onto the background. Figuring out how I was going to layer the different trees over the mountains was a bit of a trick. I didn’t want to have to carve too deep, but I also wanted to make sure there was a decent sense of depth. The dead oak along the edge of the body helped give texture to that area and then the mountains needed to fade into the distance. In order to achieve that, I had to go back and forth between each design element and slowly remove material until I got the correct relationship between them. Side note, trying to carve thin limbs and branches is a bit of an effort in futility. They love to chip off and break. The evergreens in the foreground helped frame and complete the composition.
With the carve completed, it was then time to stain it. I tried to pick two different colors that I thought had enough contrast but would also balance well with each other. What I didn’t account for was how the wood itself was going to interact with those color choices. The body of the guitar really absorbed the stains and made for a much darker finish than I was expecting. I had started with the Dark Walnut Stain using a small brush to paint it into the detail areas. The very first coat ended up being more than enough, even to the point I needed to sand back a bit to brighten it up. This is the point I really started to worry that I may have just ruined it.
But there was really no turning back. Stain is not like paint where I could just sand and remove the surface layer and start over. Nope. I was on the road now whether I liked it or not. I moved onto staining the lighter sections using Golden Pecan Stain. Again, this ended up soaking in a lot even without letting it sit for very long and was much darker than anticipated. I didn’t end up getting the contrast I wanted and I was stuck trying to figure out what to do. After I let it dry for the recommended time, I decided to use 600 grit sand paper and start sanding areas of the carve that I wanted to be highlighted. This was able to at least salvage the overall look of the guitar but it was much more understated than I had originally planned. I finished it by applying a single coat of Wipe on Poly just to seal it. I didn’t want a glossy finish.
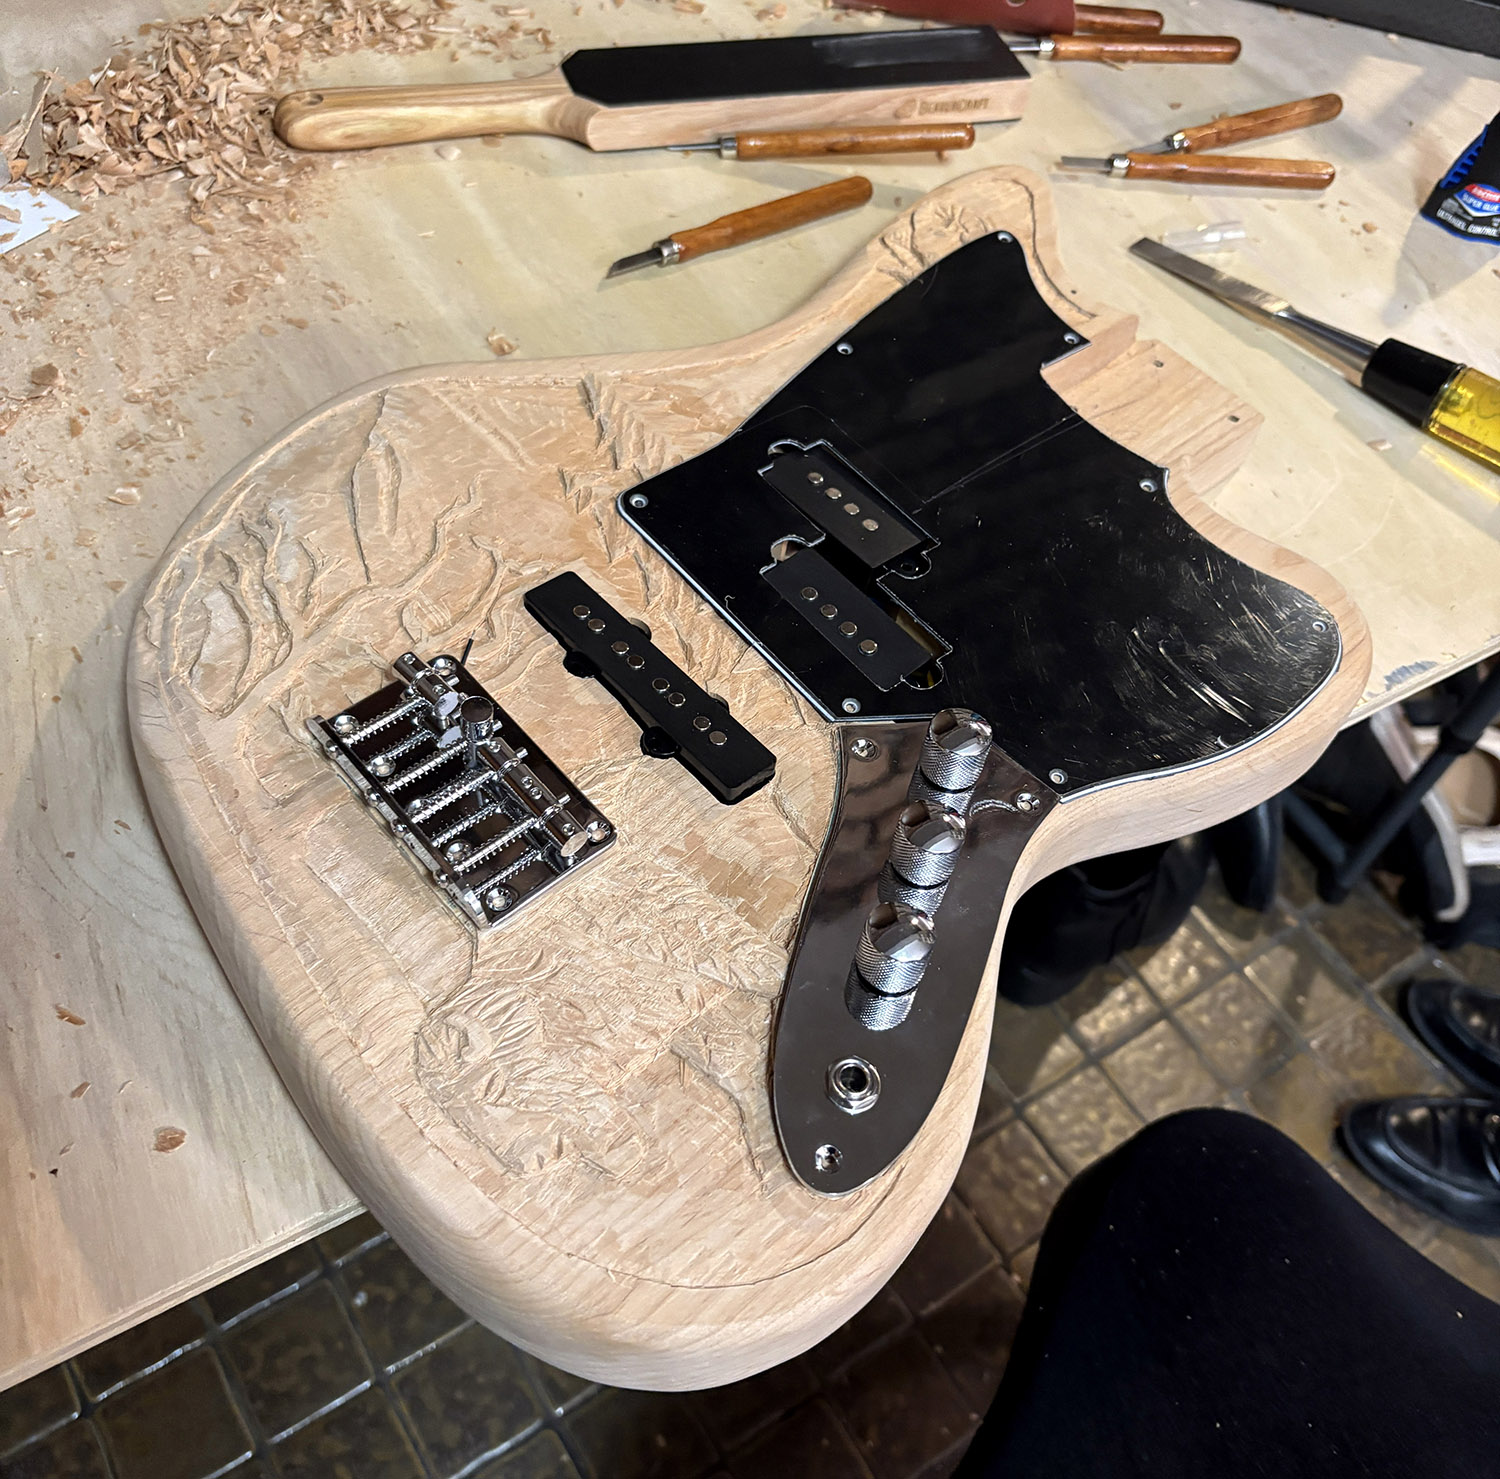
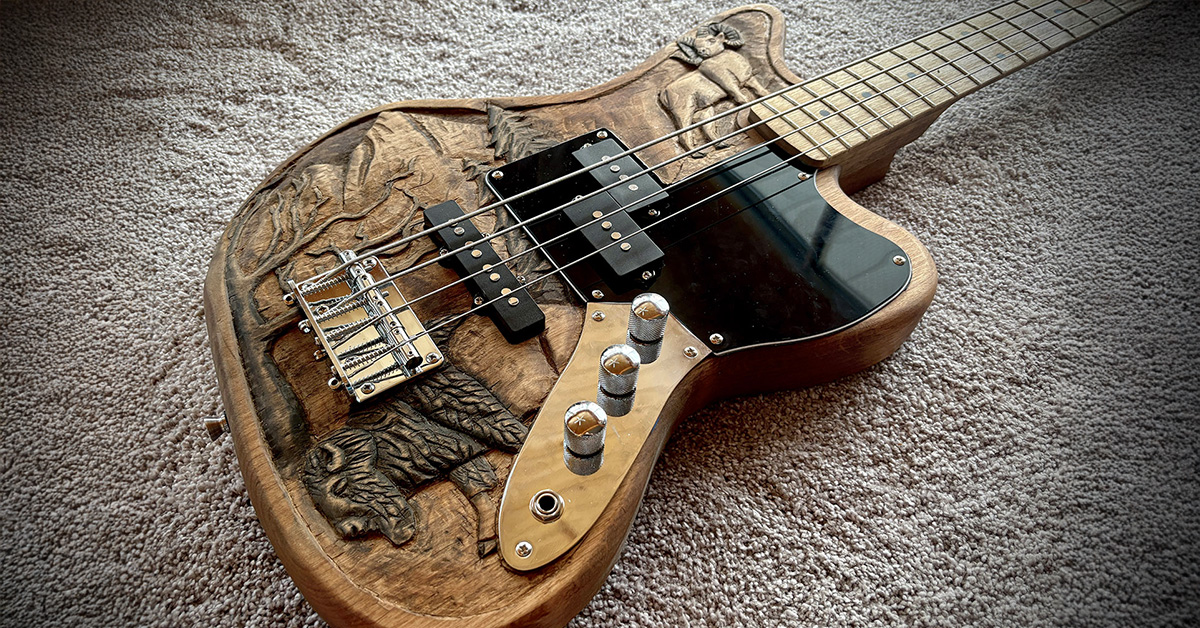
Once that was done drying, I was finally in the home stretch where I could assemble the guitar and finally see if all that hard work would end up making for a playable bass! There were some adjustments that needed to be made like dressing the frets to remove burs, drilling out a wire hole so that the bridge pickup would fit flush and so forth. For the most part, however, it went together really easily. My only true real complaint is that the truss rod doesn’t seem to function properly which is actually a really big deal. But luckily I didn’t really have any fret buzz and I was able to get it intonated well. The action is just a lot higher than I wanted due to having too much bow in the neck.
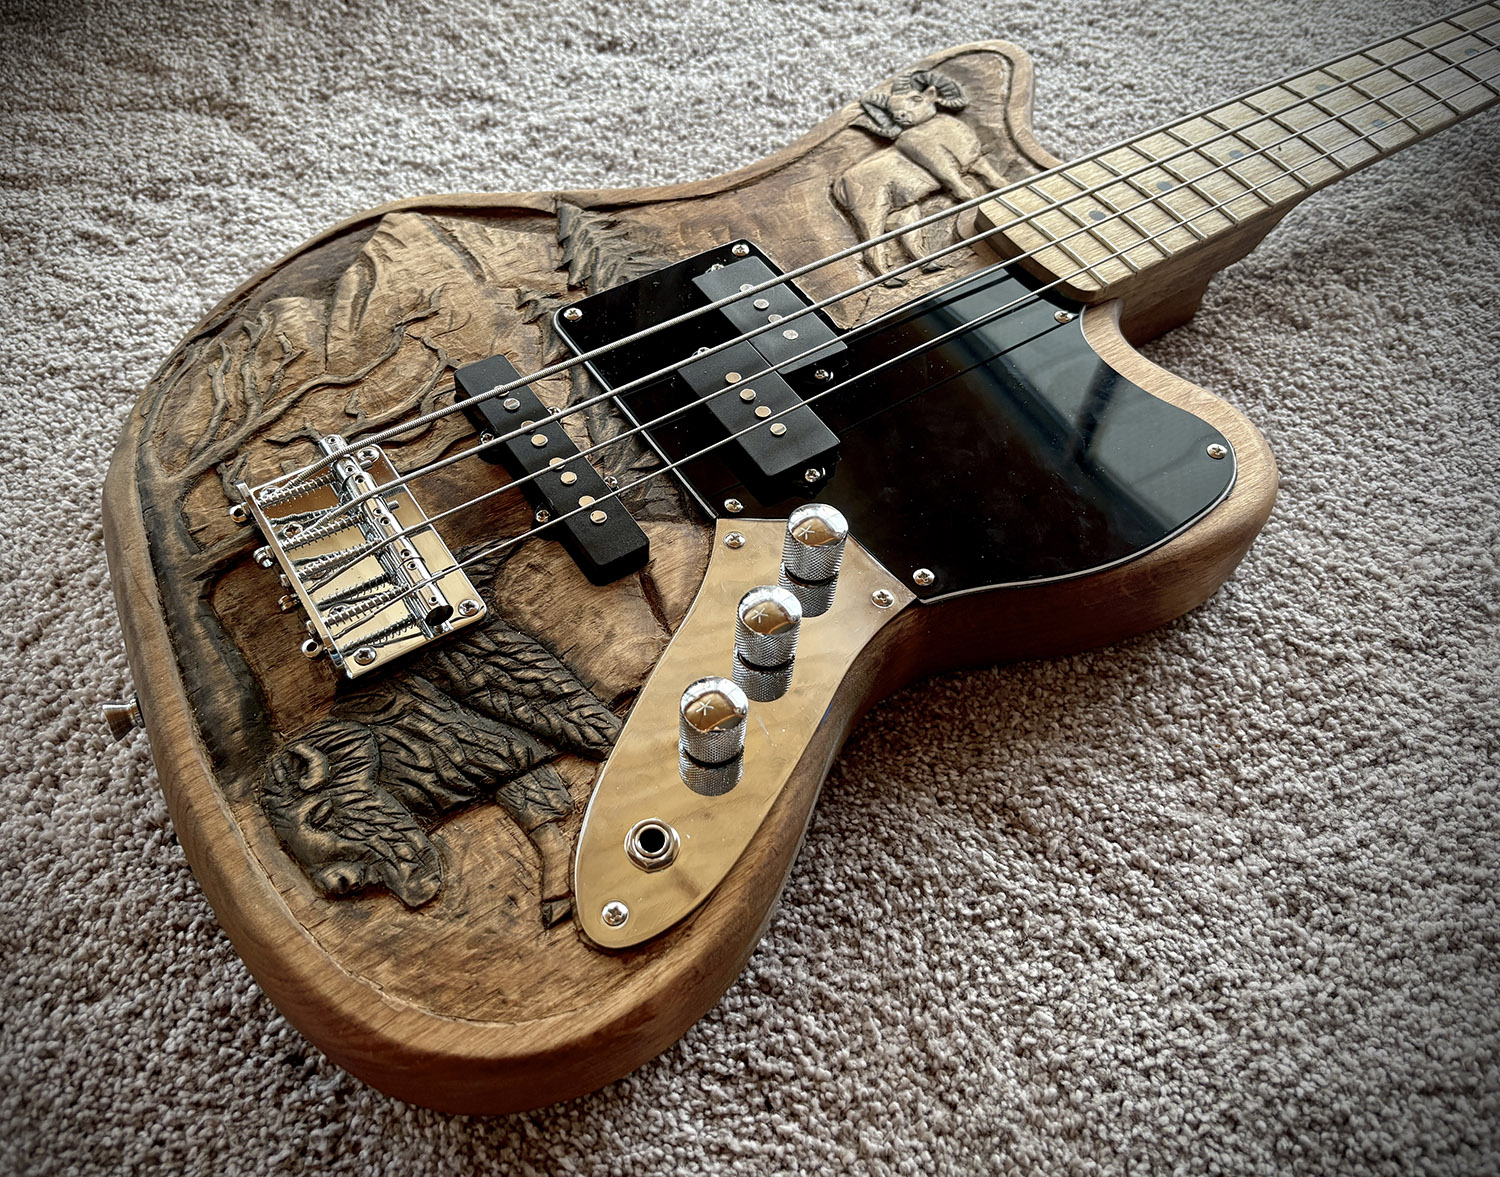
The moment of truth came when I could finally plug it in and see if I could make music with it. Surprisingly, it played fairly well and sounded decent! I am not a bass player so it will take some time to understand the controls and how to get a get tone out of the instrument, but for my purposes, I am happy with the end result.
