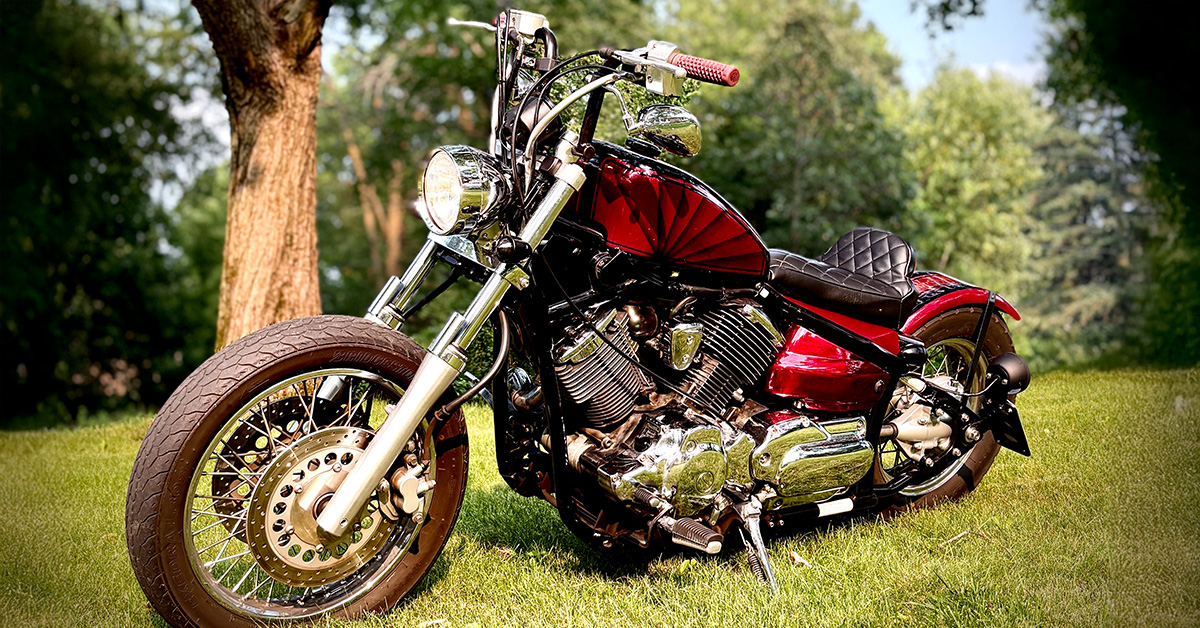
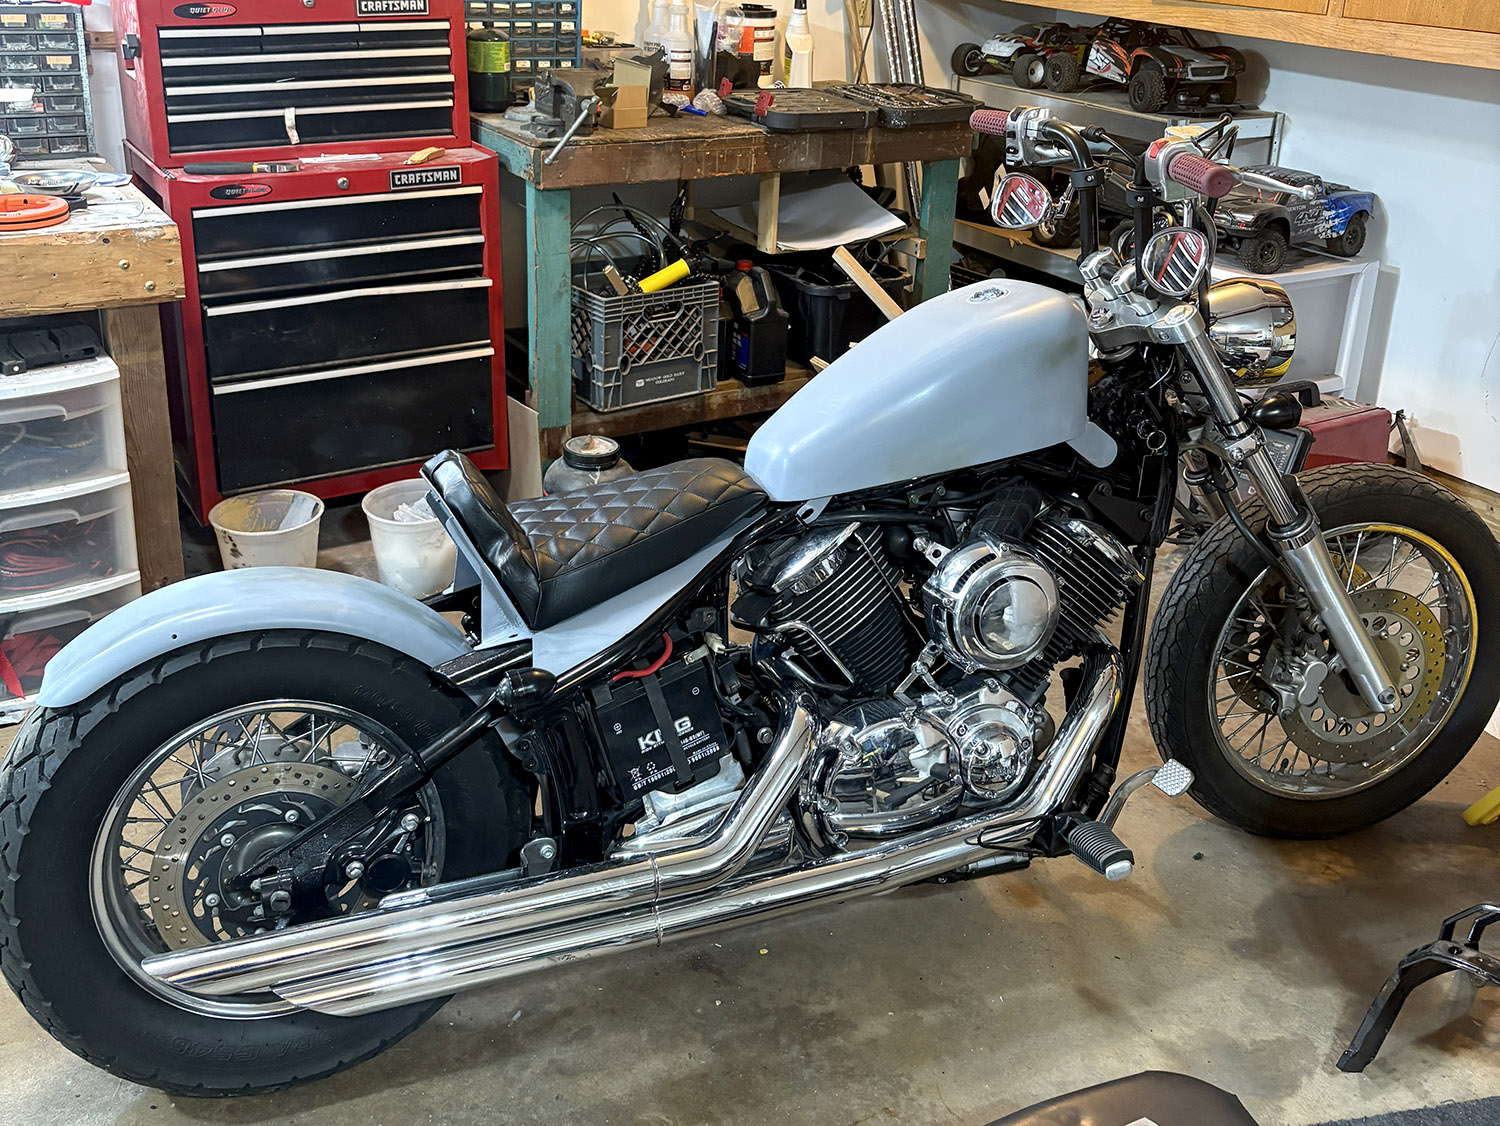
I have kind of a love-hate relationship when it comes to painting and finishing motorcycle projects. The paint is the part I get most excited about as it really gives the bike its identity, but it is also one of the most annoying parts of any project. You spend a LOT of time sanding and prepping. Then you spray, sand, tape, spray, repeat. It can be really monotonous. But maybe that’s just because I am an incredibly impatient person and I just want a project to be complete. So with that said, let’s jump into wrapping up this Yamaha V Star 1100 custom bobber project!
As always, I start by sanding all the metal parts with 80-120 grit sand paper (whichever I happen to have sanding discs for). Then, I give all of those parts a good wipe and rinse with soapy water to get rid of as much of the “crud” as possible. Either blow the parts off with an air hose or let them air dry for a little bit. About an hour before I am ready to lay down the first primer coat, I spray with glass cleaner to get rid of the last little bit of grease and give the alcohol time to evaporate the last bit of moisture off of the pieces. The surface NEEDS to be clean of any contaminant and completely dry if you want the paint to hold well.


For primer, I like to use Speedokote Epoxy Fast Dry 2.1 Low voc DTM Primer & Sealer Gray Gallon Kit. I have tried a couple of other brands and they don’t spray or hold as well as this one in my experience. I am pretty lazy when it comes to doing these projects and I want the quickest results vs spending the extra time to get a perfectly smooth surface. As such, I have always just sprayed this primer, let it dry for the recommended time, sanded smooth with 220 and then 600 grit sand paper, and then sprayed my base coat. Most professionals (I am not) would probably recommend doing DTM, then a hi-build primer, followed by some kind of surfacer, but I have never really ran into much trouble with just doing DTM then base.
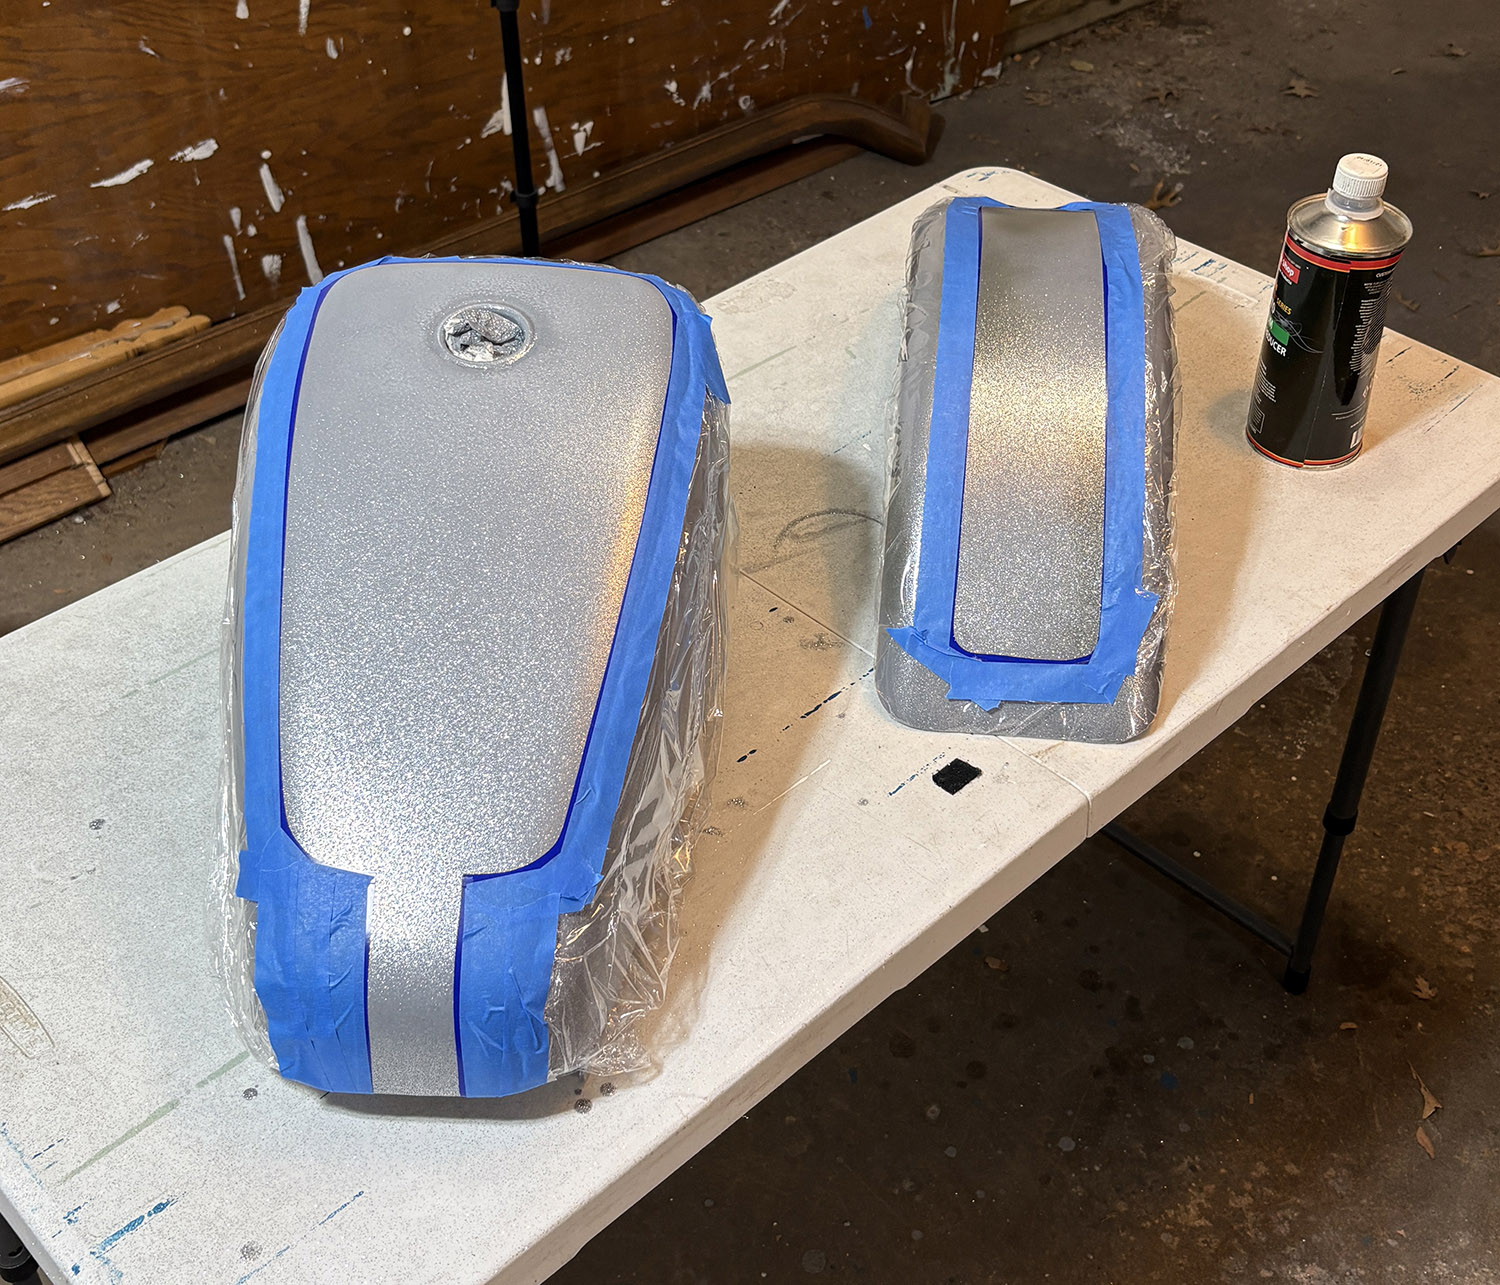
Since I was going with a metal flake for this bike, I mixed the metal flake in Speedokote SMR-130/75-K-M – Automotive Clear Coat and sprayed it directly over the primer. The neutral gray of the primer was a good backing color for the silver flake for the later steps. It was important to have a solid / even base color before you spray the flake as you will see the color differences through the flake. The silver flake I got off of amazon was not quite what I had hoped for as it clumped together in the clear coat. Some of that was probably due to using too small of a nozzle for my spray gun, but I don’t remember running into that same issue when I sprayed the Jackpot bike. In the end, I got a fairly decent spray. Good enough that I could seal it with another coat of clear and move to the next stage.


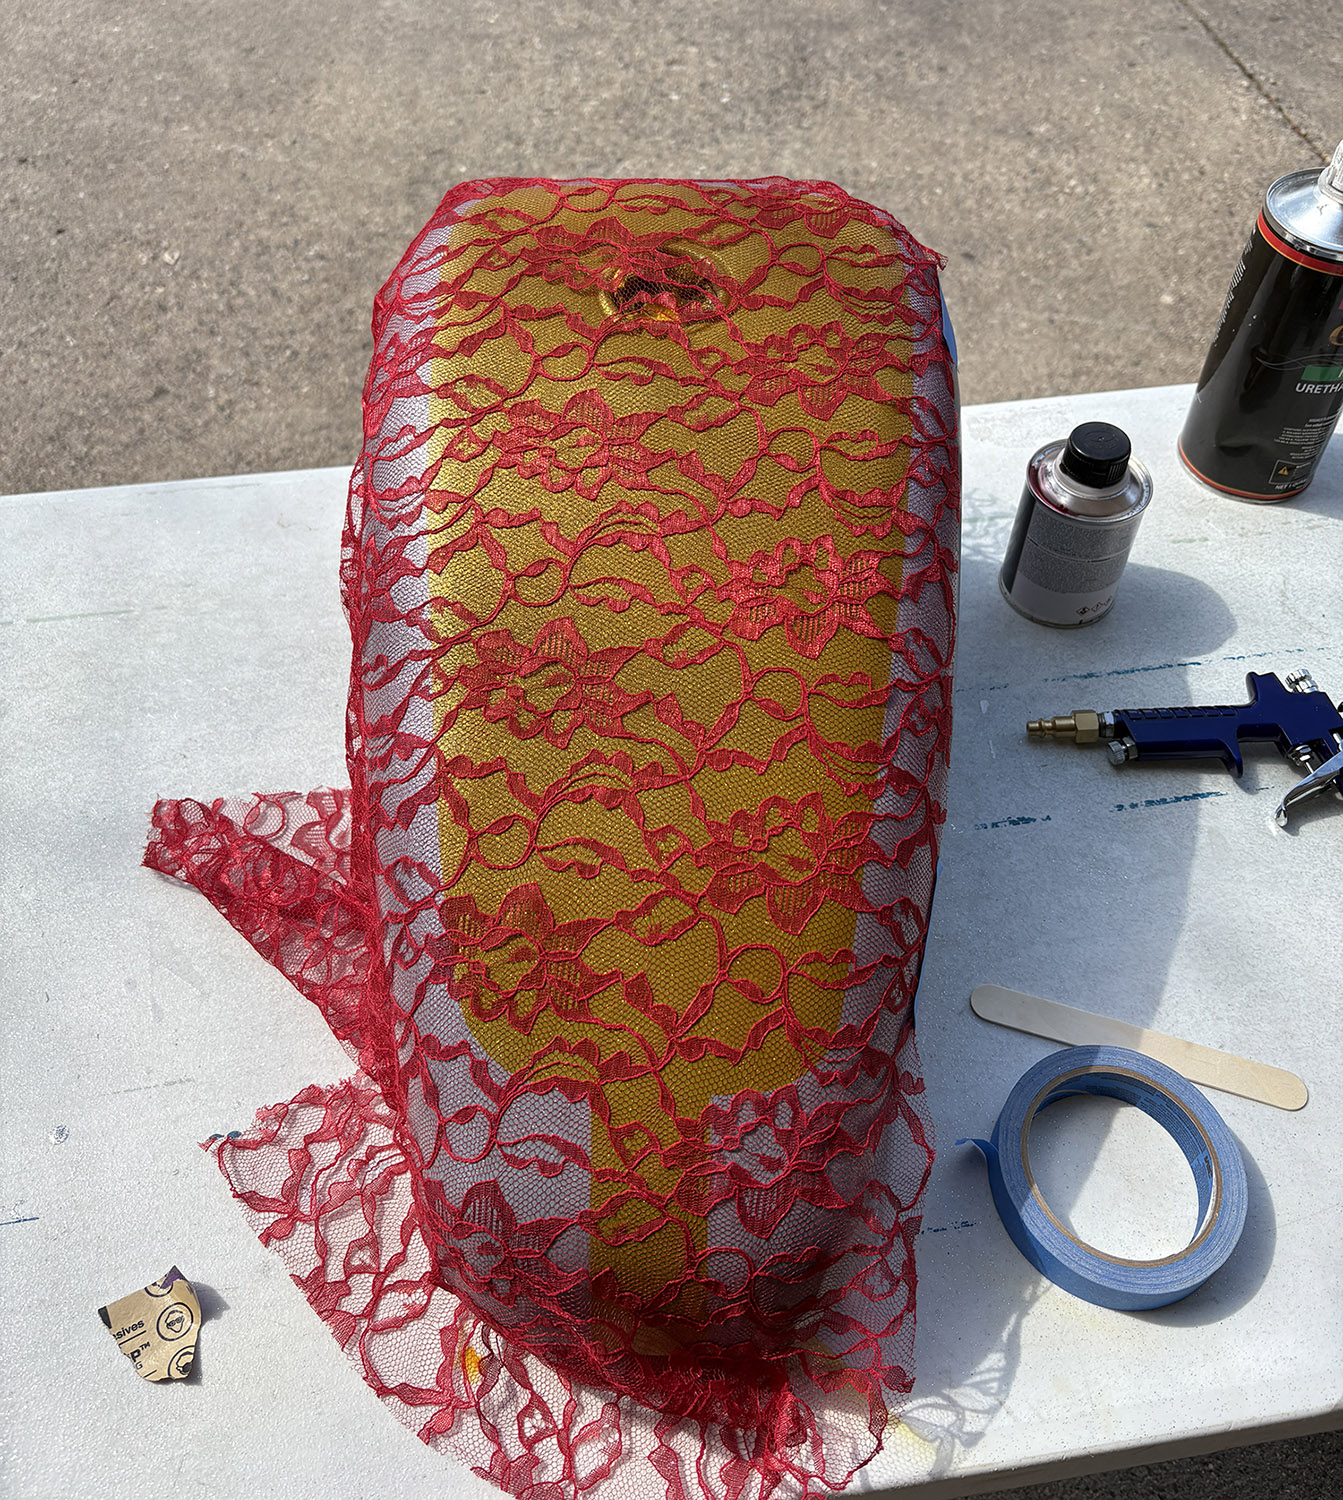
Once the clear had time to dry, it was once again time to sand. Again, I think I used 600 grit between each clear coat to knock down as much of the orange peel as I could without burning through the previous coat. Some basic tape blocking was put down just to mostly cover up any overspray for the next steps. This bike was going to feature multiple candy colors, so I began by spraying House of Kolor KK12 Pagan Gold Kandy Koncentrate 8oz mixed into House of Kolor C2C-SG100 Shimrin Intercoat Clear 1 Quart. I again topped it with a layer of clear to seal it in, and you guessed it, sanded smooth for the next color coat and sprayed with glass cleaner.
At this point in the process, I used some lace fabric (similar to this) that I picked up at a local hobby store to use as my mask for the initial House of Kolor KK01-HP Brandywine Intensifier coat. This color would be the primary bike color and was also sprayed over the side tins that I left with their stock chrome paint. For prep, I just scuffed them using general purpose scuffing pads. Once that was done, it was again topped with a coat of clear. The clear coat after each color is essential for being able to sand the furface smooth without scratching the paint layer below. This is why I find this part of the process so annoying because it’s a lot of steps repeating over and over and a lot of waiting for stuff to dry. But it also has to all be done within a certain window of time, so it feels kind of stressful that the timing might get messed up and I would have to start the whole thing over after sanding everything back down to primer or metal.


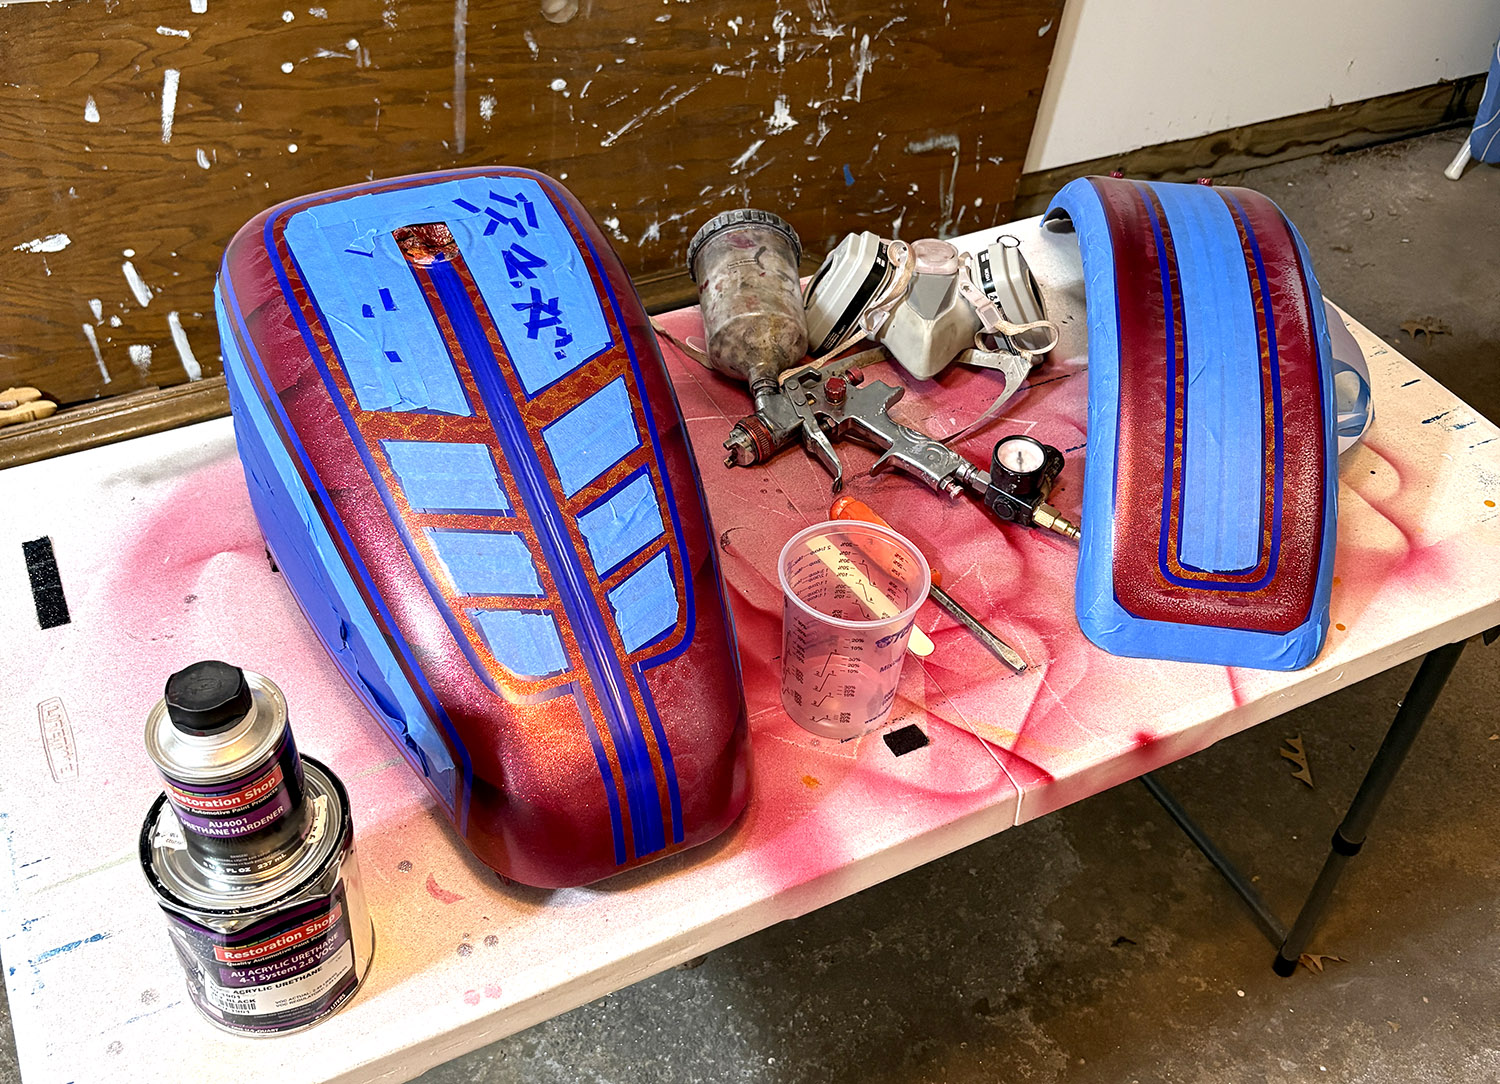
The next phase was to get ready for the final color, black. This is when most of the taping was going to come into play, so it’s really important to make sure you follow the directions on the paint cans for the proper curing time before taping otherwise your paint will peel with the tape (I still ran into this a bit). I first taped some quick side stripes and hit them with an airbrush (this is the kit I used). Then, I laid out all of the graphics using a combination of 3M vinyl tape and regular blue painters tape you can find at any hardware store. The vinyl tape holds really clear lines and pulls well, but you do have to be a little more careful with how long you leave it on / how much pressure you use because the extra adhesion does tend to pull the paint layers easier if not fully dry.
Once the taping was done, Restoration Shop Jet Black Acrylic Urethane was sprayed for the final color layer on the bike. The paint was then given only about 30 minutes or so to dry before I peeled the tape off. You want the paint to still be tacky when you pull so that it will leave smoother edges. It gets a little tricky to do without touching any of the paint during the process, so go slow and use a razor to help pull up the initial tape. Once the tape was pulled, I then let it dry the needed amount of time before I could top coat (again, the can will tell you how long to wait). This was the only color layer I did NOT immediately clear since the next clear would be the final finish.

For the final clear layer, the pieces were again sanded with 600 (make sure not to burn through your final color layer on this step) as well as some touchups with the scuff pads. You want all your pieces to have a dull finish. If you see shine anywhere, you need to at least hit them with the scuff pads. Any shine is where the clear might have a harder time adhering and it could lead to peeling later on. Again, make sure to spray glass cleaner and wipe down with a tac cloth and let dry before final spray. During this final clear stage, I like to lay down a light to medium coat first, and then lay down a couple of medium coats after that, watching for any runs and trying to get as smooth of a finish as I can. You need a fairly thick overall finish at this point to give you enough material to sand and polish later on. It’s also kind of satisfying to watch the clear self-level at this point and become smoother and smoother as it dries.
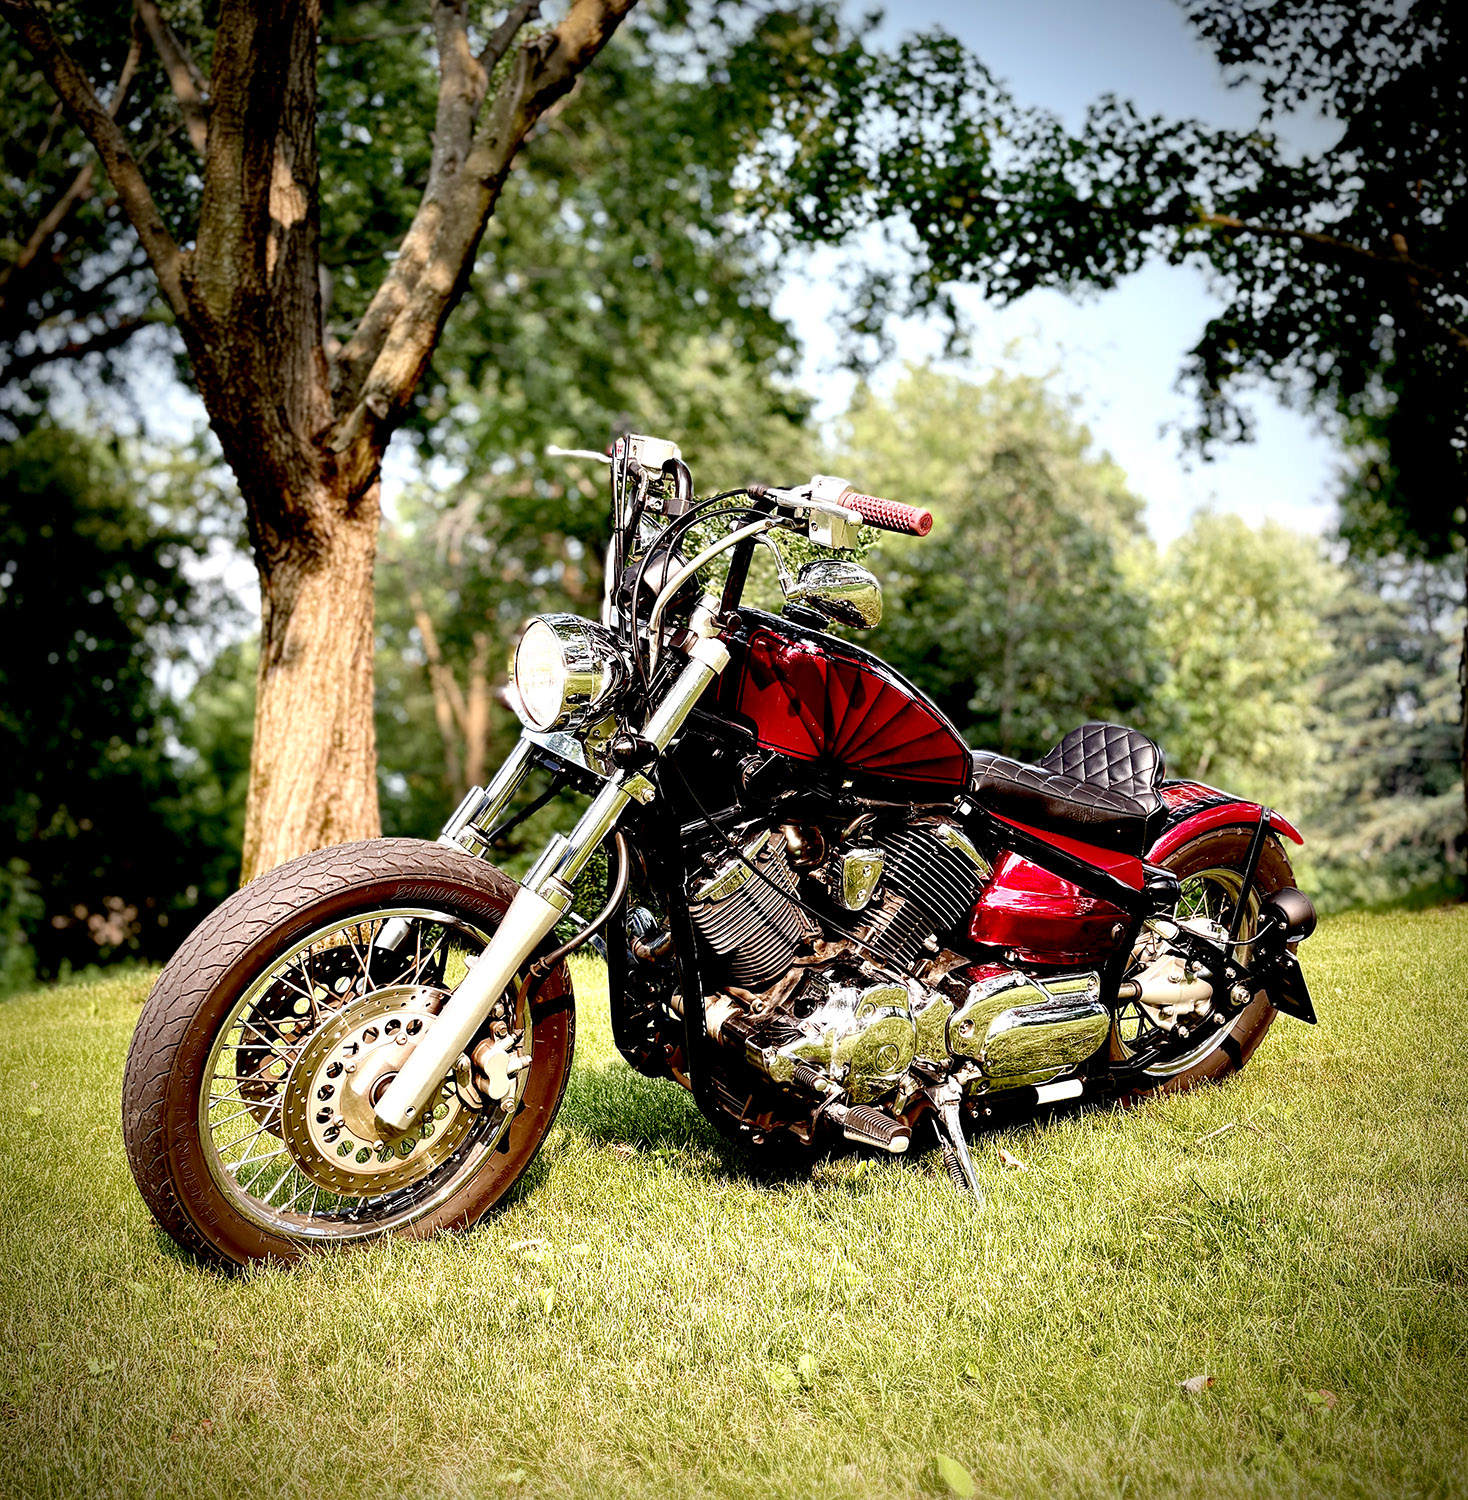
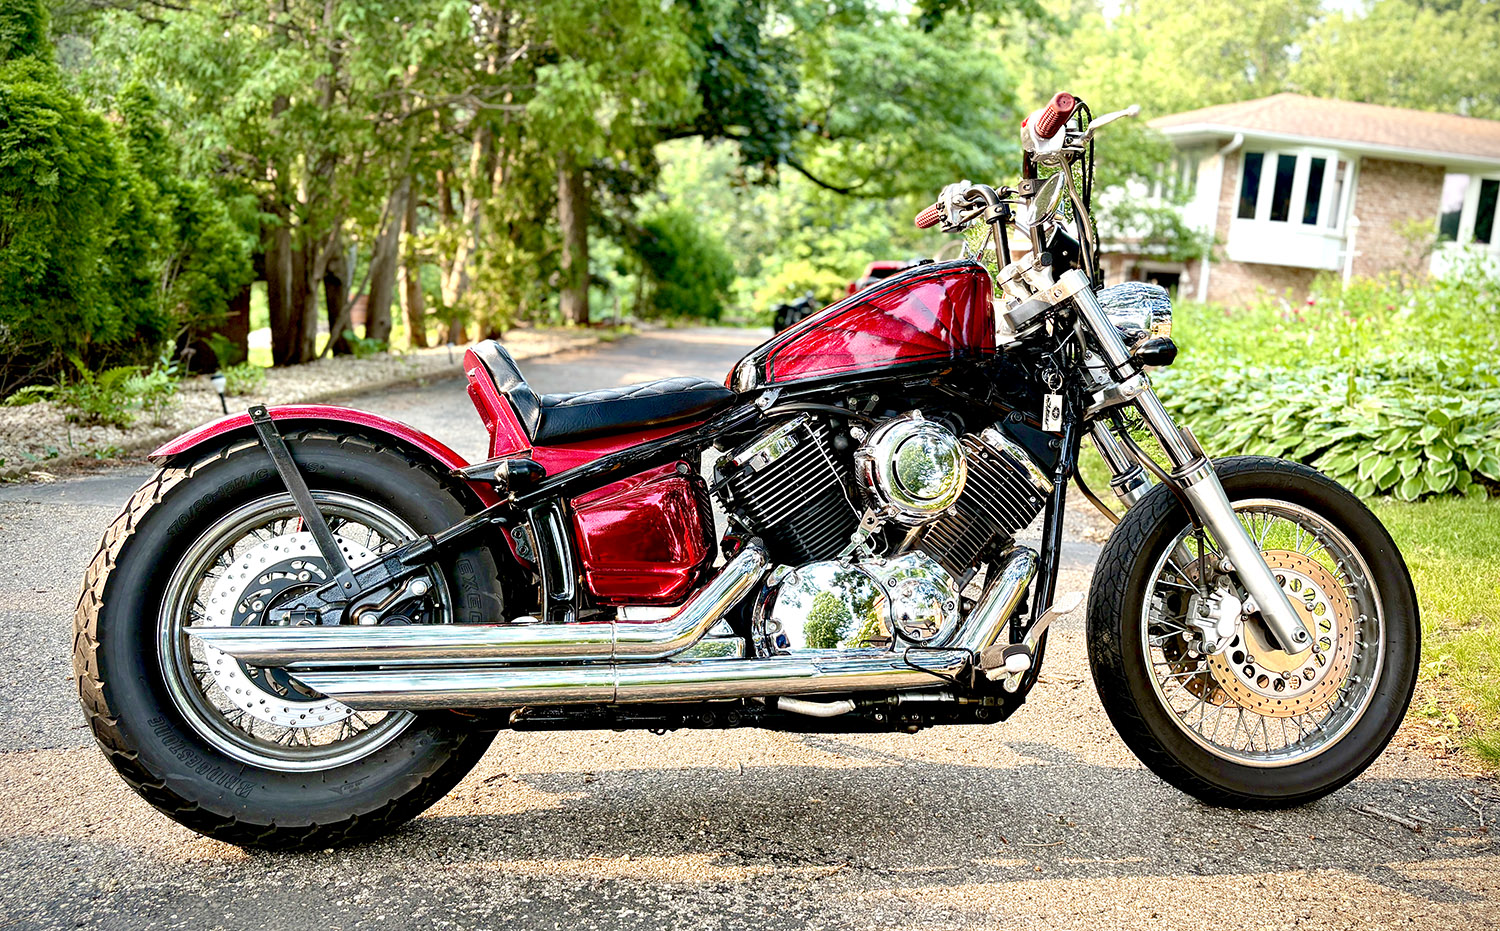
Once the clear was dry, my painting was done! Woohoo! At this stage, depending on how well you followed the other steps as well as how “professional” you want the bike to look, your work on the paint could be done. I have found that if I spray the final clear well, it is satisfactory to most people’s standards as far as finish goes. With that said, this time I did want that factory finish look. I ended up sanding from 1500 grit up through 3000 grit and then used rubbing compound and finally polishing compound to get that premier shine!
I hope you enjoyed this build and greatly appreciate your engagement with my projects! Did you have a favorite step in the build? Let me know in the comments or shoot me a message!
