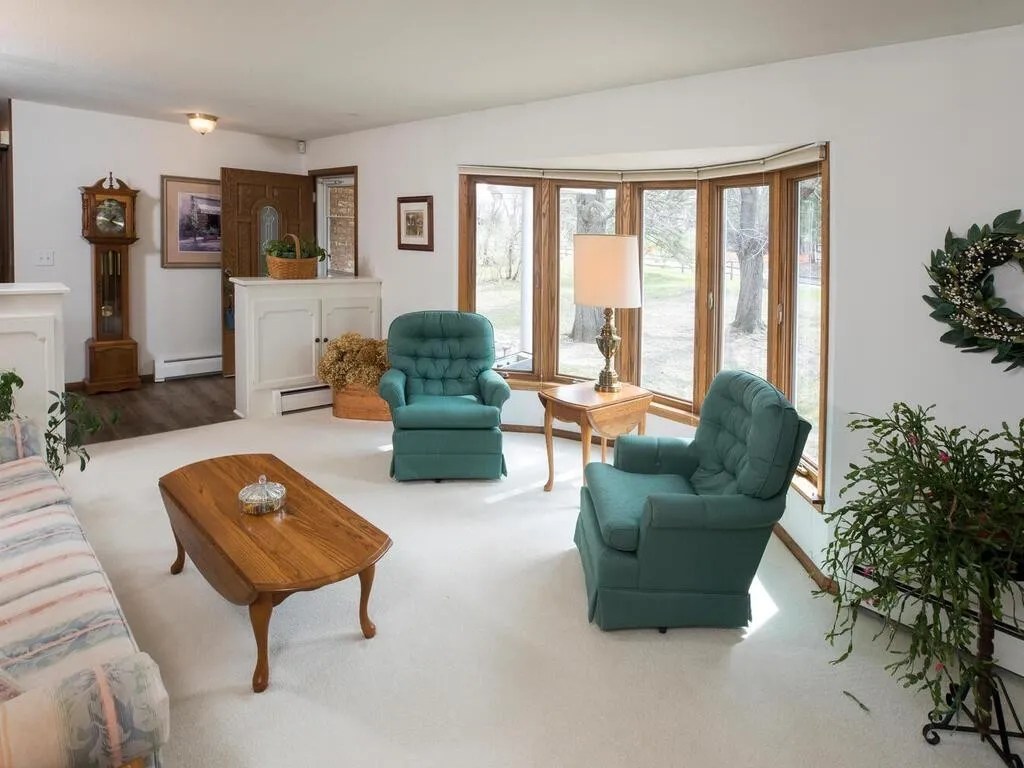
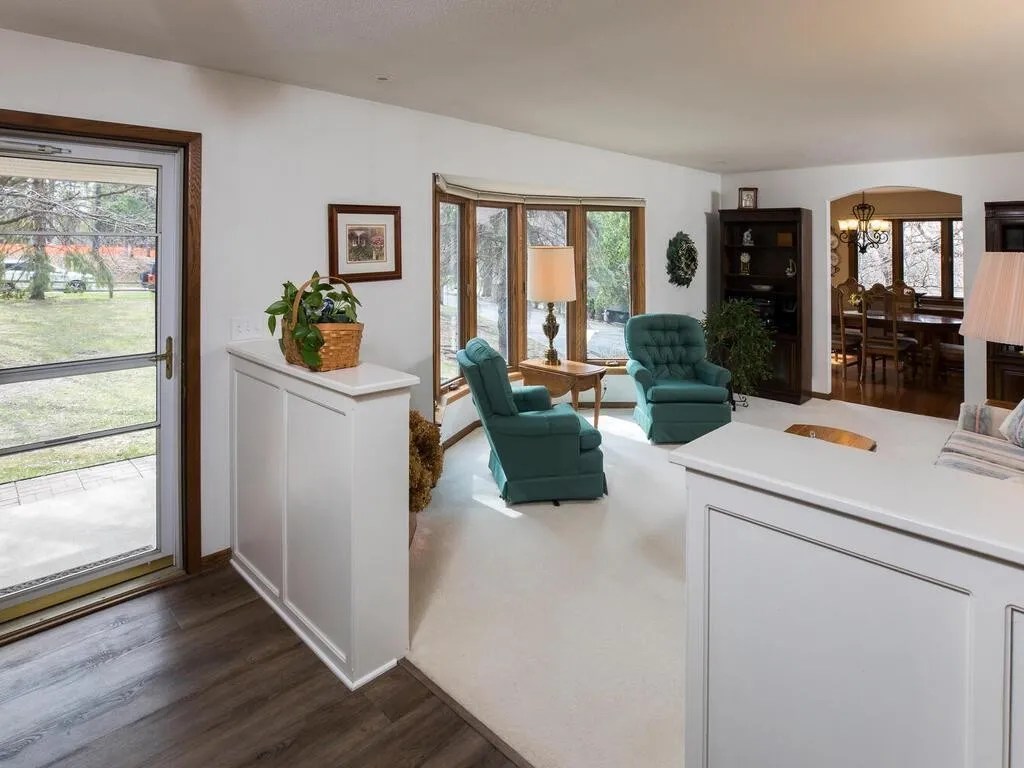
When my wife and I bought our forever home, we knew there was work to be done to fit our style. Many of the home’s features were pretty dated and the living room was one of the main trouble areas. The entryway had 2 cabinets that had odd alignment, took up needless space, and really closed off the room. I started by just simply removing the cabinet that was along our divider wall between the living room and another family room. That change alone let us know that was the right call to get rid of the cabinets entirely.
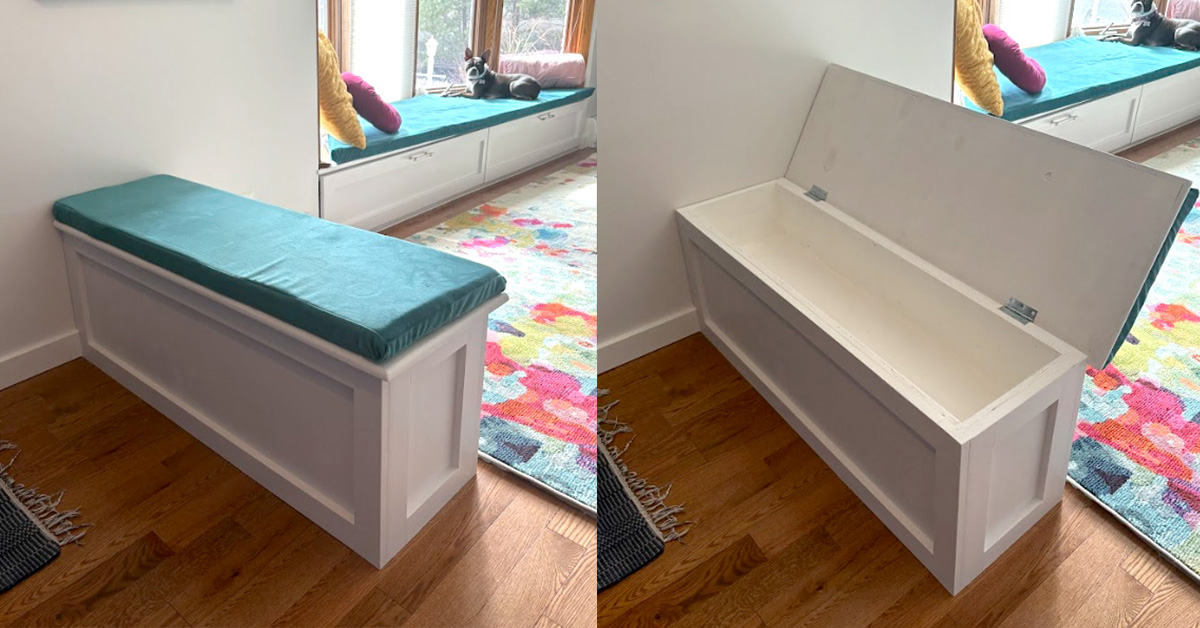
Once the cabinets were removed, we decided to keep the baseboard heater that stuck out from the wall a bit and cover it with a newly created bench. This would give people a place to sit while putting on their shoes and also give back a little bit of storage that was lost. It also made it so that I didn’t have to mess with draining our boiler, cutting up our floor, and rerouting the baseboard. I could just make the bench to fit around it.
With that in mind, I went about designing a simple bench that didn’t require any special tools or particular “skill” on my end. My woodworking talents are fairly minimal, but I can usually find my way around a saw well enough to at least get some straight boards attached together. My plan was to make a box out of ¾ plywood and then add some 1”x3” boards as accents. The box would have a hinge lid and my wife would make a nice cushion to go on top once it was completed.
The initial design was done using Blender. It’s easy to type in dimensions to create “blocks” and piece them together in a 3D space to make sure the design could be approved by my wife before I started. I think I speak for all husbands when I say no one wants to get halfway through a project and then be asked to make a bunch of changes, ha! This helps eliminate that part. It also allows me to play around a bit more freely and try a couple of different things that I might not have if I was just drawing it out on paper. A good example is that I created a rough mockup of where the baseboard would be and then I could move and fit pieces around it to see what worked best. I could also change the dimensions of the accent boards to see which thickness we liked.


Once the design was approved by the wife, I started with a trip to Home Depot and picked up one sheet of 23/32 in. x 4 ft. x 8 ft Cabinet Grade Plywood and a couple of 1”x3” premium pine boards. In retrospect, I probably could have just got MDF for the 1”x3”. I started by cutting the plywood to the dimensions I needed using a 2×4 I had laying around as my straight edge for the circular saw. It obviously wasn’t perfect, but it got me close enough. I used wood glue along the joints, holding them in place with some 18 gauge brad nails.
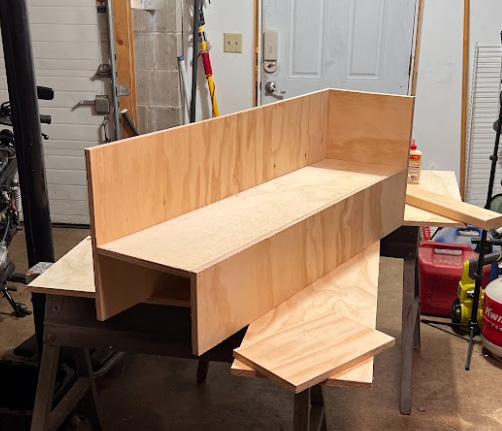
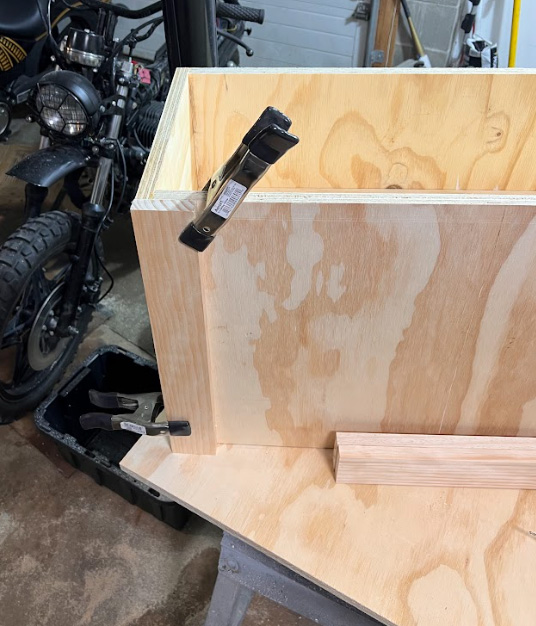

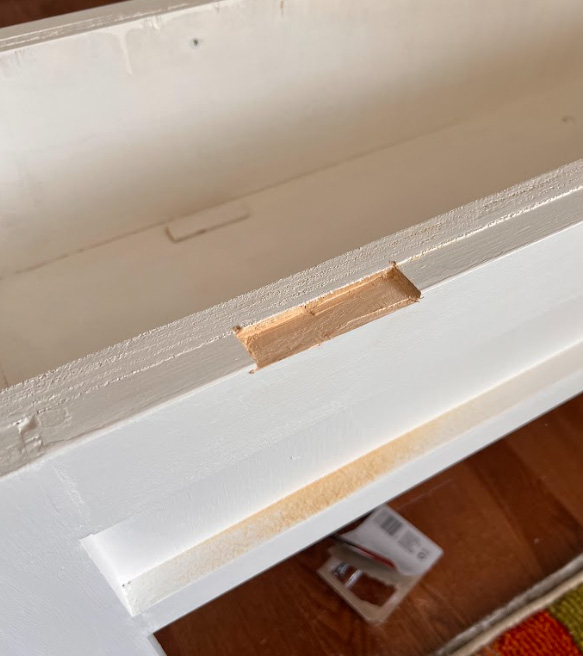
For the accent pieces, I used a combination of wood glue, clamps, and some pre-tapped holes and screws to keep a clean face. This worked great, for the most part, until I invariably mismeasured a cut that I had to fill. Rather than going to the store and buying another piece of wood to recut to length, I opted to just fill the gap with a cutoff. I then used sawdust and wood glue to fill the remaining gap and sanded it flush. I knew from the start that this bench was going to be painted white, so I was pretty confident I could hide the mistake for the most part.


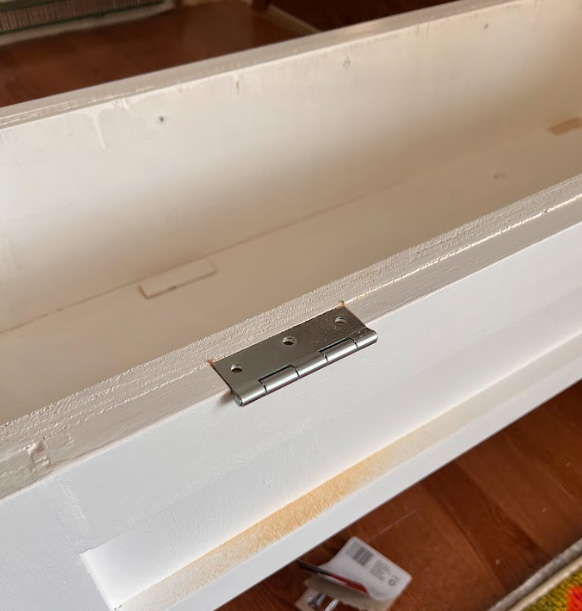
For the lid of the bench, I just used another piece of ¾” plywood and then finished the edges with ½” x ¾” shoe moulding using wood glue and brad nails. The rough cuts and seams were filled with a little bit of Bondo wood filler. I didn’t spend a ton of time sanding or fixing this area since I knew the top was going to be covered later by a seat cushion my wife would make. From there, I chiseled out areas in the bench where the hinges would attach so that the lid would sit flush with the bench. The whole assembly was then attached to the floor using some L brackets I found laying around the house.
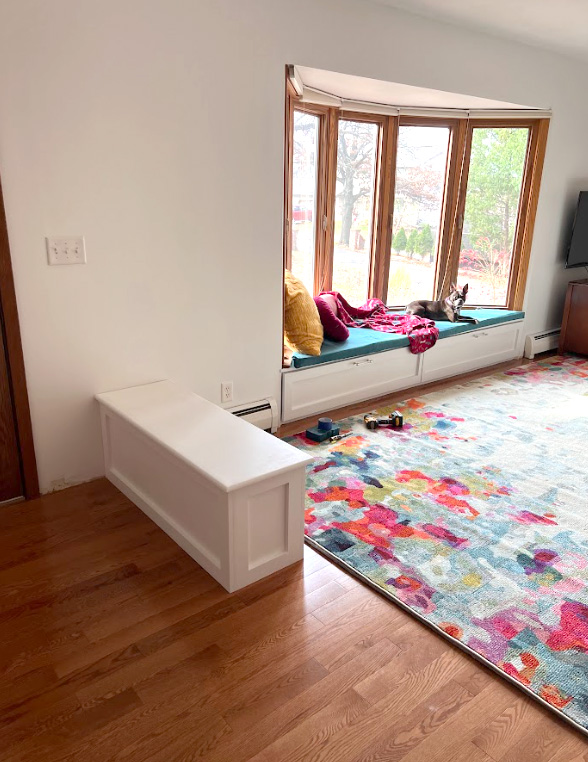
The final touches were when my wife made the beautiful cushion using some high-density seat foam and then sewing a custom cover. It is attached to the lid via heavy-duty Velco. The completed project is a nice addition to our entryway adding both functionality as well as some ambiance. I hope you enjoyed it!


One thought on “DIY Entryway Bench Project”