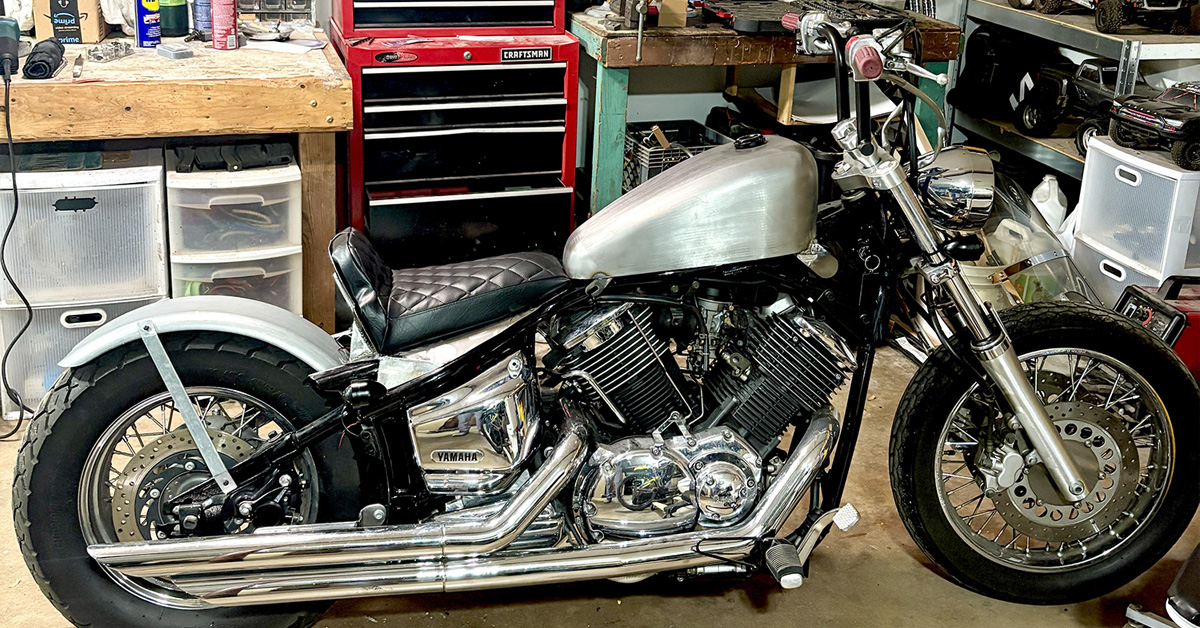
For me, bobbers all come down to the “backbone” lines of the bike. That means how the rear fender flows up through the gas tank. I have seen a ton of Yamaha V Star bobbers, but the grand majority of them use the same generic template, most likely using the same exact bobber kit from Blue Collar Bobbers. Don’t get me wrong, they are nice kits. My brother’s old bobber used one and it looked great. I just wanted something a little different. With the last writeup, I detailed how I set up the rear fender and the tank and it was all in preparation for the seat.
I honestly first looked into just getting a stock seat plate, but the price and the layout did not quite fit what I had in mind. The springer seat was not what I was looking for this time around. My first plan was to integrate the seat pan into the plate that also covers the electronics. These are usually two totally separate pieces, but since I planned to have the seat fit flush with the frame, I thought maybe there would be a way to make it all one unit.


With that in mind, I started by first trimming off the rear fender frame and then mocking up a plate out of cardboard. This took a couple of tries as trying to figure out the correct angles to cut and also fit over the existing frame rails broke my brain for a bit. It really ended up not being complicated at all, but I guess I just wasn’t in the right headspace that day.
With the cardboard template created, I could then transfer it to sheet metal. I thought about using something a little thicker than standard sheet metal you can pick up at just about any hardware store, but I ultimately decided it wouldn’t be needed after messing around with some left-over scrap I had. I used a standard angle grinder to cut out the pieces I needed and used my bench vice to do the couple of bends that would be needed. From there, I tack-welded all of the panels into place and then I went about “finish” welding the rest of the joints in sections to try and minimize warping.


The next piece to add was the backplate. I wasn’t sure how I was going to do this initially because of the one piece construction idea mentioned earlier. I started by cutting out the shape I thought I would want and tacked in onto the rest of the pan. It was during this stage that I realized that there would be no way to tightly secure the seat cover to the electronics plate due to the angle of the pieces. This actually ended up kind of being a blessing in disguise because it made some of the later construction a lot easier.
The first part of that was I knew I would need some kind of bracing for the backrest, even if it wasn’t really that much of a support structure so to speak. But those supports would also have been hard to incorporate into a seat cover in order to hide the rivets used to secure the cover. I ended up using some 1/2″ steel bar to brace and some scrap sheet metal. I then decided to use a sheet of Kydex to make the seat pan itself. It would serve two purposes. It allowed me to have a removable seat pain that would be easy to work with while also providing a little extra support to the structure


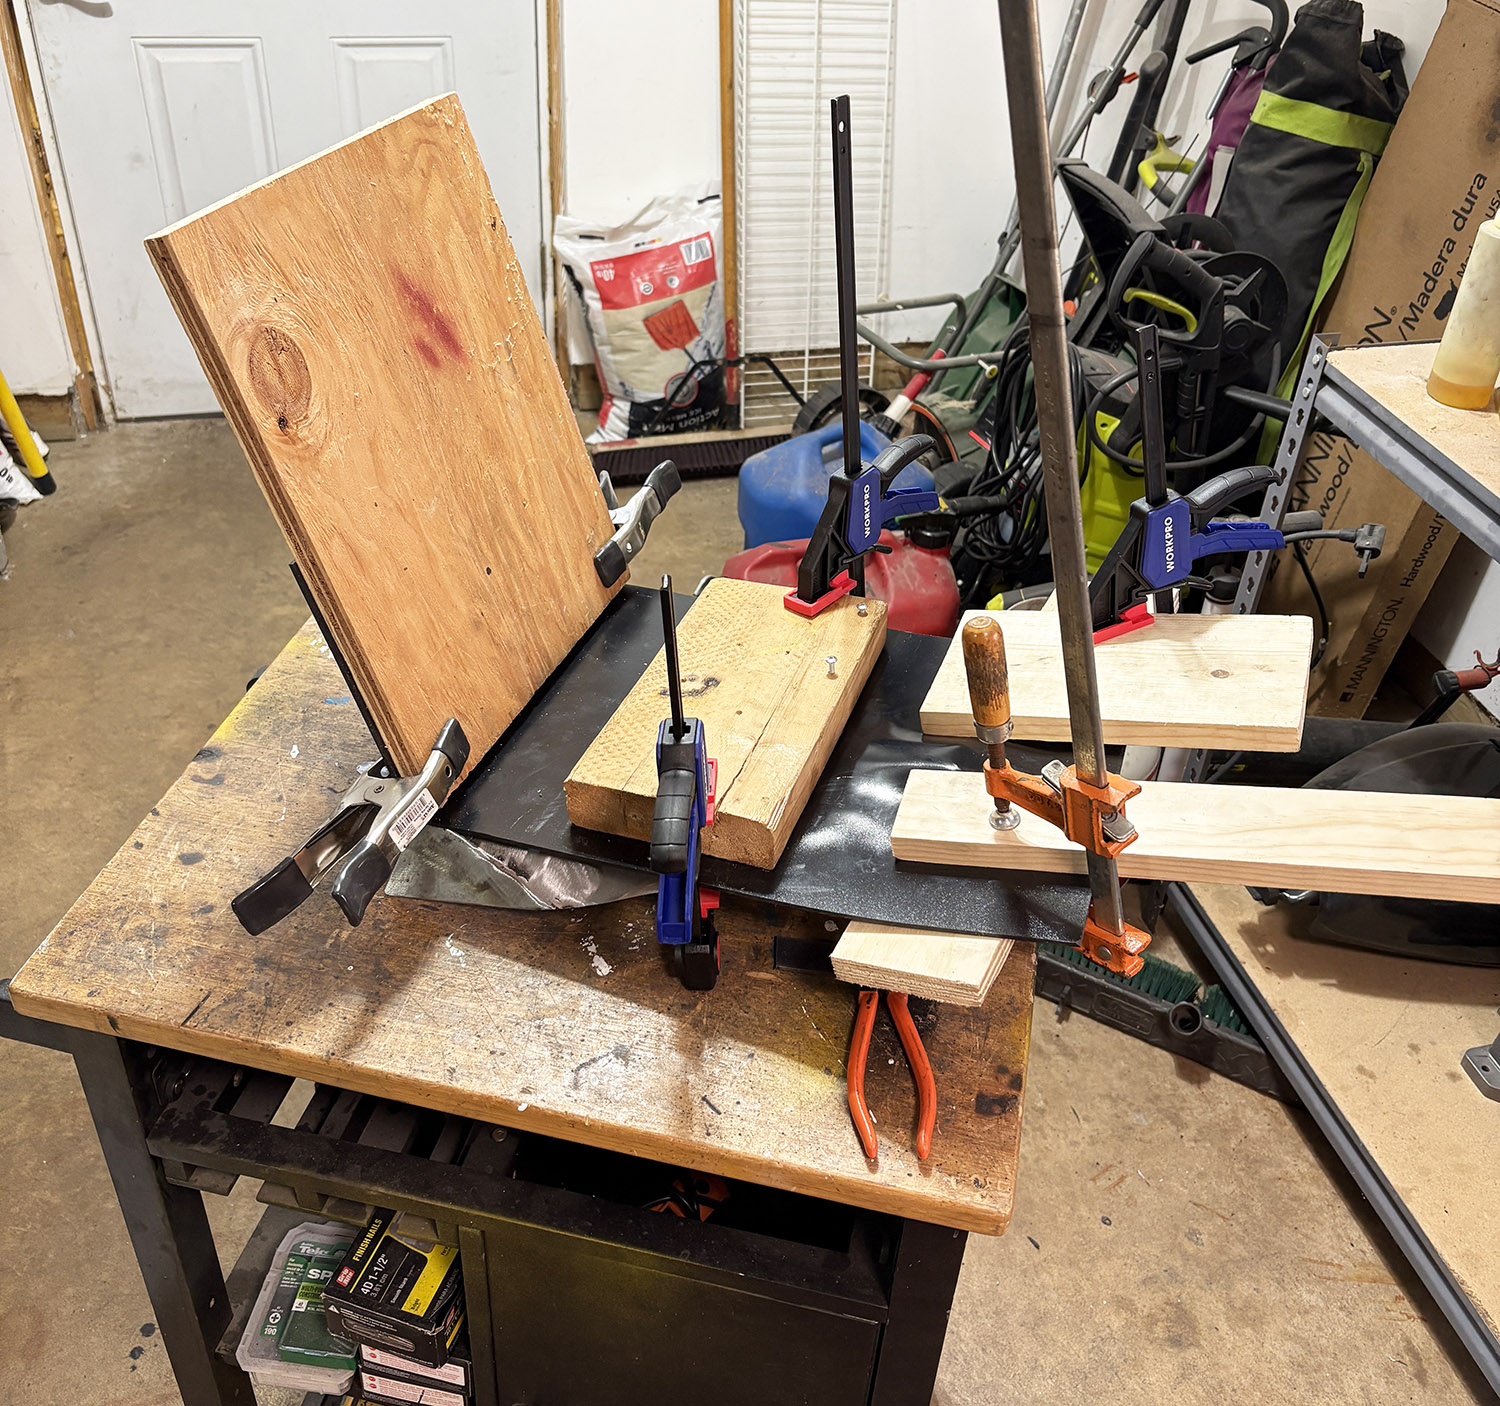
I had never used it before, but it seemed easy enough to work with. I first had to make a bracket that would attach to the electronics plate. From there, I could heat-mold the Kydex as best I could. It did require a bit of clamping with scrap wood I had laying around to make sure it kept its shape while it cooled. I just used my heat gun to warm it up. Once it was cool, I then drilled and mounted the back bracket that would attach to the backrest of the electronics plate and secure the whole seat in place.


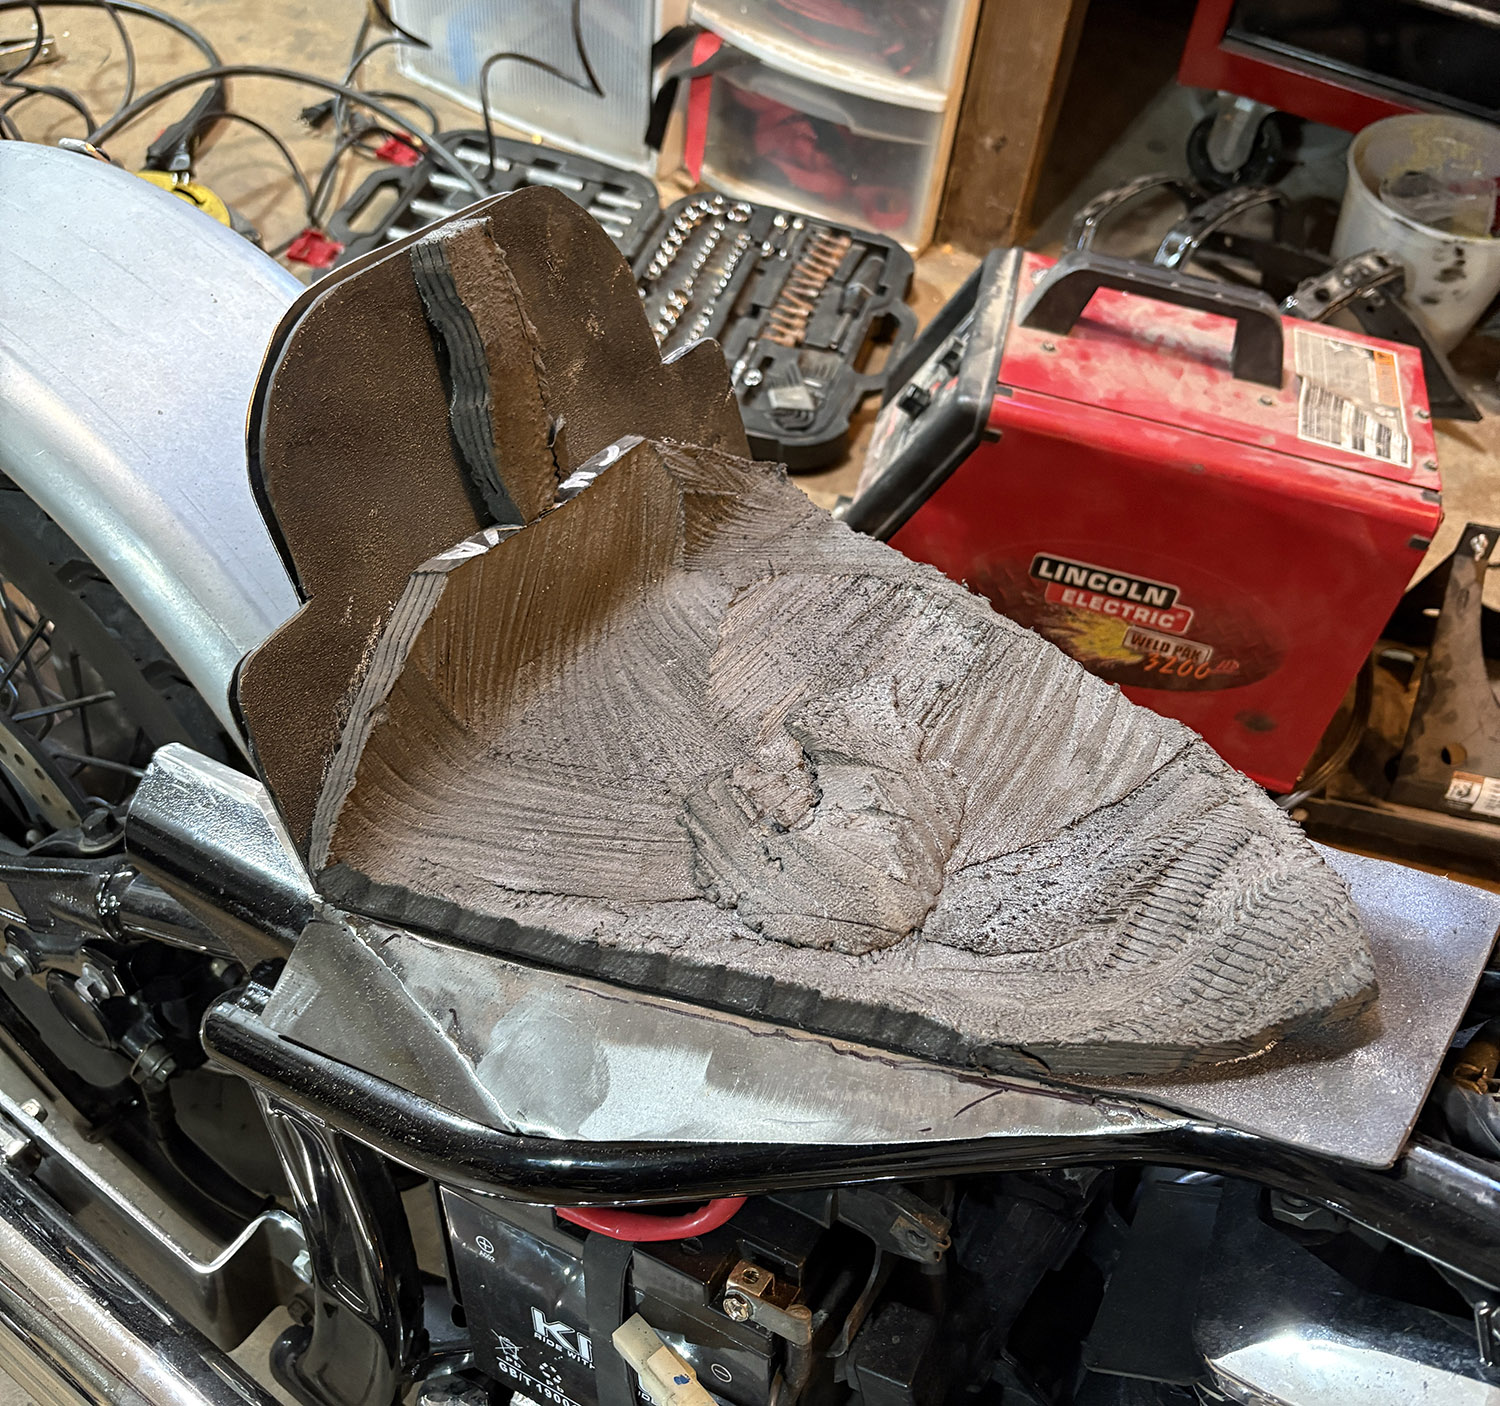
With the seat pan and electronics plate basically done, I could turn my focus to finishing the seat itself. The first step I always use is to add some really high density foam using 3M Super 77 spray adhesive. This provides good resistance to when you hit those really hard bumps so you don’t bottom out straight to metal, or worse, feel a bolt into one of your butt cheeks (this was a lesson hard learned). Unfortunately, I got the foam so long ago through a friend that I cannot recall exactly what foam it was. This is then shaped using a combination of a hacksaw blade without the handle (just seems to cut easiest) and an angle grinder.
From there, another layer of foam is added, again, using 3M Super 77 spray adhesive. For this layer, I use rebonded foam. It took me a long time to find this stuff, but it makes excellent motorcycle seats because it is cushy while also supportive. Other hi-density foams typically don’t offer the level of support I would like. It is then also shaped, but this time using an electric knife instead of the hacksaw blade. The grinder also doesn’t do great with this foam layer as it’s flexible enough that it usually just kind of flexes around with the grinder plate and doesn’t cut smoothly. I do make sure to cut out a bit of area for my tailbone during the foam steps as that’s one of the pain points I get while riding. The last piece I added was just a bit of 1/2 in Pink Sew Foam Scrim Cloth I had laying around.

With the foam done, it was then time to move onto the seat cover itself. The first step was to decide what kind of material I wanted to use. Personally, I like marine vinyl because it’s weather resistant and also flexible. I had some leftovers from the 1980 Honda Scrambler project, but it wasn’t enough to do the whole seat. So, since my wife loves the sewing store, we went to find some fabric for the main part of the seat. And as luck would have it, SR Harris had this same Quilted Foam Vinyl in-stock, which meant I didn’t have to sew the pleats in myself!
Again, a template was first created out of paper as to not waste material if the cuts weren’t quite right. That template is then transferred to the fabric using chalk and a ½” seam allowance is also tracked around that template. The pieces are then cut and then normally pinned together. This time, however, since the cuts were pretty straight, I ended up not pinning anything in place and just free-handed the sewing. The only thing I really had to pay close attention to was how the diamond on the fabric lined up at the backrest and seat joint.


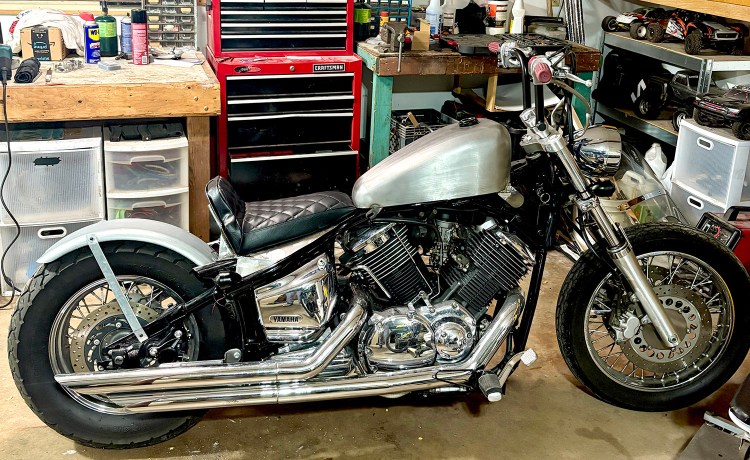
Once the pieces were sewn together, all that was really left to do was to drill holes in the seat pan and attached the cover using pop rivots. And just like that, the seat was done! Now I could move onto the last little bits to work out before I was ready for final paint.
