I have always been a big gamer, whether it was getting to rent a NES on the weekend back in the early 90’s or playing board games with friends and family. I loved being able to dive into a different world and forget about what was going on around you. My virtual adventure hit its peak during the early 2000’s when Everquest (EQ) was released. I had never been so enveloped in an experience. The early 3D MMO graphics, the sounds, the exploration without having any support material to inform you of where you were going was a complete immersive gaming experience.
But as I got older, those same thrills started to fade as everything became more familiar or watered down in order to cater to a wider player base. I always knew that EQ was based on Dungeons & Dragons (DnD), but I had never tried the game due to the stigma surrounding it. Kind of a weird thought looking back, considering EQ had the same stigma around it. Only “mega nerds” played those games, and I just didn’t see myself as one, yet.
It took me getting older and a deep desire to reconnect with the adventurous gaming experience for me to finally give DnD a try. My little brother had gotten into it with some of his old high school friends and I tip-toed in trying out a “one shot” on our annual motorcycle trip up north. The initial experience took some getting used to as there was a bit of a comfort barrier allowing yourself to truly engage with the content. There was also a learning curve, retraining your brain to forget all the mechanics you learned playing video games. Overall, it was a great way to enjoy in-person time with your friends, something that had been deeply missed in my adult life.
After a while, I decided I wanted to give the game a go on a regular basis and I went about recruiting friends to the game. It was on me to become the dungeon master (DM) who would create and guide the campaign. This became quite rewarding as I got to really dive into world building and tap into a deep well of role-playing game (RPG) knowledge that I had learned through the decade plus of massive multiplayer online (MMO) gaming.

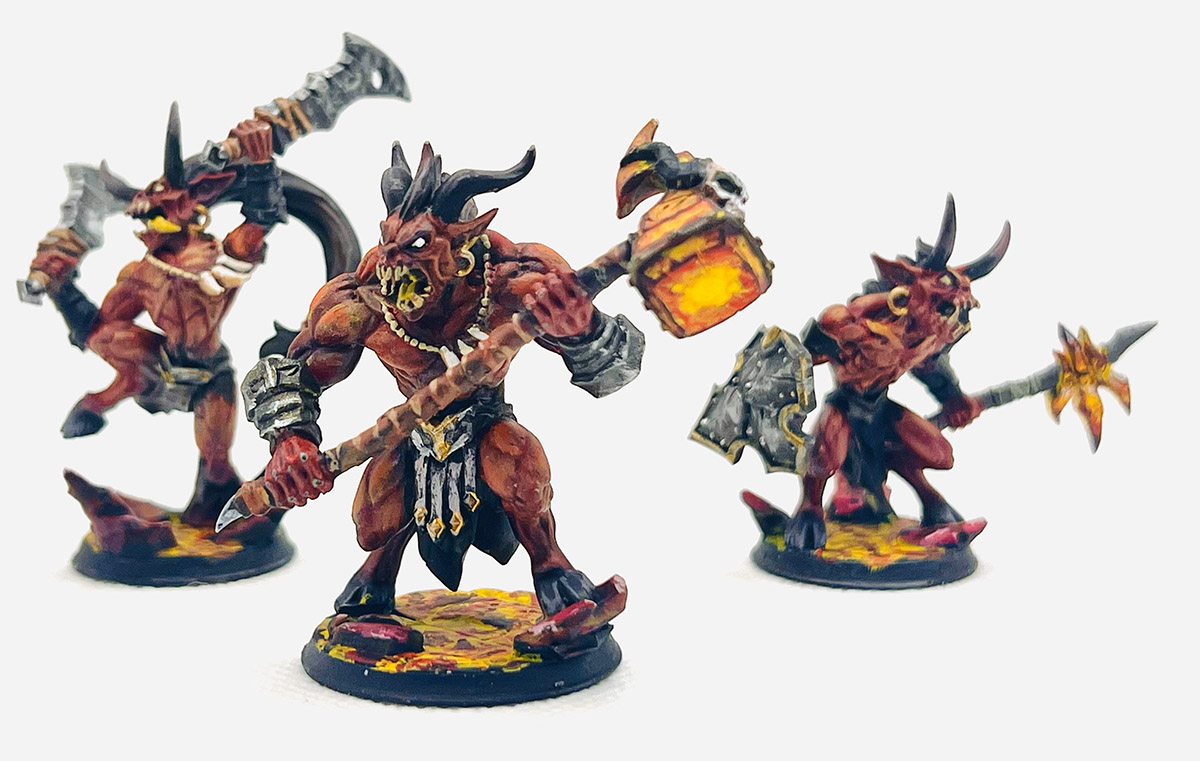


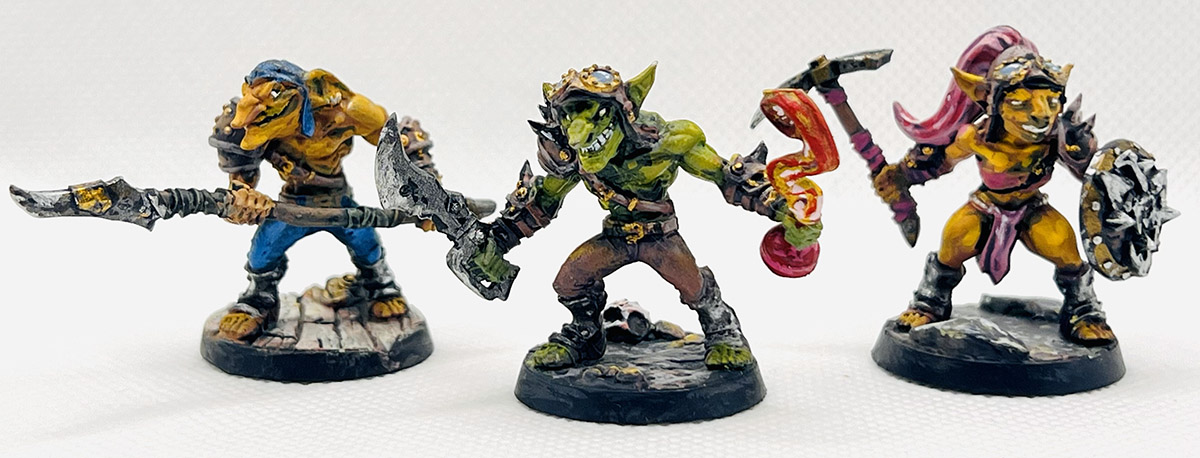
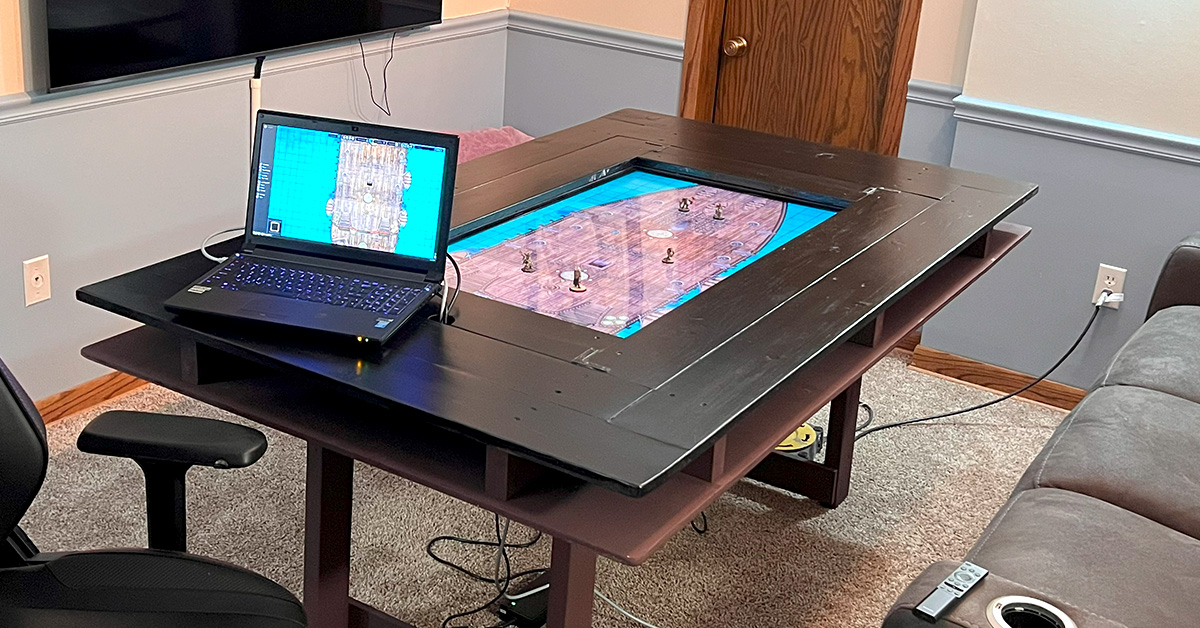
It didn’t take long before I started to print my own minis (the figures used in the game) and paint them. That led to me wanting my terrain to match the same level of “coolness” as my minis. There are a lot of amazing custom tables to draw inspiration from online. Having a TV inset in a table seemed like an awesome way to be able to display creative terrain as well as allow me to set up maps a bit easier ahead of time.
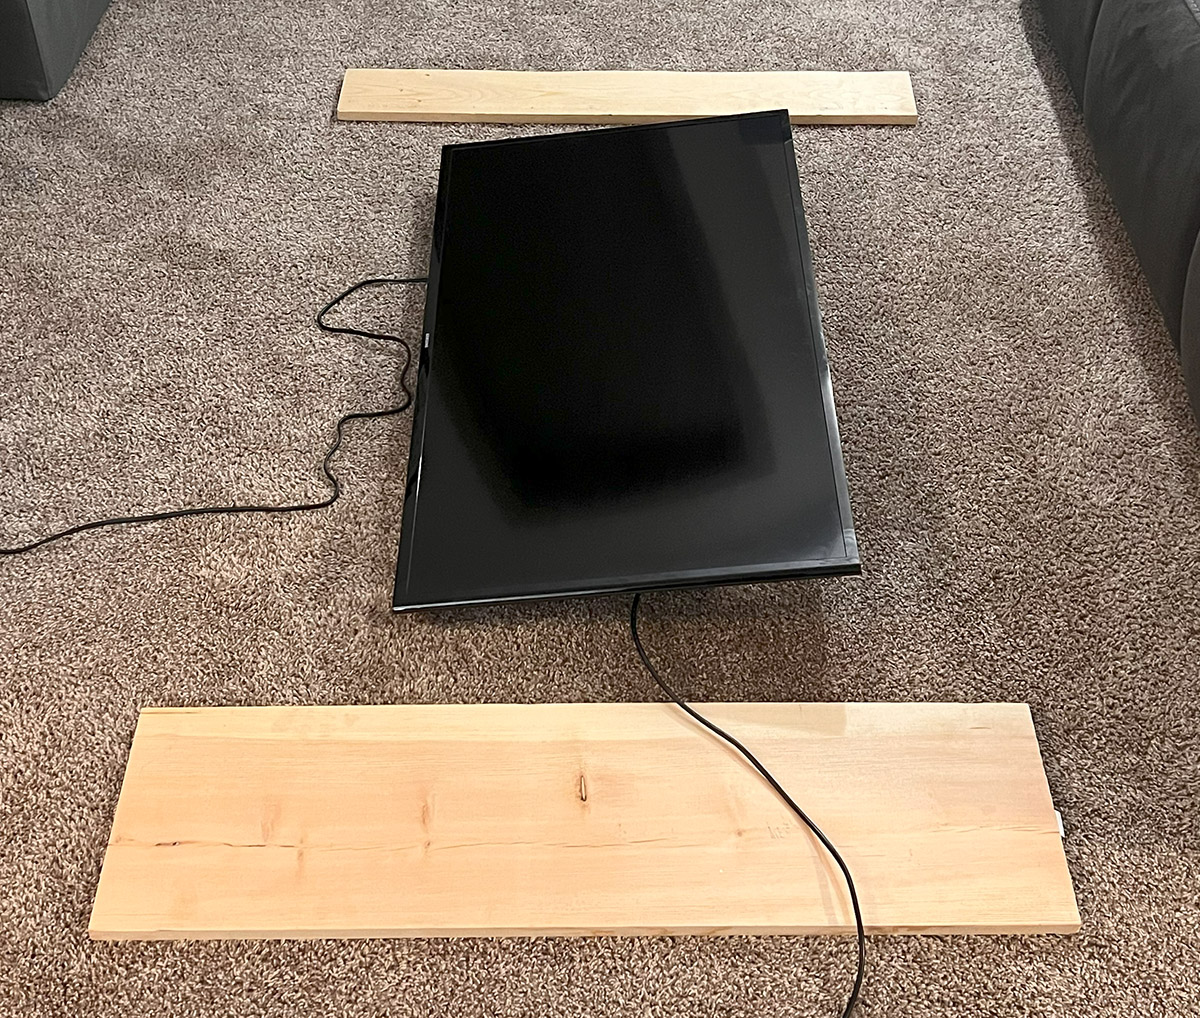
As with most of my projects, the initial phase consisted of designing the table in a digital program. Since this was something I needed to completely build from scratch around an existing TV, I mocked everything up in Blender (similar to my climbing wall build). Also, just like my other builds, I didn’t really want to spend a bunch of money. I found an Insignia 43” flatscreen on facebook for $40 and then used framing studs and common board for the rest of the build.

The main thing I wanted to focus on was that I needed the table to easily be broken down for storage. The playing area would share the same space I use for my virtual reality (VR) setup, so I couldn’t have a giant gaming table taking up all of that space. Initially I wanted the legs to fold up, but I found that solution to be more headache than it was worth. Instead, I decided to have the legs fit into slots I would cut out and quickly bolt into the framing using leftover t-nuts I had from the climbing wall build.
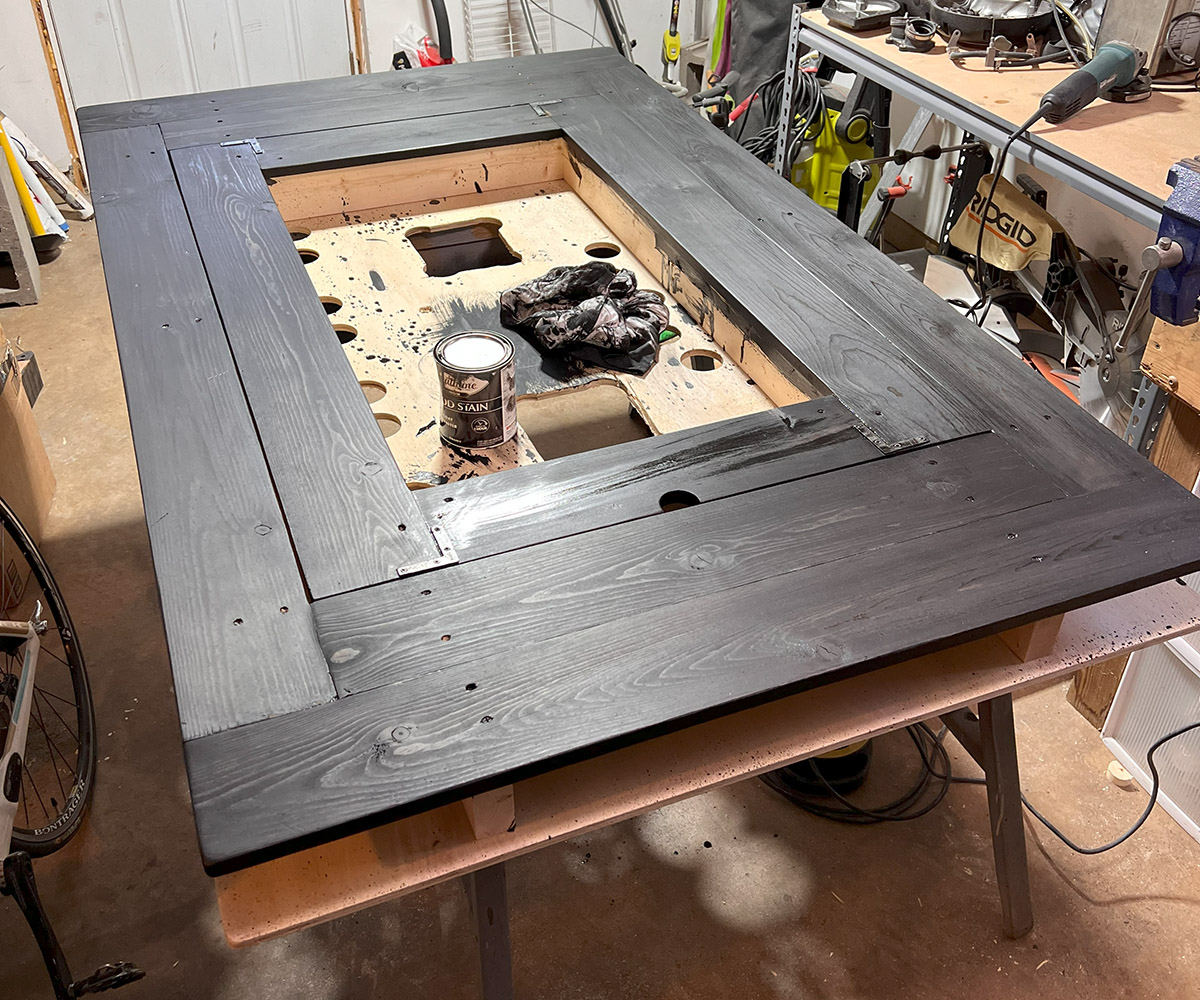
With the design finalized, I started by building the simple frame for the TV out of 2x4s. I then added the extra bracing around the TV for the table top. The frame was then topped with 1×6 common board. It took a bit of digging to find straight boards at Home Depot, but I was able to find usable pieces. At this point, I called a bit of an audible on how I was going to have the middle section secured. Instead of screwing all of the boards down like I would on the surrounding area, I attached braces and glued the boards together to form a frame. This frame was then screwed down in only 4 places so that I could easily remove it if I needed to service the TV for any reason.


Once the top was complete, I simply screwed a ½” sanded piece of plywood to the back after cutting a bit of excess off to fit the dimensions. In order to make sure the TV had adequate cooling as well as access to the ports on the back, I had to cut out some access holes both in the plywood as well as in the 2×4 frame. The mounting setup for the TV also took a bit of reworking due to some depth and bolt location issues. I ended up screwing a piece of leverover ¼” plywood and a 1×6 together to combine for the correct height so that the TV would sit roughly flush with the back of the 1×6 tabletop. This left just enough room for a piece of acrylic to sit between the screen and the frame to project it during gameplay.


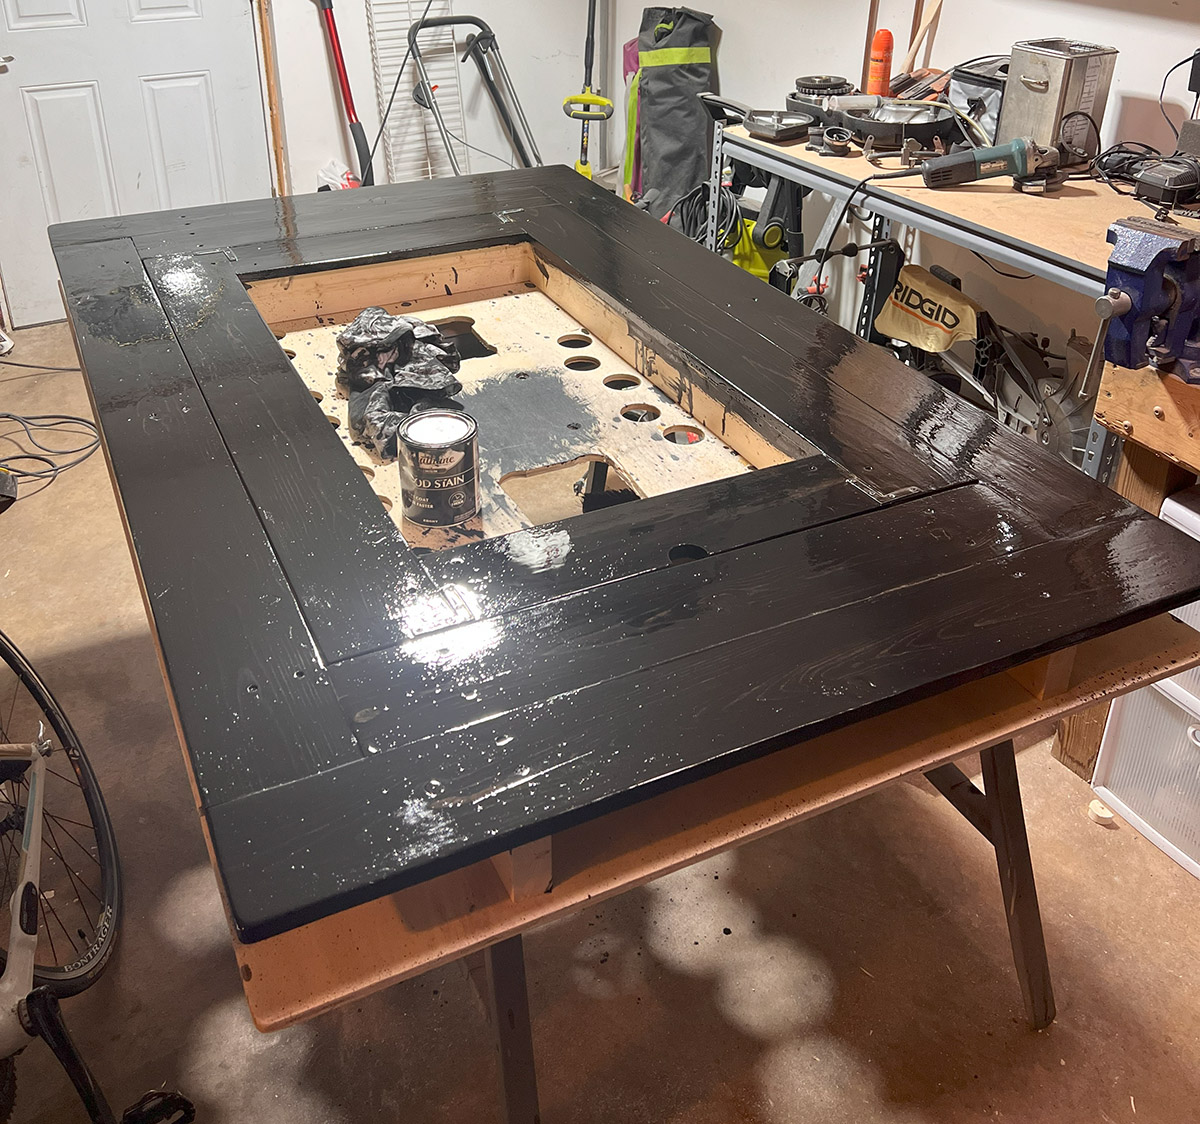
Once the table was all complete, I stained the top with Ebony Fast Dry Wood Stain and painted the rest using “Oops” paint found at Home Depot on the cheap. I also found some Polyurethane Floor Finish that the previous home owners had left behind that I used to cover the stained areas. The last piece was to drill an access hole that I had forgotten about so that I could run the cable from the TV, ethernet, and power to my laptop to control the gaming surface.


Overall, the build was actually pretty easy and straightforward and easily tackled with standard power tools. I only used a drill and a miter saw for pretty much the entire thing. I also ended up adding a wall “lock” so that I could stand the table up at the end of a small hallway and lock it in place so that it would not risk falling over. The table takes about 5 minutes to set up when it’s a gaming night. Just pop in the legs, screw the bolts in using my electric impact drill, and plug in the cables.


As for how I run my actual games, I usually browse the web searching for battlemaps that other people have graciously created and shared for others to use. The TV acts as a second monitor to my laptop that I can move maps in and out of view for the players. I build city maps using Watabou City Generator and then adding labels and coloring using a combination of Photoshop and Illustrator. For our world map, I used Inkarnate. I will probably eventually use this for battle maps as well if I can’t find something I am looking for online. We also add some ambiance by playing music & visuals using my regular TV on the wall.
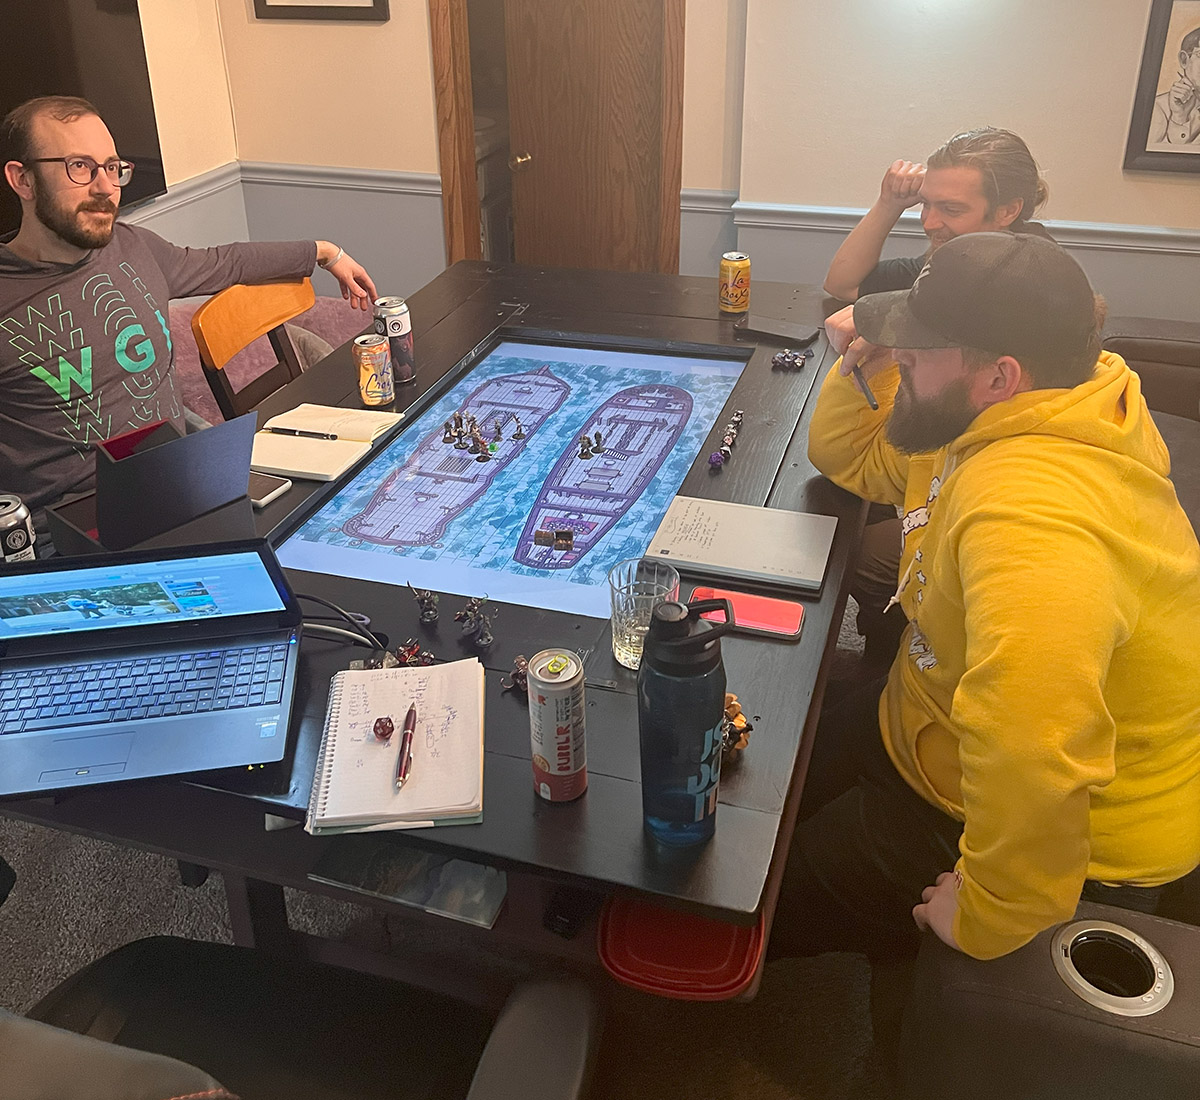

While the table was totally not needed to enjoy the great time with friends playing a fun game, it has certainly added some “wow” factor to the games. Players have especially enjoyed being able to pull up a map of a city and then adding points of interest as we go. So if you have the space, money, and time to commit to such a project, I highly recommend it!

One thought on “Custom TV Gaming Table”