
Painting a bike is always a love-hate relationship for me. On the one hand, I really do enjoy designing a paint scheme to establish the identity of a project. On the other hand, I absolutely despise the actual process of painting. As any painter will tell you, the quality of the paint job is all in the prep. This means a TON of sanding and other monotonous work to reach your end-goal. I have also always been one of those “creatives” that enjoys the end product rather than the journey (I know, it’s supposed to be the other way around). Because of that, I wanted to make this scrambler a bit more simplistic while staying away from just a single color paint scheme.
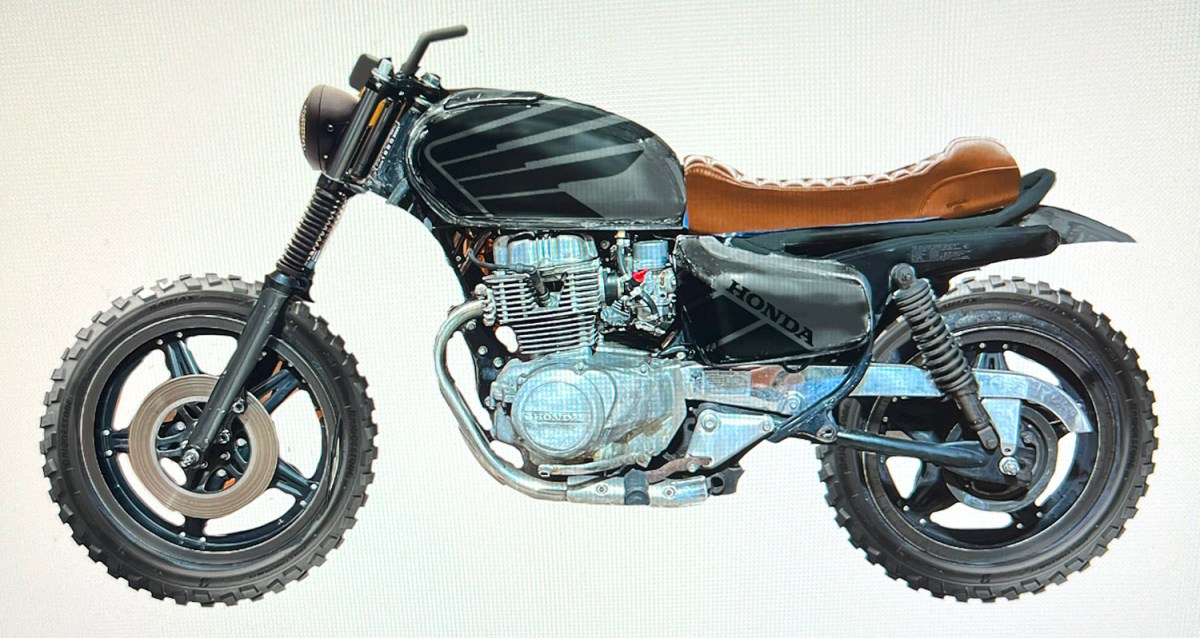
The process usually starts the same for all of the bikes I do. I find an image online of the base model and then I take it into photoshop and start playing around with different pieces for a rough mockup. In some ways, it can be very limiting to do it this way since you can miss out on the organic experience of discovering the bike’s form. But in the initial phases, it can really save you a ton of time and expense. It is here where I typically decide what colors and details I want to go with. The organic design changes can still flow later.
I went back and forth quite a bit on this Honda Scambler paint job. Did I want to go with Honda red and go super basic or do something else? After looking at a lot of other bikes online, I knew I didn’t want to go too basic, but also not too over the top. I settled on a metallic gray and black color scheme so that the graphic would be subtle. I decided that using a variation of the Honda wing logo would add a cool accent to the tank without distracting from the rest of the build.
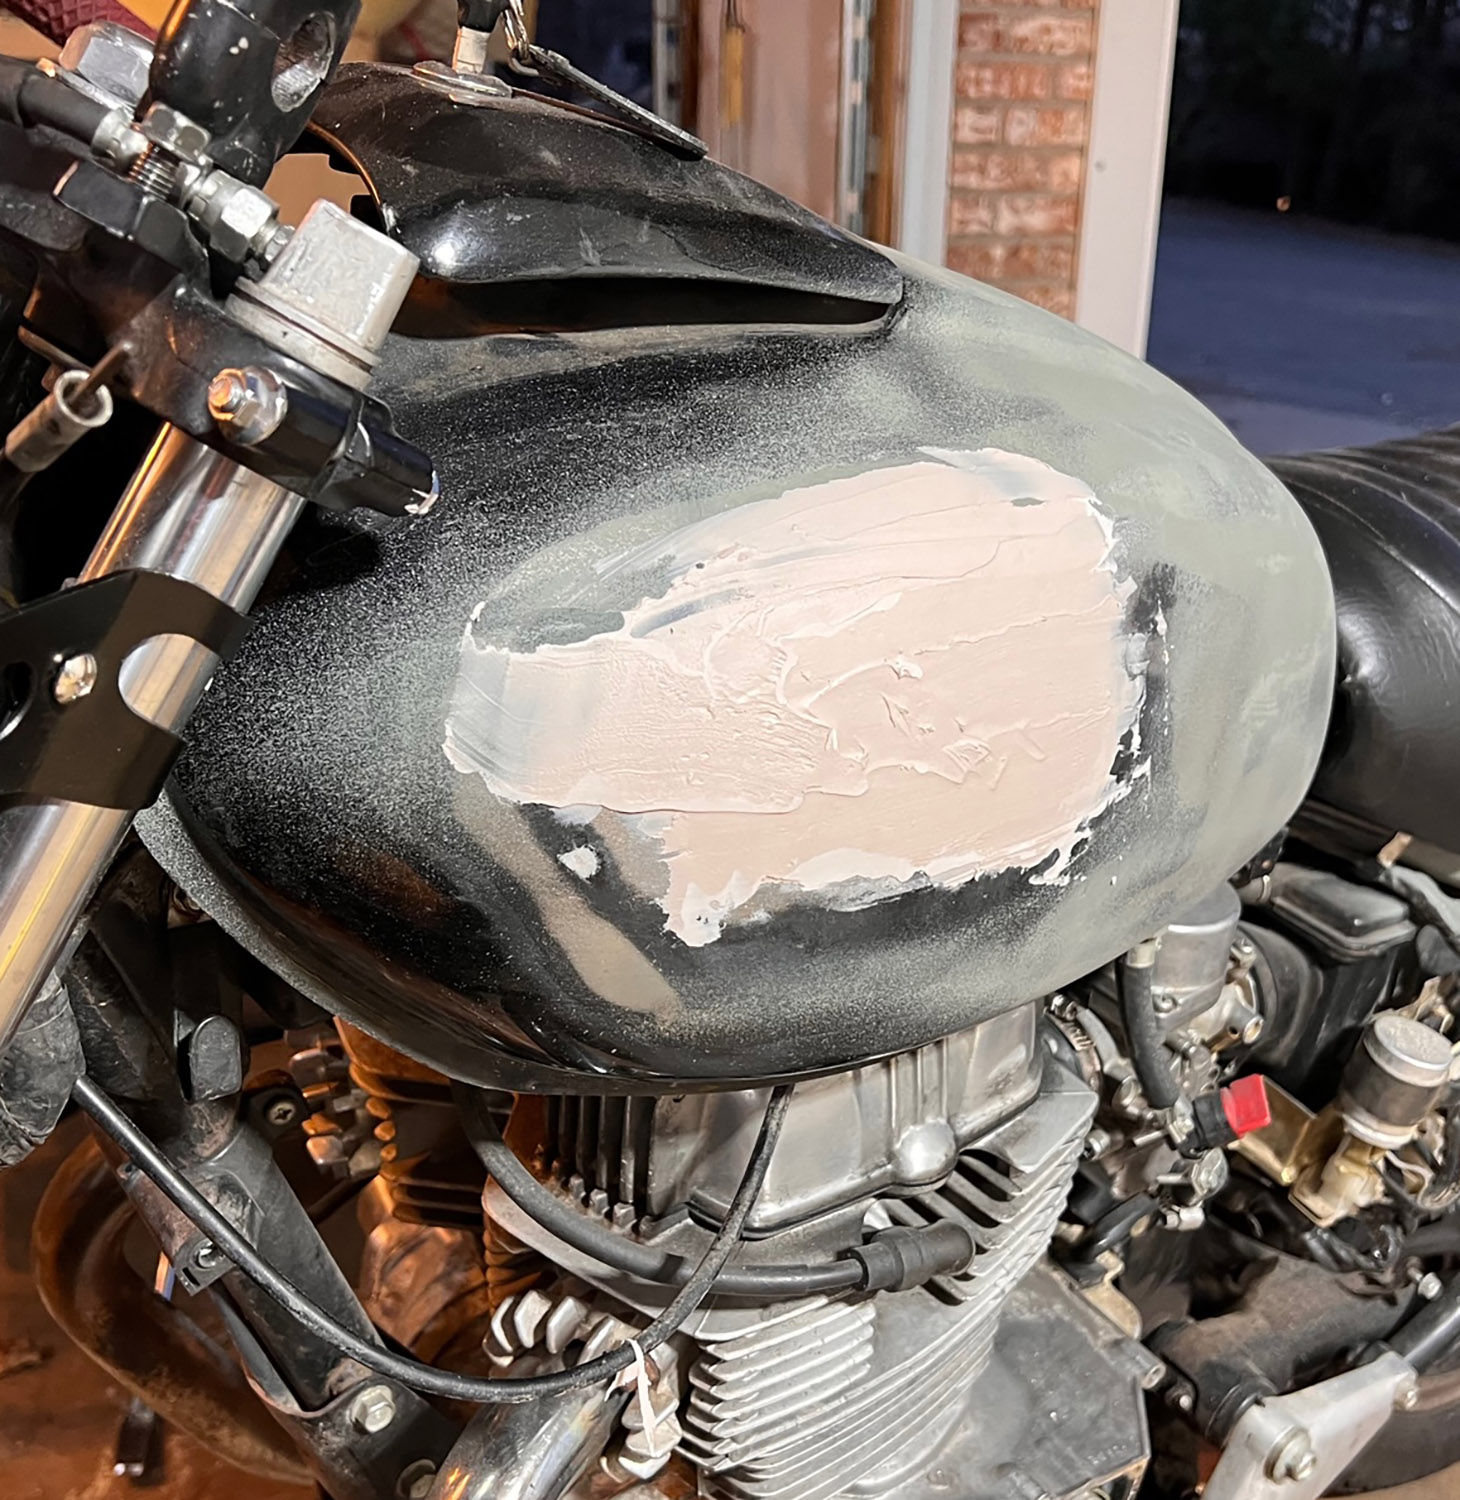

In order to begin, I first had to strip the tank down to bare metal. These older 80’s bikes typically have badges on the side of the tank attached to brackets that are welded on. Because of this, the first step is to strip the original paint off of the tank and to slowly and carefully fill the bracket holes with body filler. It’s important to only lay thin layers and let them dry rather than fill the full hole all at once. Body filler is not supposed to be more than ¼” thick, but this is one of those occasions where you have to weigh the possible negative effects with the hopeful positive outcome. Having done a couple of these now, I have yet to have a body filler pop (knock on wood).

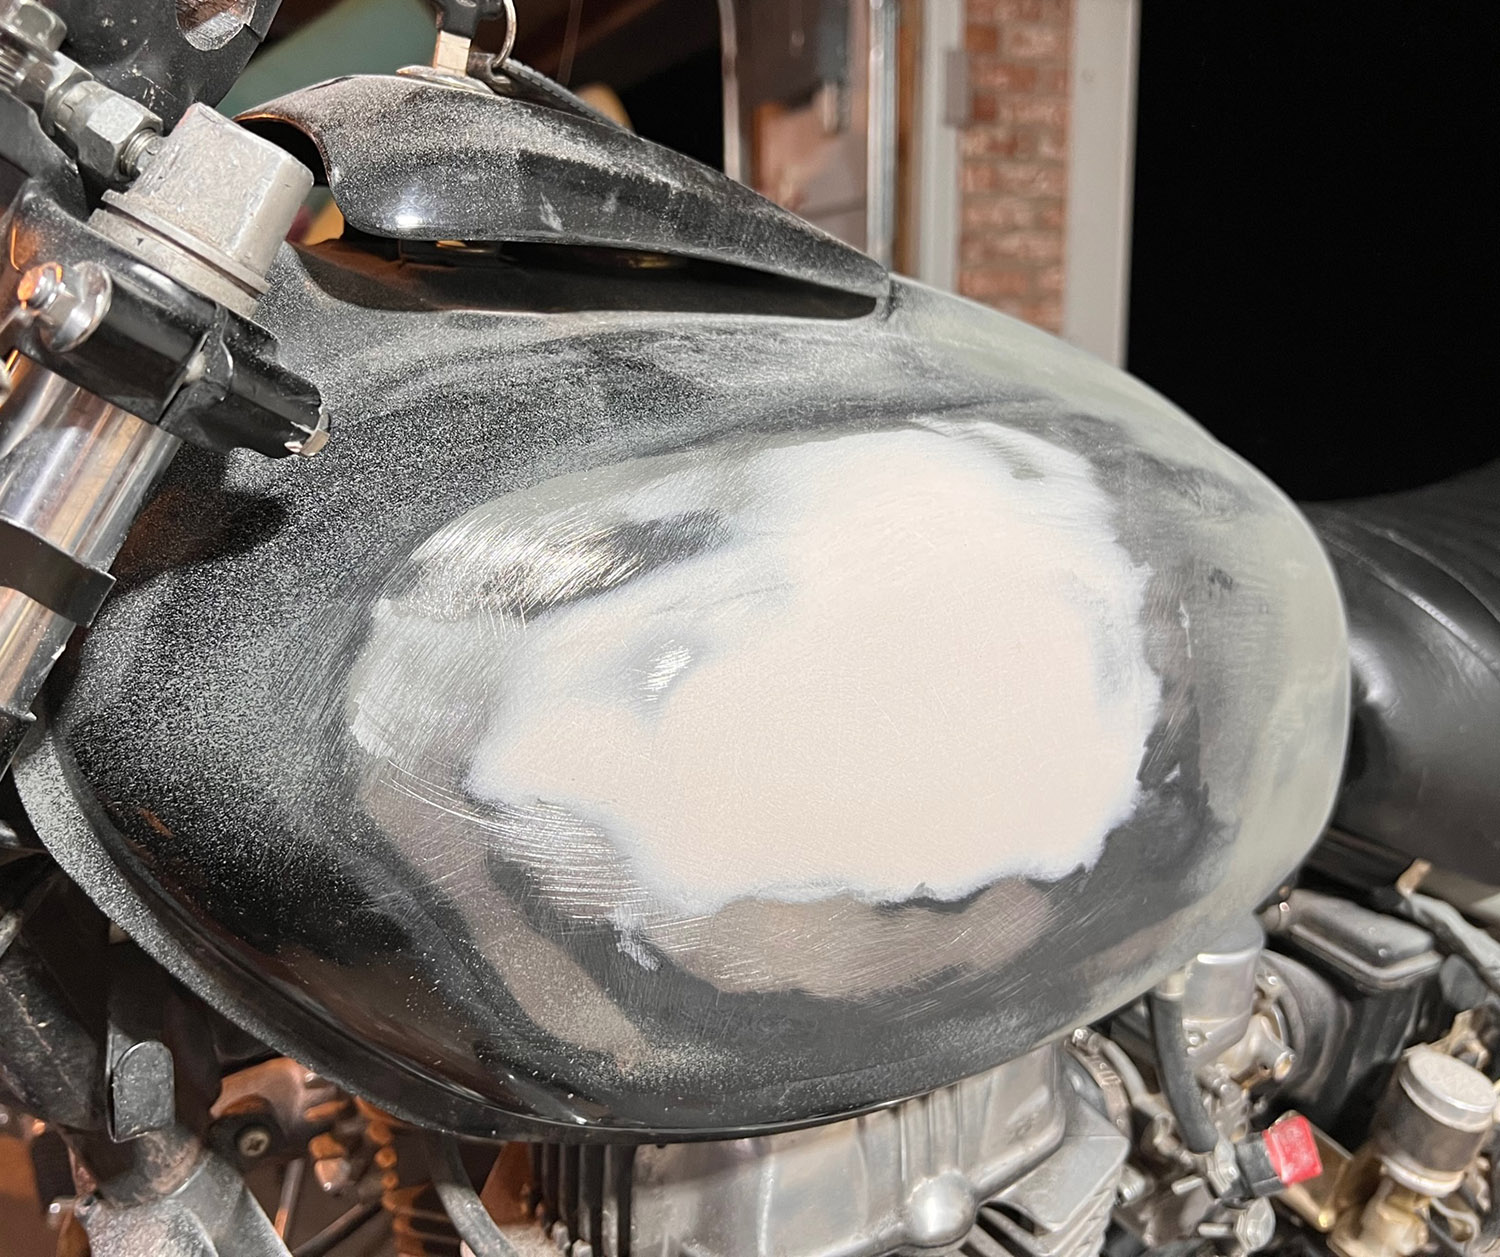

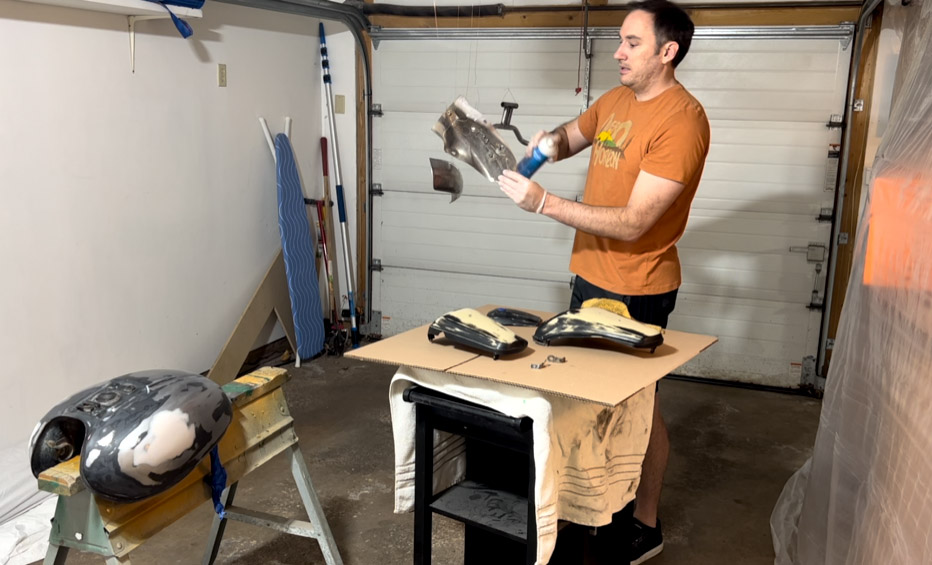
Once the body filler has fully dried, the process of rough sanding, blocking, and smoothing the tank starts. It is at this point where I typically get super frustrated and end up rushing. I almost always have to go back and add more Bondo because I either sanded too much, or I put on filler too thick / fast and developed air pockets (this is how you get pops later on along with thermal cycling). As the saying goes, “haste makes waste” and it’s a lesson I never seem to learn. When the tank was smoothed and leveled to my liking, I sprayed the initial primer coat using DTM Epoxy Primer. Typically I have been using SpeedoKote DTM Primer, but I decided to give Restoration Shop Epoxy Primer a try this time around. Honestly, I prefer the SpeedoKote. It’s slightly more expensive, but it sprayed easier and gave a better finish.

After the initial coat of primer was sprayed, it was time to start sanding (again) and make sure all my edges were smooth and no bulging could be seen. The areas around the body filler are always something to pay close attention to because they won’t ever be fully smooth until after a layer of primer is sprayed and then sanded. The filler just doesn’t hold that fine of a line, so it’s a combination of both. If you have the money, it is also a good idea to get a Surfacing Primer to spray over the epoxy primer for a smoother finish and easier sanding. The epoxy primers really love to gum up your sander and also have a bit of a dimpled finish to start. All of that said, I have almost only ever used the epoxy primer to save money. You can also use an extra layer of paint as your first leveling coat.

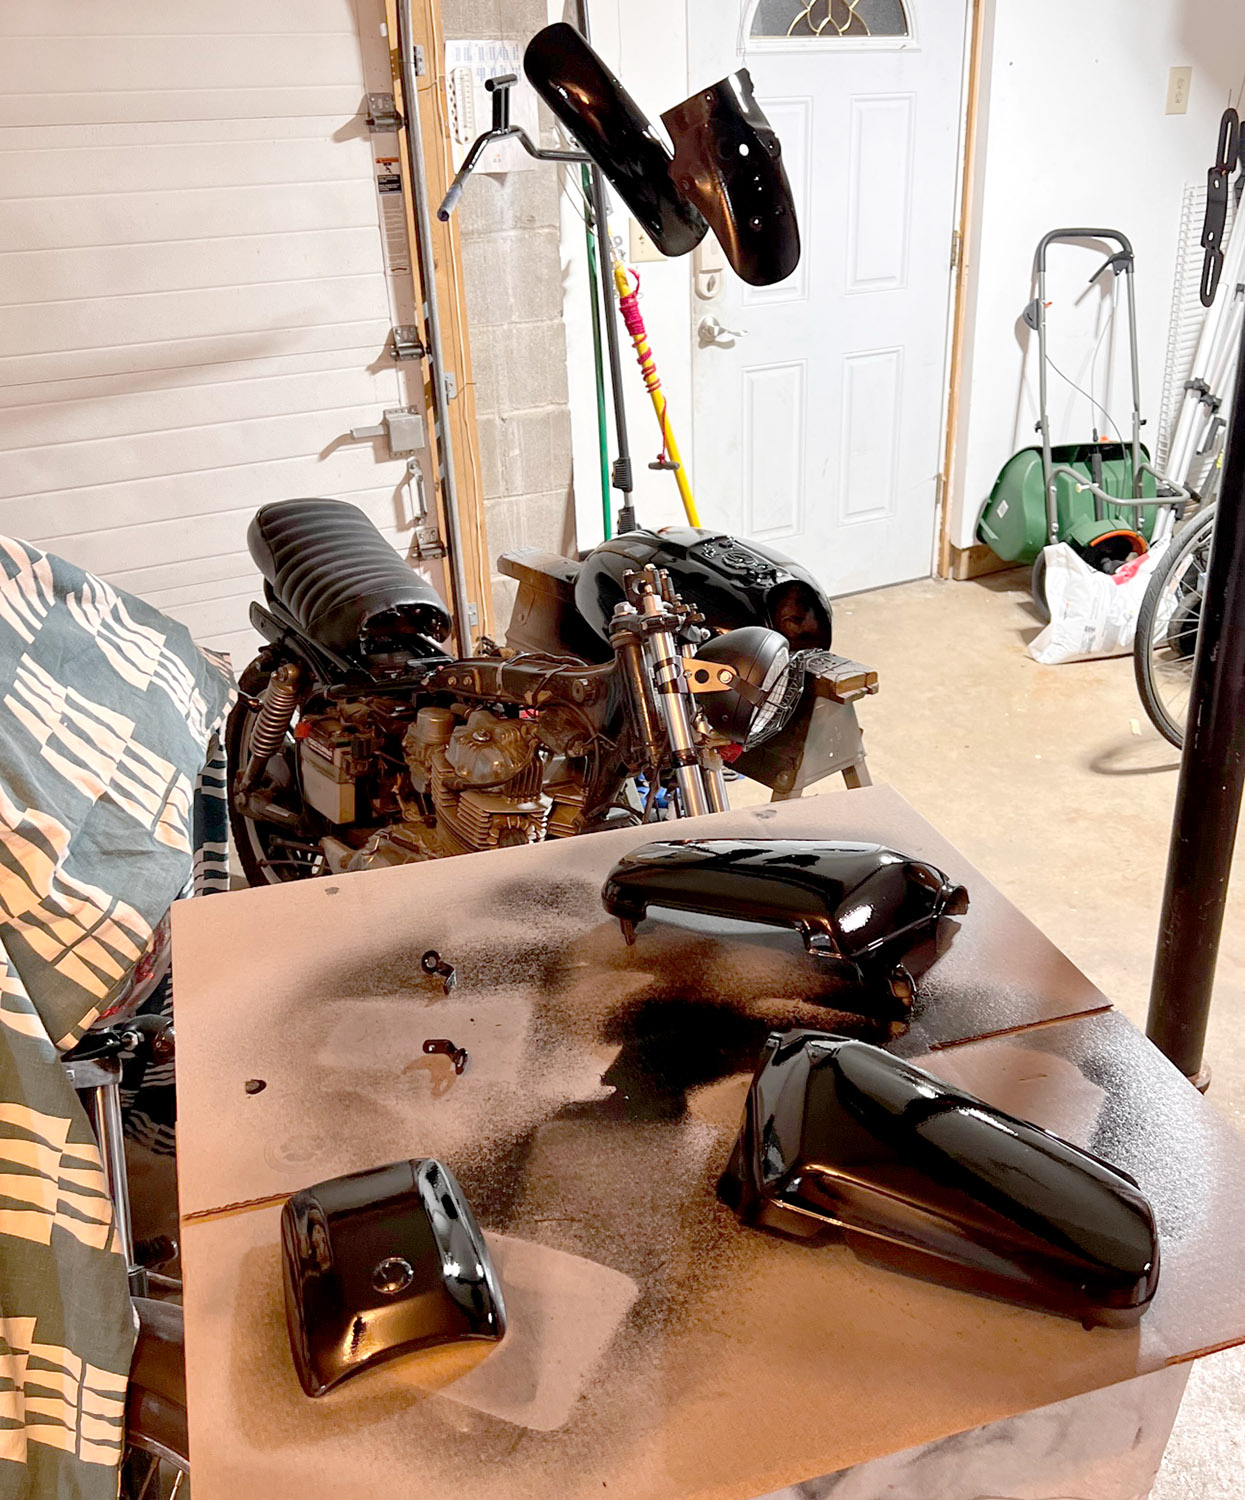
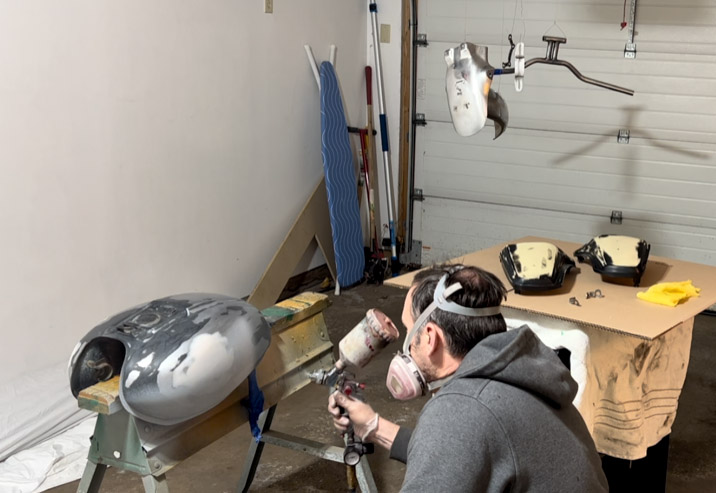
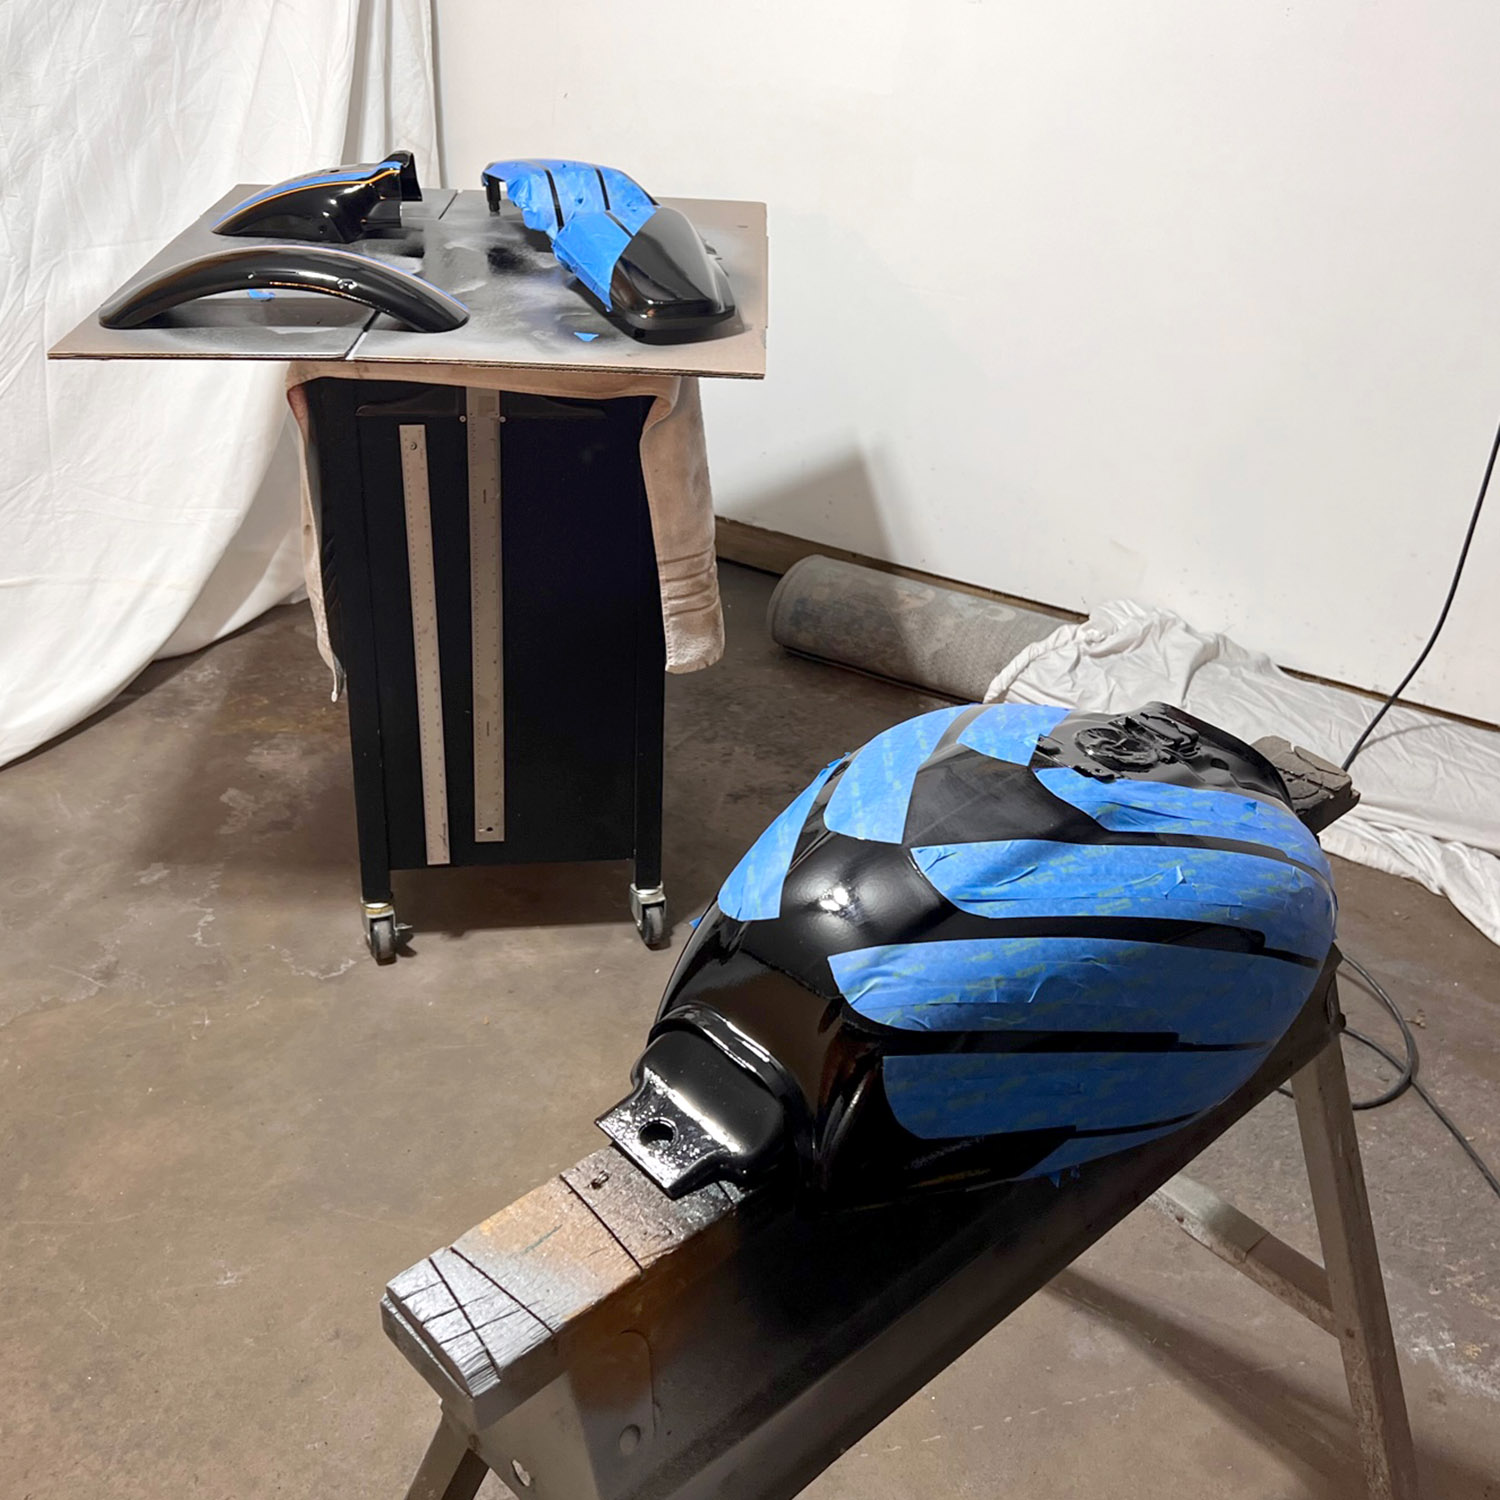
I think at this point, it is once again important to emphasize that I am NOT a professional. These are all things I have either learned through YouTube videos or just trial and error over the many years of modifying my “toys”. Anyway, after the primer is sprayed and sanded, I sprayed the basecoat. In this case, I used Restoration Shop Jet Black. Once that dried, I could go in and mask off the graphic. Save yourself the headache and make sure to use vinyl masking tape and not the painters tape you can get from the store. It gives way better edges, does not leak, and is a million times easier to remove. Anthracite Gray Metallic was then sprayed over the top.

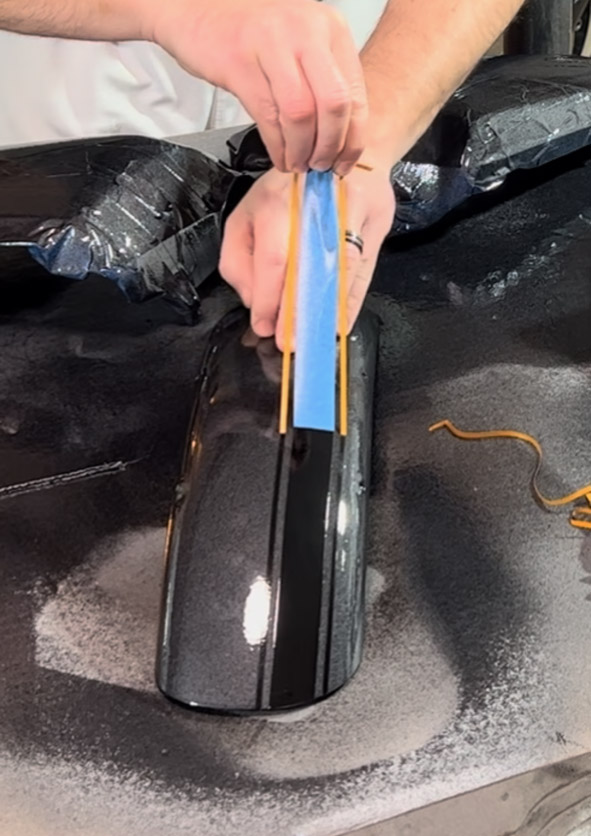
At this point is where a typical point of contention comes into play between the professional paint world and my experience with past projects. When do you pull the tape!? The professionals will tell you about an hour after you’re done spraying, or when the tack phase has passed. I have always waited until 12+ hours for the paint to dry but NOT cure. The reason being is that if you pull the tape early as the professionals do, you get much cleaner lines and less risk of the paint peeling. The one main draw-back to this is that you NEED to have a steady hand. If your tape is complicated to remove, chances are you are going to touch your paint and possibly ruin it. This is why I wait, but I do end up having to go back and sand down the edges which carries with it its own set of problems. Next time I will give their way a try. I did end up having a peel anyway, as you can see below.


The final step is to clear the whole thing. Do yourself a favor and make sure you get a good automotive clear. It’s the second most important paint phase after prep / primer. Have you ever seen those home project bikes with gas stains on the tank? That’s because gas will eat through regular paint. If you have followed my other blogs, you know that I absolutely love SpeedoKote Automotive Clear. After using it the first time, I was hooked. Follow the instructions on the side and spray nice even coats and you are sure to get a great finish! It also protects your hard work from chemicals.
The only way to really screw it up is do what I did and have your breaker blow midway through, not notice, and lose pressure to your gun. WOOPS! This caused the clear to splatter out of the spray gun. Luckily, it’s not super hard to fix if you catch it during one of the coats. The only trouble is you then have to spray a pretty thick coat and chase the run to the bottom of the tank. I wasn’t fully successful and ended up with a pretty bad run on the side, but considering what I had to fix, I will call it a win. I can always sand it down later and buff it out if I decide it’s worth the effort.

So what was left after the paint was cured? That’s right, the fun part! It’s time to put the bike back together. The next installment will most likely be a shorter write up on the last little details such as tires and exhaust.
