
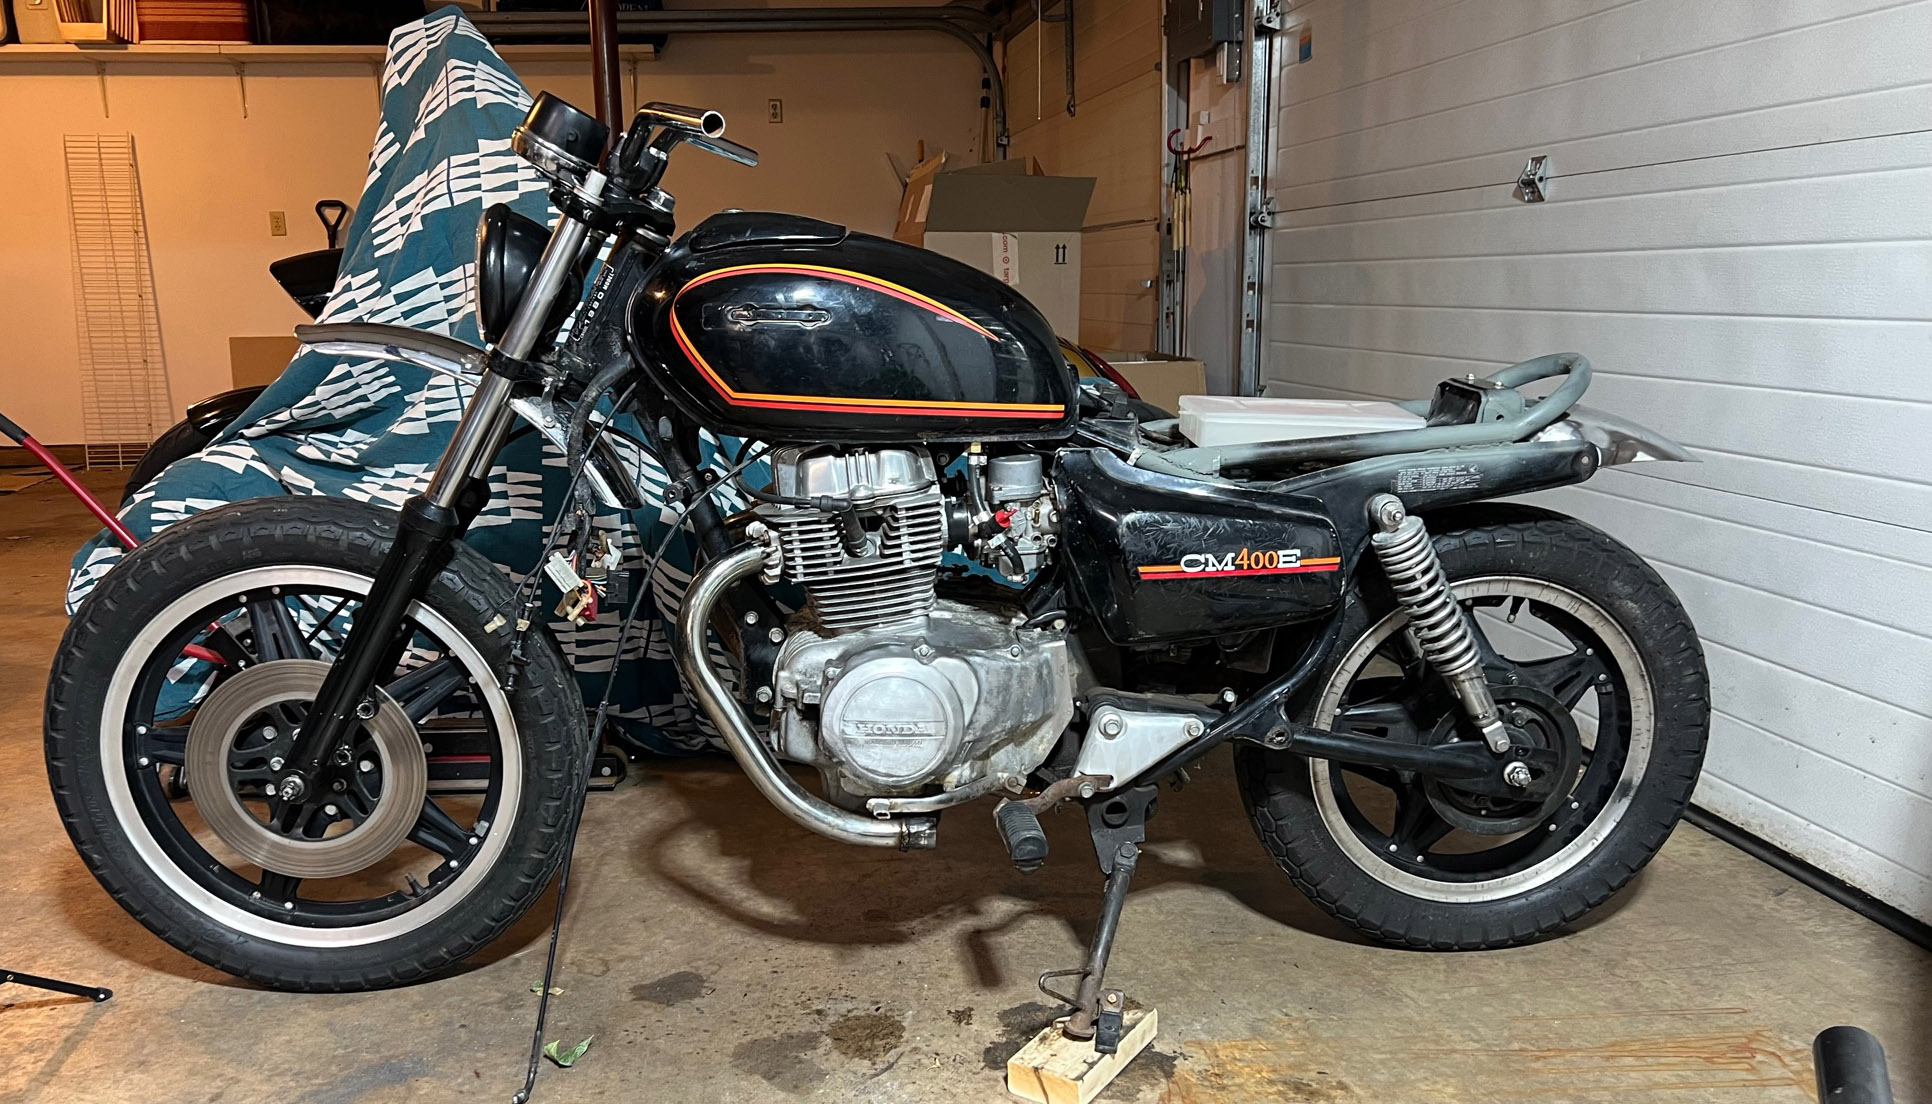
Something about a Minnesota winter can really bring out the best or the worst in my motivation to work on a project. When I first started the scrambler, it was meant to be a good way to occupy my mind during the cold months. But after I got it, we had an unexpected warm spree that really sparked my drive to try and get the bike back to rideable shape and maybe be able to get in a test lap before the roads froze over. Unfortunately, that didn’t end up happening. Instead, I somewhat fell into hibernation mode for a while, completely abandoning the bike in the garage. I tinkered here and there with different parts, but not with the same fervor as before. So with all of that said, the steps in this post took place over a couple of months.
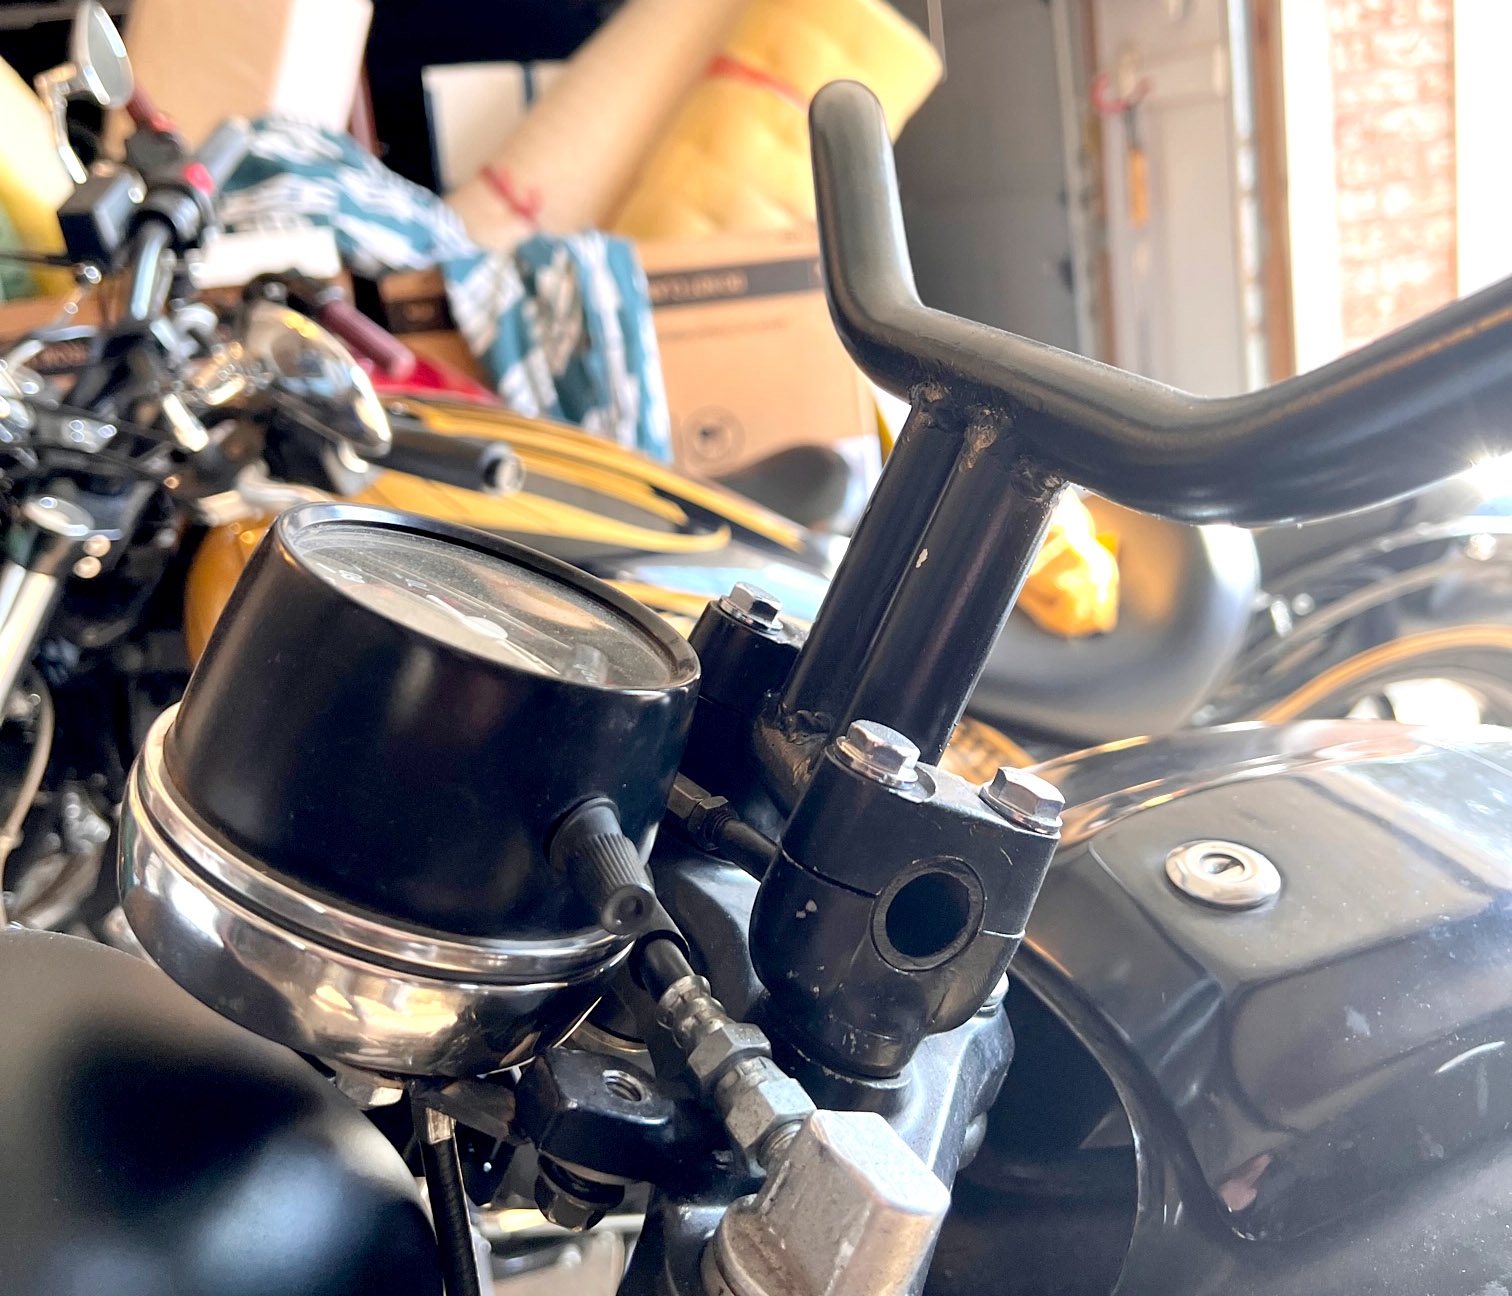
I knew that I wanted a cleaner gauge cluster as well as higher sitting handlebars. I am a tall dude, standing 6’3” with super long arms, so I tend to sit quite a bit higher. My friends even complain that my cruiser’s handlebars are SO FAR FORWARD! I spent some time looking at different bar and riser options, but nothing really jumped out at me. The doner parts bike had some nice low-profile drag bars that I thought had a great look. They just needed to be raised. Instead of buying a stock riser, I decided to chop up some other bars I had laying around and fabricate my own.
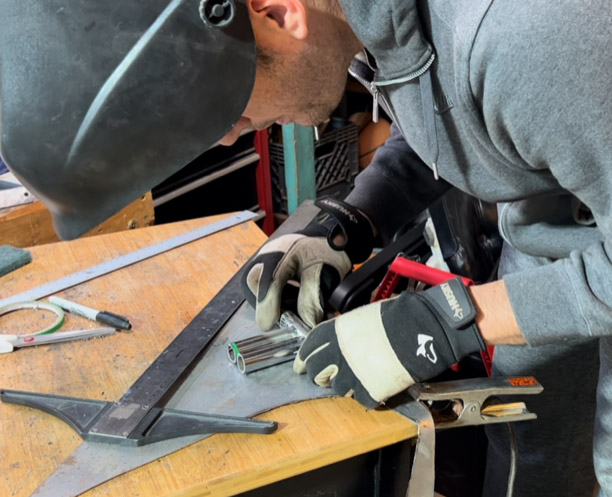

My first worry was getting them lined up perfectly without a jig of any kind. I made as many measurements as I could, but in the end, it was just me and my angle grinder going to work. I cut the donor bars to take two three-inch pieces that would then connect to the low-profile bars and the crossmember mount. Using the grinder, half-circle grooves were cut out of the riser pieces to fit to the bars. This was to make sure I was getting a decent weld and I would feel comfortable that I wasn’t going to kill myself on the road (the jury is still out on that one). I then clamped them to my work bench and trued them up as best as I could and did the best weld job my poor skills are capable of.
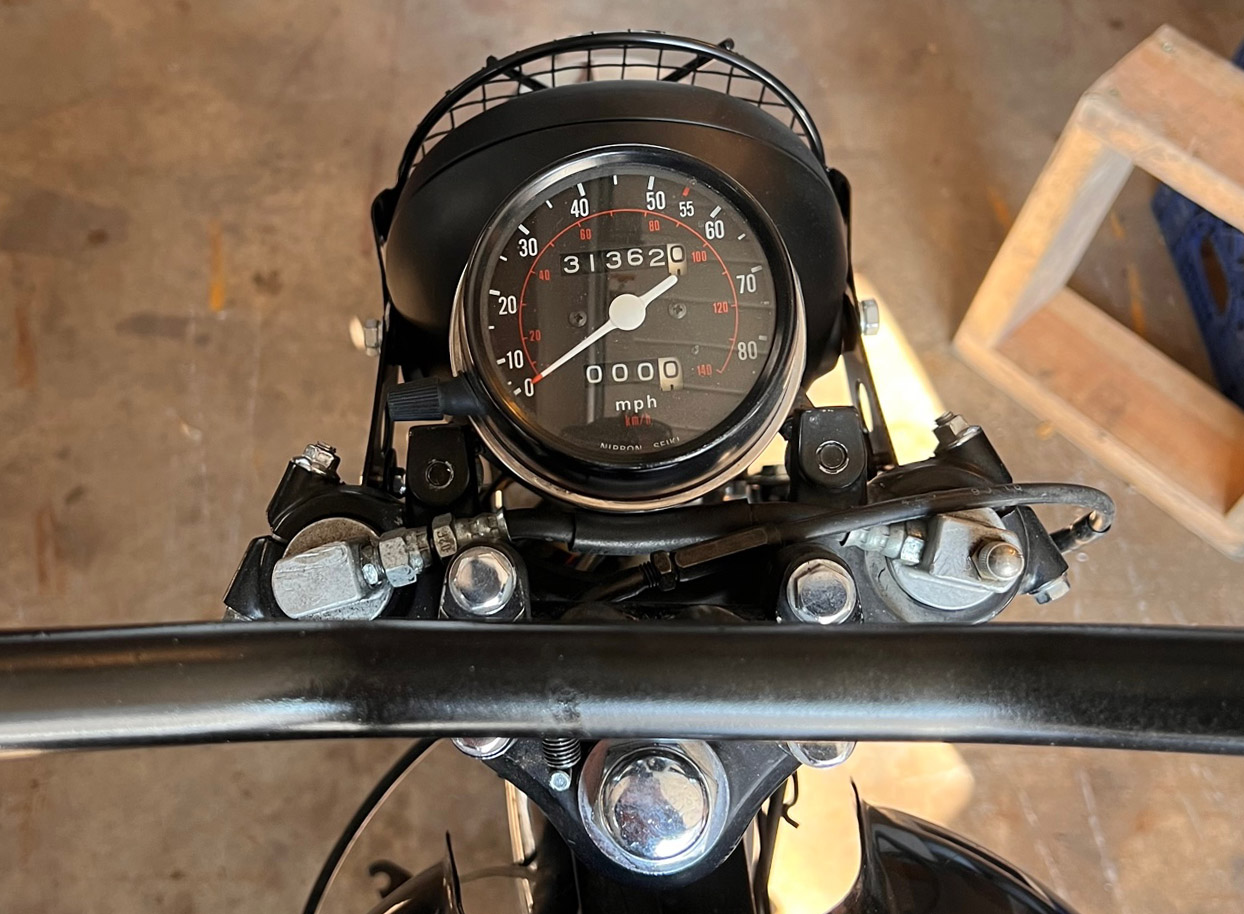
They actually came out better than I had hoped and looked fantastic. Once I could mount them on the bike, it made it easier to visualize how I wanted the gauges to go as well as where the headlight would sit. Instead of using the original dual-gauge setup, I wanted to go with just the speedo that sat level with the bar mounts rather than above them. This meant fabricating a new bracket using some half-inch wide flat bar and washers you can find at most hardware stores. I simply cut some pieces to size, welded them to the proper angles and placement for the washers, and attached it to the bike. I did end up having to grind a little bit out of the center bar piece in order for the gauge cable to fit.


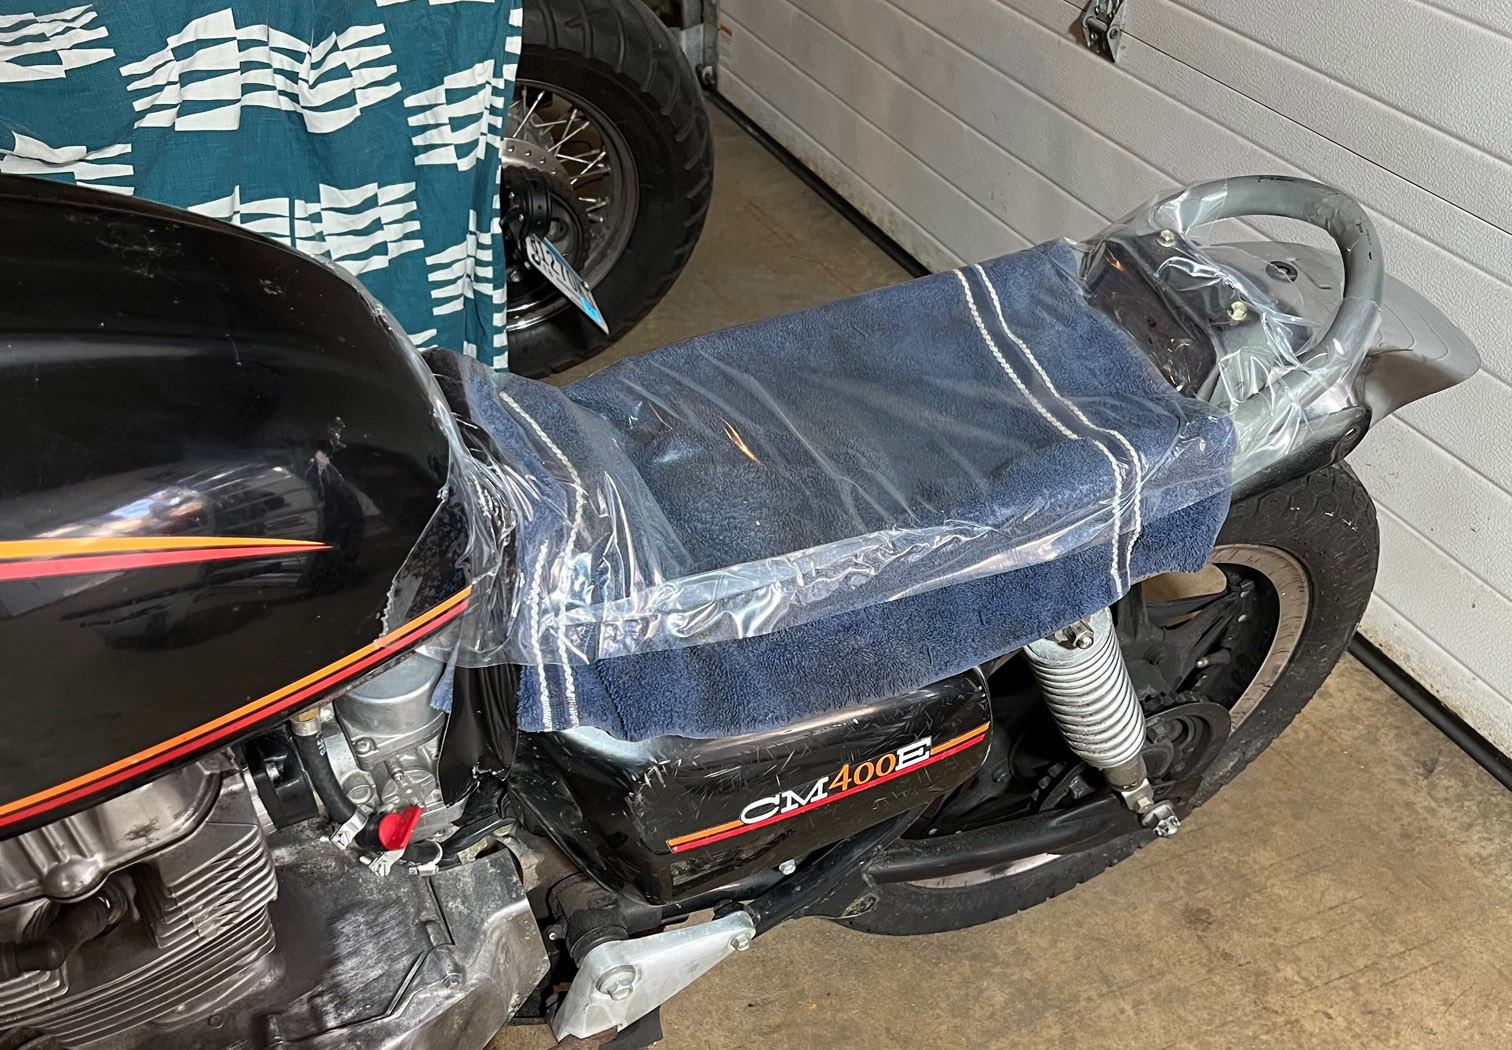
Now, instead of moving onto the lights like I had planned, I decided to totally switch directions and finally work on finishing the seat. This turned out to be a bit of a longer process than I had originally planned due to some foam complications (which I will address as we go). The first step was to create a seat pan. Fiberglass seemed to be the best way to go for this one as I wanted to save on weight and also have it match the frame that I fabricated before.
To begin the process, I grabbed an old rag to use as a bit of buffer between the frame and the fiberglass to account for the seat material once it was finished. That was then covered with plastic wrap so that none of the resin would get on the bike. A final layer of duck tape went of the plastic wrap to give a clear surface for the fiberglass as well as make sure the seat pan would be the exact shape I wanted.

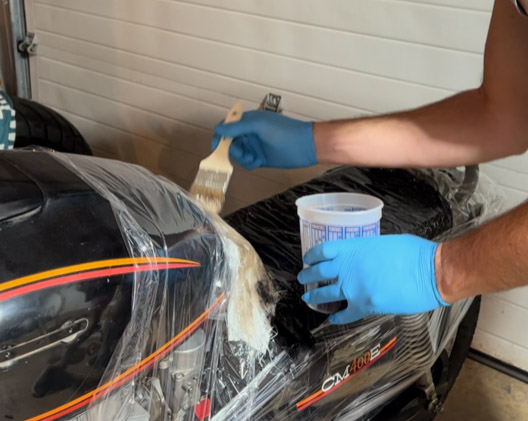
The next step is where it gets messy. I chose to use fiberglass mat rather than cloth this time around. It’s supposed to be stronger and I didn’t care how clean it looked as a finished product. But unlike cloth, the fibers REALLY like to stick to everything when applying the resin. I still cut it up into manageable pieces and added layer by layer starting with resin first, then mat, then resin and so on. Each layer became messier and messier as the fibers kept sticking to my gloves. And yes, make sure you wear gloves and a respirator while working with this stuff as it’s pretty toxic. Also make sure you overlap your planned finished area by a couple of inches so that you can trim back.


Once the resin has a chance to cure, it’s really easy to cut to shape using an angle grinder and a metal cut disc or even just the standard grinding disc. I always first draw a line with a sharpie where I want to cut and then grind and smooth back to the exact finished size I want.


With the seat pan compete, I moved onto making the bracket for how it would connect. I went back and forth on whether I wanted a quick-connect setup, but I settled for just mounting some plates to the frame. I then bent some 1” flat steel bar and then riveted to the seat pan to hold it in place. Holes were drilled for the bolts to connect and that was that. We will see how well it will hold up over time. Next up we will tackle the seat itself!

2 thoughts on “1980 Honda CM400 Scrambler Budget Build Part 3: Seat Pan, Gauge, Handlebars”